 Save to Pinterest
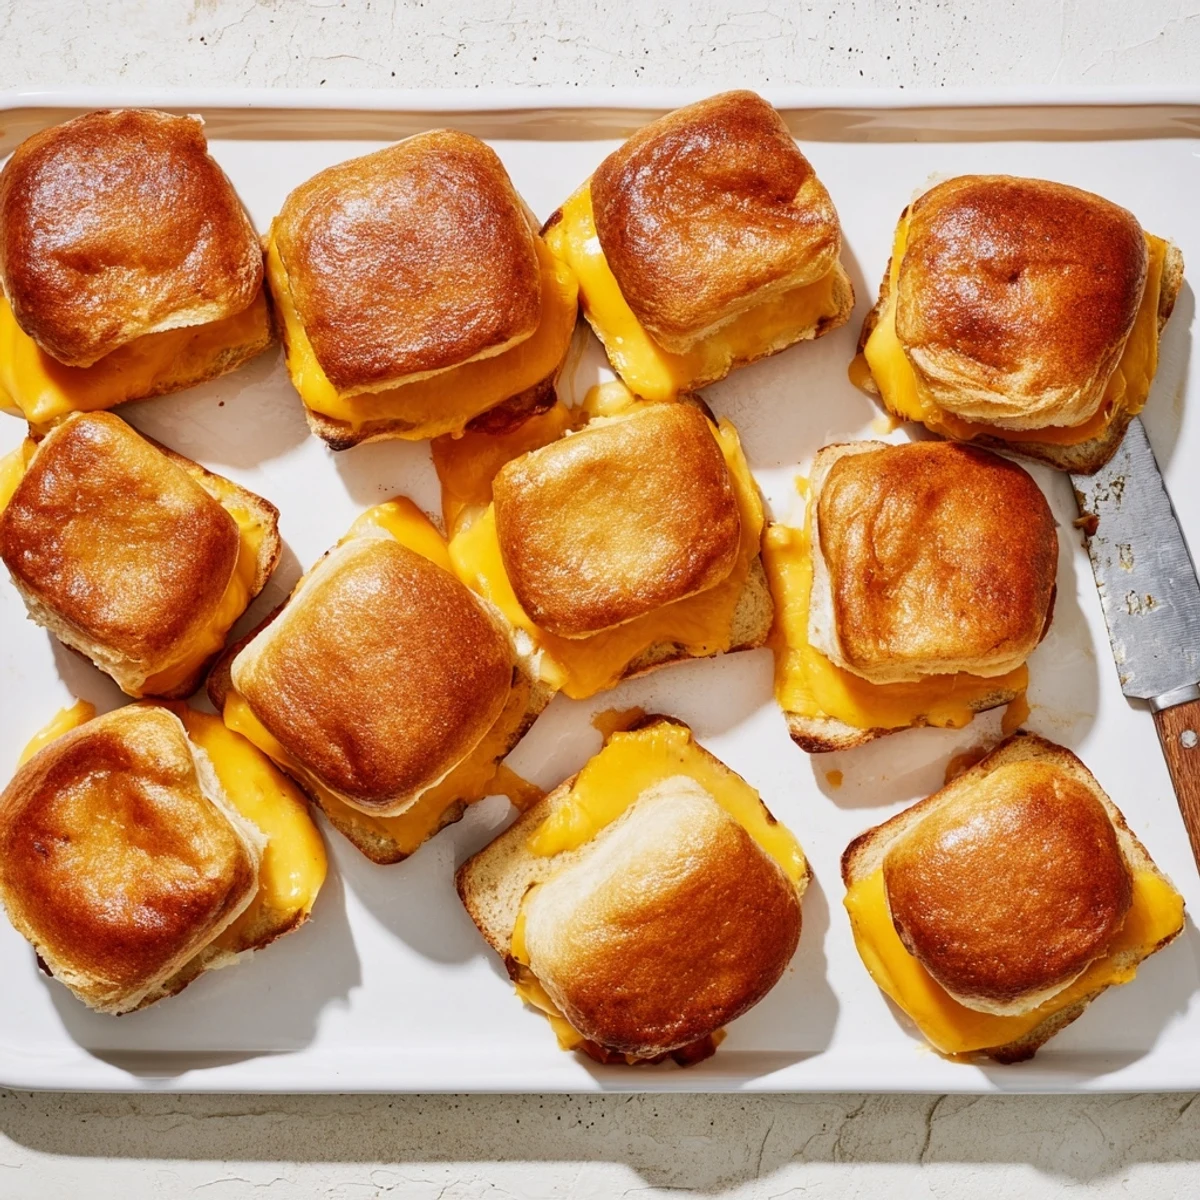
 These Hawaiian roll sliders transform classic grilled cheese into crowd-pleasing bite-sized sandwiches. The sweet rolls pair perfectly with savory melted cheddar, creating an irresistible sweet-salty combination. Bake the entire block of rolls at once for easy preparation, then separate into individual servings. Ideal for parties, appetizers, or quick weeknight meals.
The afternoon sun hit my kitchen counter just right when I first tried these little sandwiches. I had leftover Hawaiian rolls from a party and way too much cheddar in the fridge. Sometimes the best discoveries happen when you are just trying to clean up and get creative.
I brought these to a friends game night once and watched them disappear in minutes. Something about bite sized comfort food makes people reach without thinking. Now they are my go to when I need to feed a crowd but want to keep things simple.
Ingredients
- Hawaiian sweet rolls: The natural sweetness is what makes these special, one 12 roll package stays together best
- Cheddar cheese slices: Use sharp for contrast against the sweet rolls, though any melting cheese works beautifully
- Unsalted butter: Four tablespoons melted helps achieve that golden crispy top everyone fights over
- Optional add ins: Cooked bacon or tomato slices can elevate these into something more substantial
Instructions
- Prep your oven and station:
- Preheat oven to 350°F and line a baking sheet with parchment paper for easy cleanup
- Slice the rolls smart:
- Keep the rolls connected and slice horizontally through the entire package at once
- Build your cheese base:
- Place the bottom slab on your sheet and arrange cheese slices evenly across every roll
- Add any extras:
- Layer bacon or tomato now if you are using them
- Close it up:
- Gently place the top half back on and brush melted butter generously over the tops
- Bake covered first:
- Tent loosely with foil and bake 10 minutes until the cheese transforms into gooey perfection
- Get golden and crisp:
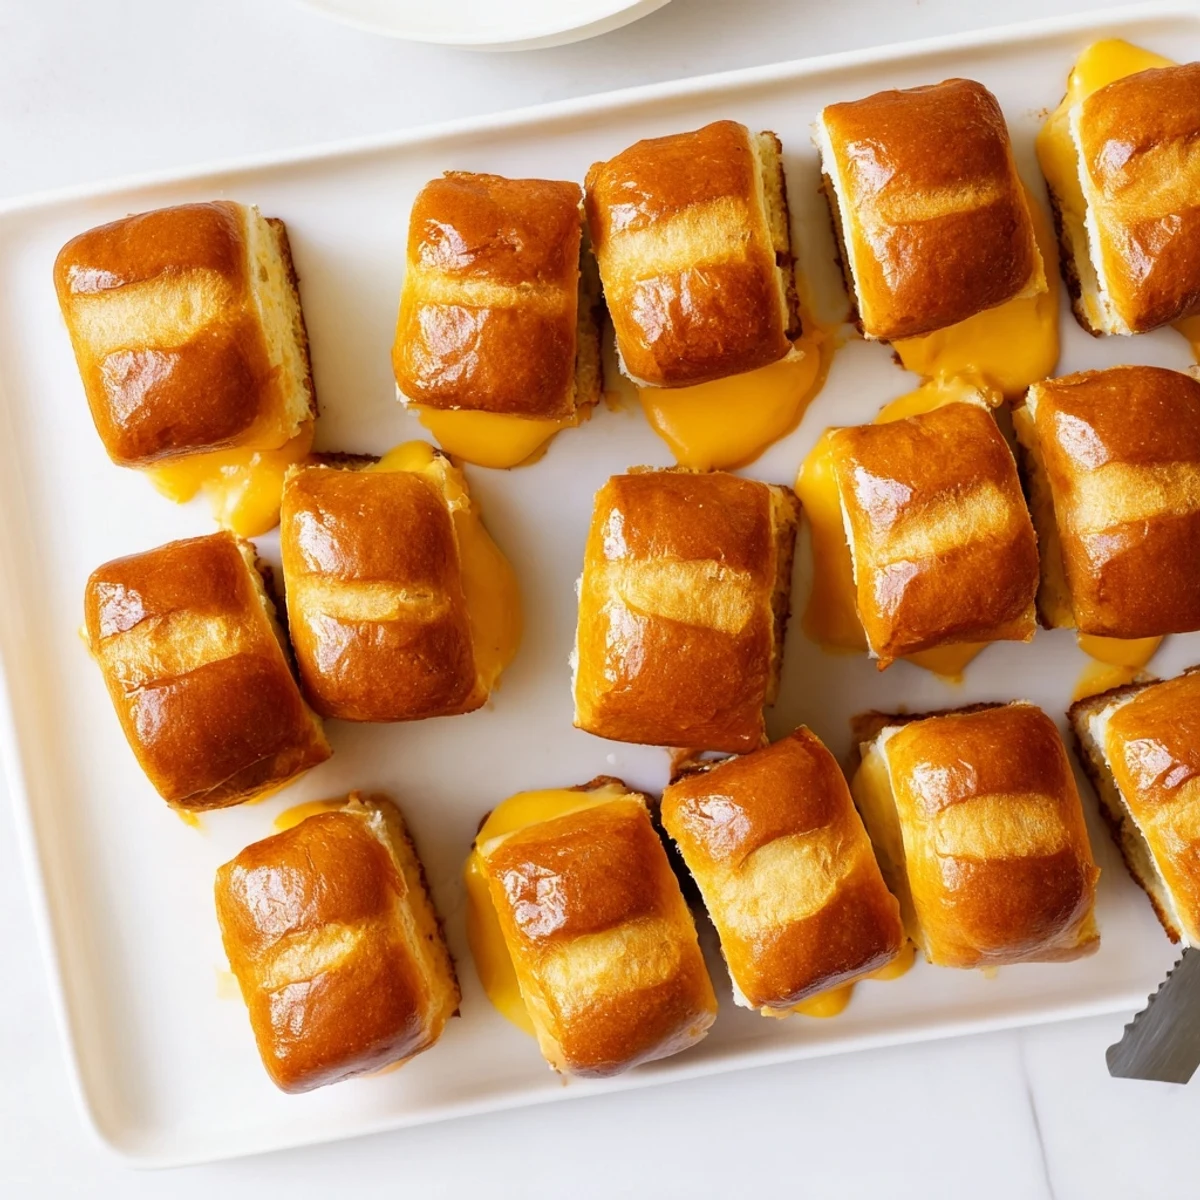
- Remove foil and bake 3 to 5 more minutes until the tops turn a beautiful golden brown
- Separate and serve:
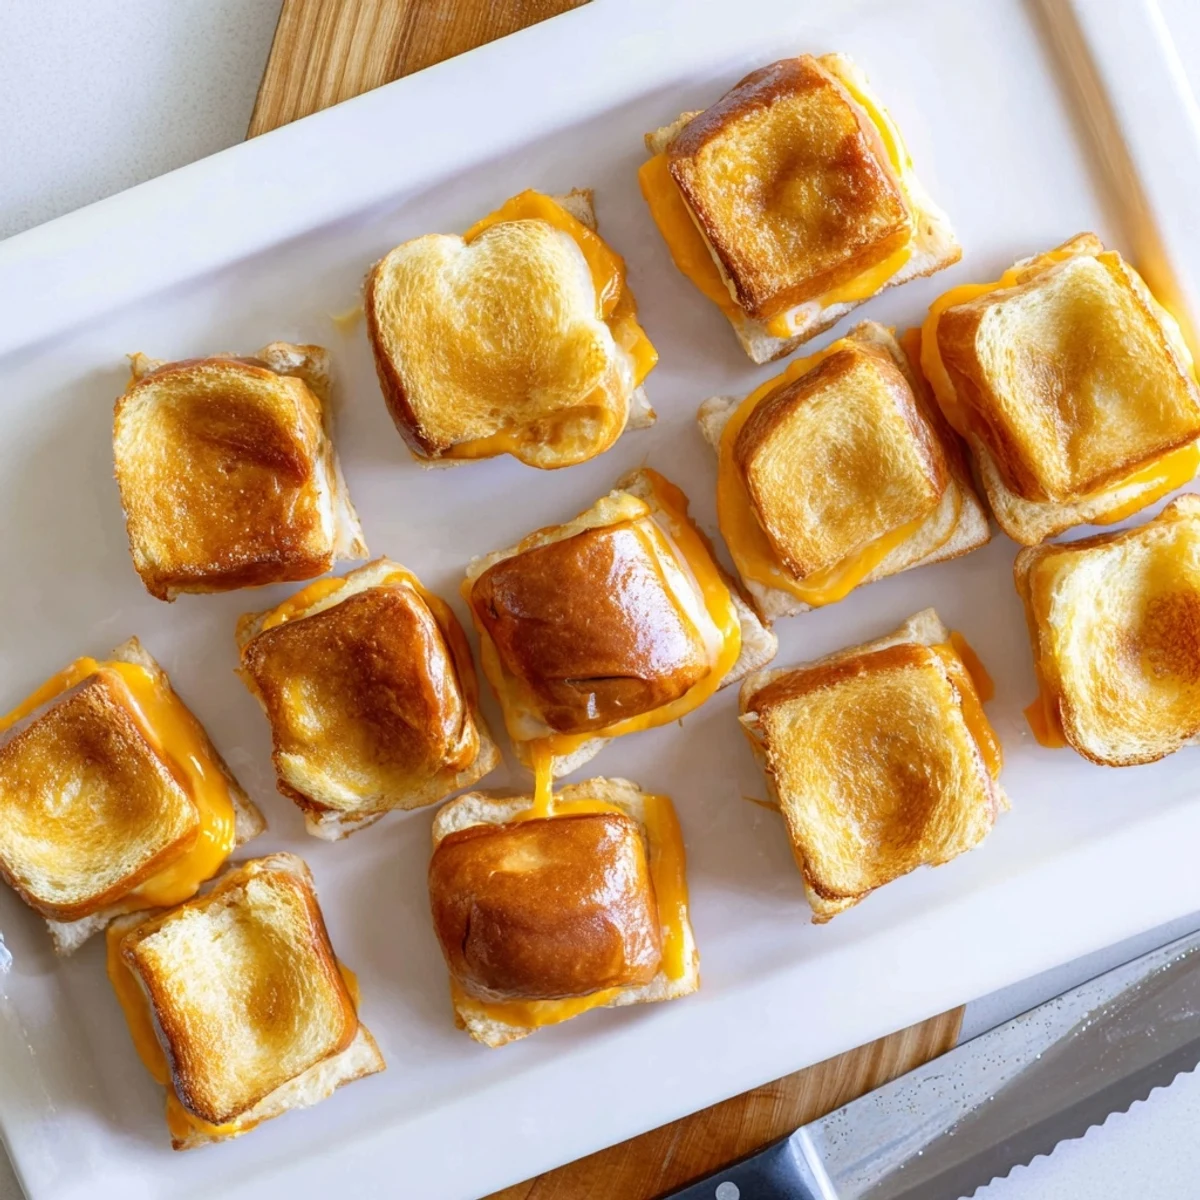
- Let them cool 2 minutes then pull apart into individual mini sandwiches while still warm
 Save to Pinterest
 My daughter now asks for these on rainy weekends. Something warm and cheesy just makes everything better when the sky is gray.
Making Them Your Own
Mixing garlic powder or dried parsley into the melted butter adds a subtle depth. I have tried Swiss cheese when I wanted something milder and mozzarella for the kids who prefer less sharpness.
Perfect Pairings
These shine alongside a steaming bowl of tomato soup. The combination is nostalgic comfort food at its finest but elevated by the sweetness of the rolls.
Serving For A Crowd
When feeding a group these disappear fast so consider making a double batch. You can easily prep them ahead and pop them in the oven when guests arrive.
- Set up a toppings bar and let people customize before baking
- Cut them in half again for cocktail sized appetizers
- Keep them warm in a low oven set to 200°F
 Save to Pinterest
 These little sandwiches have become my secret weapon for last minute gatherings. Easy enough for a Tuesday but impressive enough for company.
Your Recipe Questions
- → Can I make these ahead of time?
-
Yes, assemble the sliders up to 24 hours in advance and refrigerate. Add the butter just before baking.
- → What cheese works best?
-
Sharp cheddar provides the best flavor, but mozzarella, Swiss, or pepper jack all melt beautifully and add variety.
- → Can I freeze these?
-
Freeze assembled unbaked sliders tightly wrapped for up to 1 month. Thaw overnight in refrigerator before baking.
- → How do I prevent soggy bottoms?
-
Use parchment paper and ensure your oven is fully preheated. The initial foil cover helps cheese melt without drying the bread.
- → What sides pair well?
-
Tomato soup creates a classic combination, or serve with pickles, coleslaw, and fresh fruit for a balanced spread.
