 Save to Pinterest
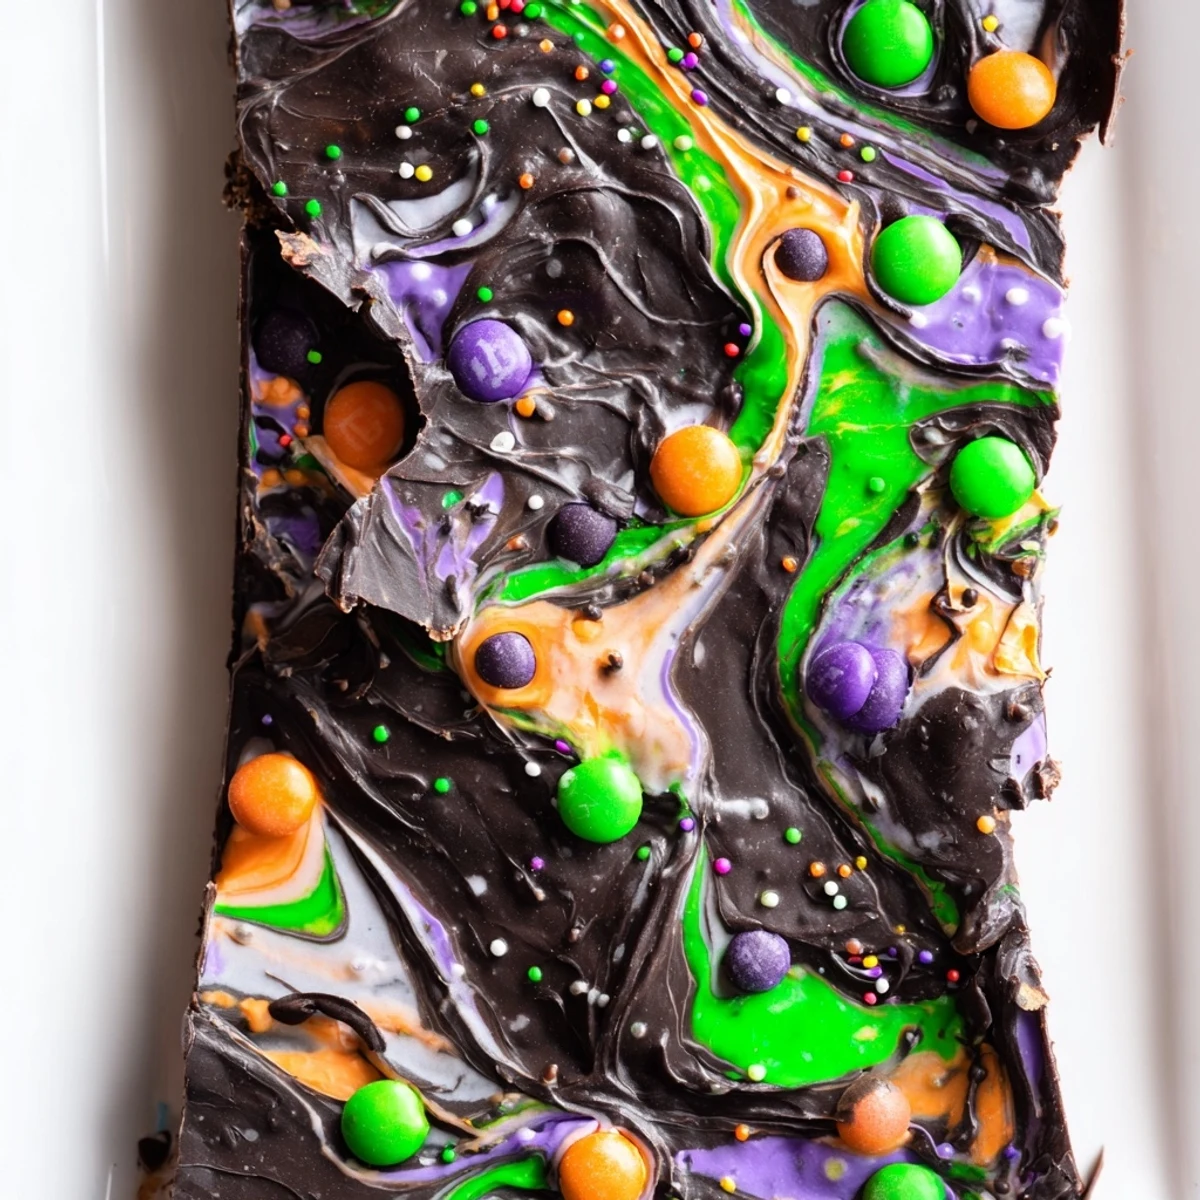
 This festive Halloween treat layers rich semisweet chocolate with swirled white chocolate and vibrant candy melts. The marbled effect creates a spooky backdrop for candy-coated chocolates and googly eyes that bring the witch theme to life. Simply melt, spread, swirl, and sprinkle for an impressive dessert that looks intricate but comes together in under 20 minutes.
Last October my daughter decided we needed something spookier than regular cookies for her class party. We ended up making this ridiculous chocolate bark at 11pm the night before, giggling as we placed candy eyes and pretending each piece was watching us. The kids went absolutely wild for it, and now it's become our favorite Halloween tradition because it's so deceptively simple but looks like we spent hours on it.
I learned the hard way that you have to work fast once you start swirling the colors together. One year I got distracted by a phone call and the chocolate started setting before I could add the decorations, making everything just sort of plop on top instead of nestling in beautifully. Now I clear off the entire counter and turn my phone face down before I even start melting anything.
Ingredients
- 2 cups semisweet chocolate chips: The bittersweet foundation that balances all the sugary toppings perfectly
- 1 cup white chocolate chips: Creates those beautiful ghostly swirls against the dark chocolate base
- 1/2 cup colorful candy melts: Pick vibrant Halloween colors that pop against the chocolate
- 1/2 cup mini candy-coated chocolates: These add little bursts of color and crunch throughout
- 1/4 cup candy eyes: The absolute star of the show that makes this bark come alive
- 1/4 cup Halloween sprinkles: Extra festive sparkle because you can never have too much fun
Instructions
- Prepare your canvas:
- Line a baking sheet with parchment paper, making sure it hangs over the edges slightly for easy removal later
- Melt the dark chocolate:
- Microwave the semisweet chocolate in 30-second bursts, stirring between each, until completely smooth and glossy
- Spread the base:
- Pour the melted dark chocolate onto your prepared sheet and spread it into an even layer about 1/4 inch thick
- Prepare the colorful melts:
- In separate bowls, microwave the white chocolate and colored candy melts in 20-second intervals until smooth
- Add the spooky details:
- Immediately scatter the candy-coated chocolates, candy eyes, and sprinkles across the surface while everything is still warm and sticky
- Let it set:
- Leave the bark at room temperature for about 20 minutes or pop it in the fridge for 10-15 minutes until completely firm
- Break into pieces:
- Use your hands to snap the bark into irregular jagged pieces that look satisfyingly homemade
 Save to Pinterest
 My neighbor's kids started requesting this specifically instead of cupcakes for their fall birthday celebration. Watching them carefully choose which pieces to take based on how many eyes each shard had was maybe the best part of the whole afternoon.
Making It Your Own
You can swap the semisweet chocolate for milk chocolate if you prefer something sweeter, or go with dark chocolate for a more sophisticated flavor profile that adults will appreciate. The technique stays exactly the same regardless of your chocolate preference.
Presentation Ideas
Pile the broken pieces into clear treat bags tied with orange and black ribbon for party favors, or arrange them on a platter with the pieces showing their best side facing up. The irregular shapes make it look rustic and handmade in the most charming way possible.
Storage Solutions
This bark keeps beautifully for up to a week when stored in an airtight container at cool room temperature. Layer the pieces between wax paper if you are stacking them to prevent sticking.
- Avoid storing near strong odors as chocolate absorbs surrounding smells
- Keep away from direct sunlight or the chocolate will bloom and lose its shine
- Do not freeze the bark as condensation will ruin the texture completely
 Save to Pinterest
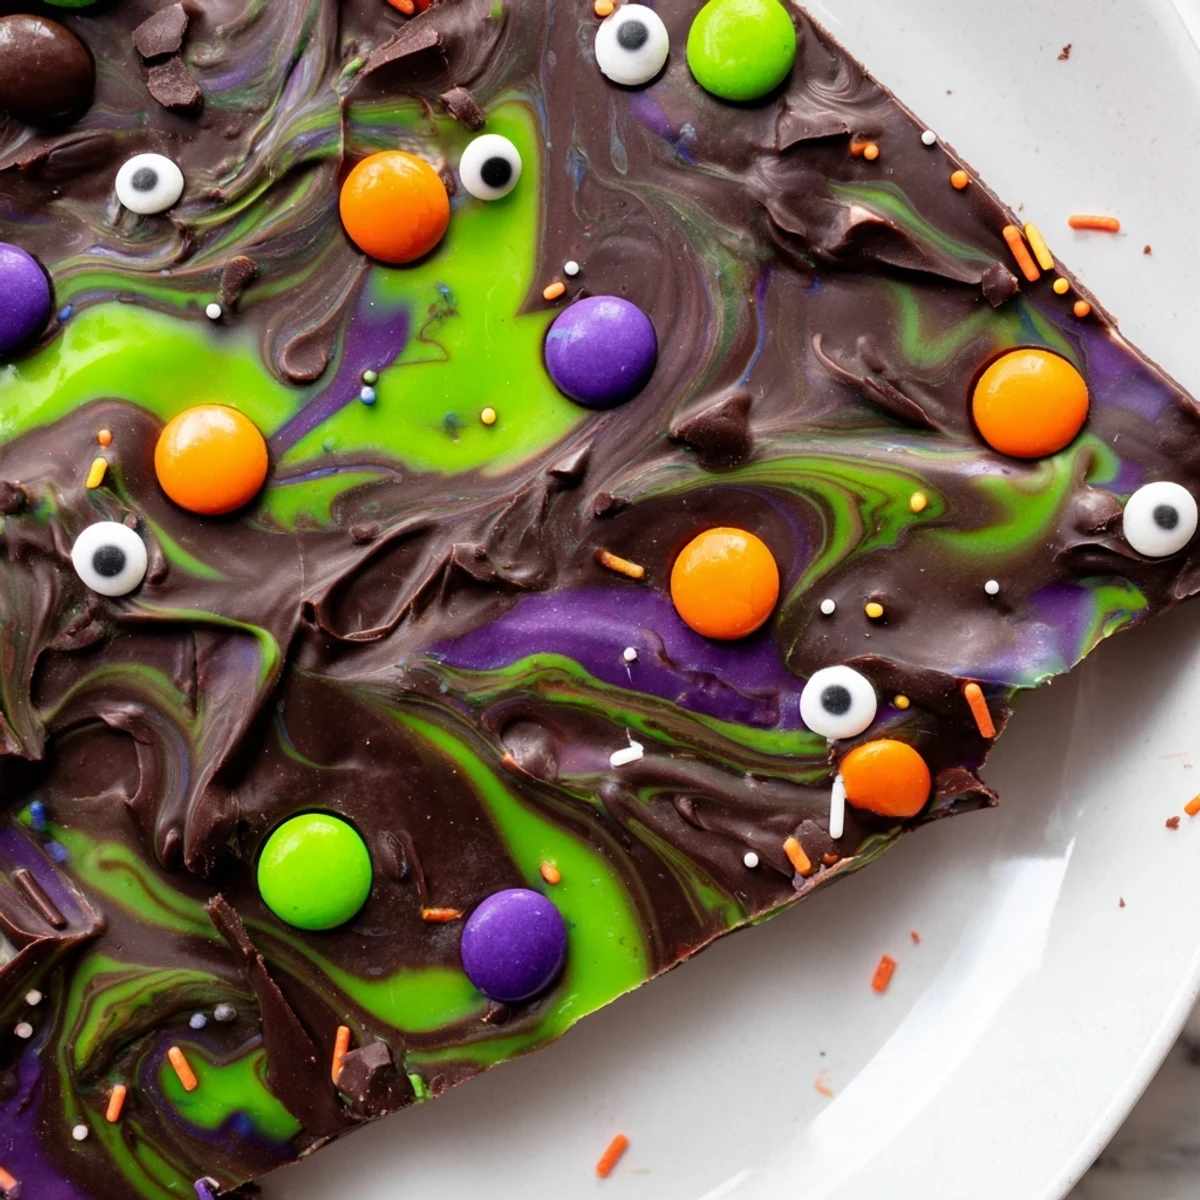
 The best part about making bark is how forgiving it is, so do not stress if your swirls are not perfect. The messy, handmade look is exactly what makes it feel special and Halloween-appropriate.
Your Recipe Questions
- → How far in advance can I make this bark?
-
You can prepare the bark up to 1 week ahead when stored in an airtight container at cool room temperature. The chocolate stays fresh and the decorations remain crisp.
- → Can I use chocolate bars instead of chips?
-
Absolutely. Chop chocolate bars into similar-sized pieces before melting. Bars often yield smoother results, so feel free to substitute your favorite baking chocolate.
- → What other decorations work well?
-
Try crushed Oreos, pretzel pieces, edible glitter, or themed sprinkles. Marshmallow ghosts, gummy worms, or autumn-themed sprinkles create seasonal variations beyond Halloween.
- → Why did my chocolate seize while melting?
-
Overheating causes chocolate to seize and become grainy. Always melt in short intervals, stirring frequently. If seizing occurs, add a teaspoon of vegetable oil and stir vigorously to smooth it out.
- → Can I make this without a microwave?
-
Yes. Use a double boiler or heatproof bowl set over simmering water. Stir constantly and ensure no water touches the chocolate. The stovetop method actually gives you more control over melting.
- → How should I break the bark for serving?
-
Use your hands to snap into irregular shards, which creates an appealing rustic look. For gift bags, place pieces in clear treat bags tied with orange or black ribbon.
