 Save to Pinterest
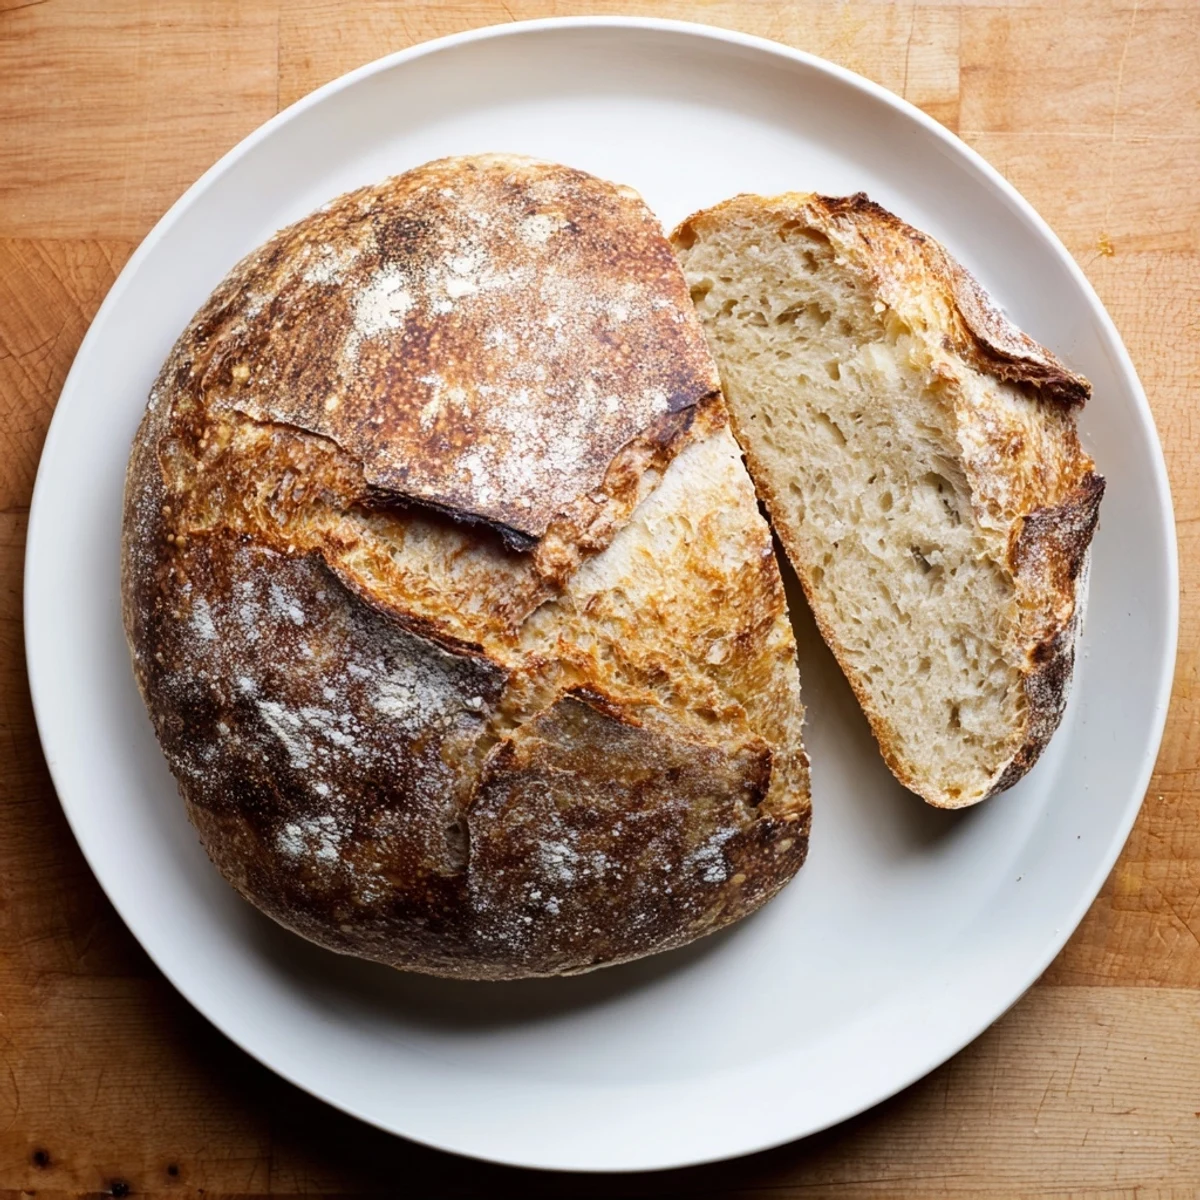
 Crafting an artisan-quality loaf has never been simpler. This revolutionary approach eliminates traditional kneading entirely, relying on time and gentle folding to develop structure. The result? A crackling, golden crust protecting pillowy, chewy interiors that rival professional bakeries.
With only four basic ingredients and ten minutes of active work, you'll create bread that transforms everyday meals. The long fermentation develops complex, subtle flavors while the Dutch oven creates the perfect steam environment for that coveted crisp crust.
Whether serving alongside pasta, toasting for breakfast, or building the ultimate sandwich, this versatile loaf delivers consistent, impressive results every single bake.
There is something almost magical about a loaf of bread with proper crust. The kind that crackles when you slice it and shows those beautiful irregular holes inside. This recipe became my go-to during a particularly hectic month when I needed comfort food but refused to spend hours kneading dough.
I brought a warm loaf to a friend who was recovering from surgery and she texted me the next day that the bread was gone before anything else I had packed. It is the kind of simple nourishment that makes people feel cared for without any fuss.
Ingredients
- Bread flour: Higher protein content gives better structure but all purpose works too
- Salt: Do not reduce this as it balances flavor and strengthens gluten
- Instant yeast: No need to dissolve it first just mix it in with the flour
- Lukewarm water: Think bath temperature not hot or the yeast will not work properly
Instructions
- Mix the dough:
- Whisk flour salt and yeast in a large bowl then stir in water until you get a shaggy sticky dough that looks messy.
- Let it rise:
- Cover the bowl and leave it alone on your counter for 12 to 18 hours until bubbles cover the surface and it has doubled.
- Shape the loaf:
- Scrape dough onto a floured surface shape it gently into a ball and place it on floured parchment paper to rest for an hour.
- Preheat the pot:
- Put your Dutch oven in the oven and heat to 450°F for at least 30 minutes so it is screaming hot.
- Bake covered:
- Carefully lift the dough with the parchment into the hot pot cover and bake for 30 minutes to create steam.
- Finish uncovered:
- Remove the lid and bake 12 to 15 more minutes until the crust is deep golden brown and sounds hollow when tapped.
 Save to Pinterest
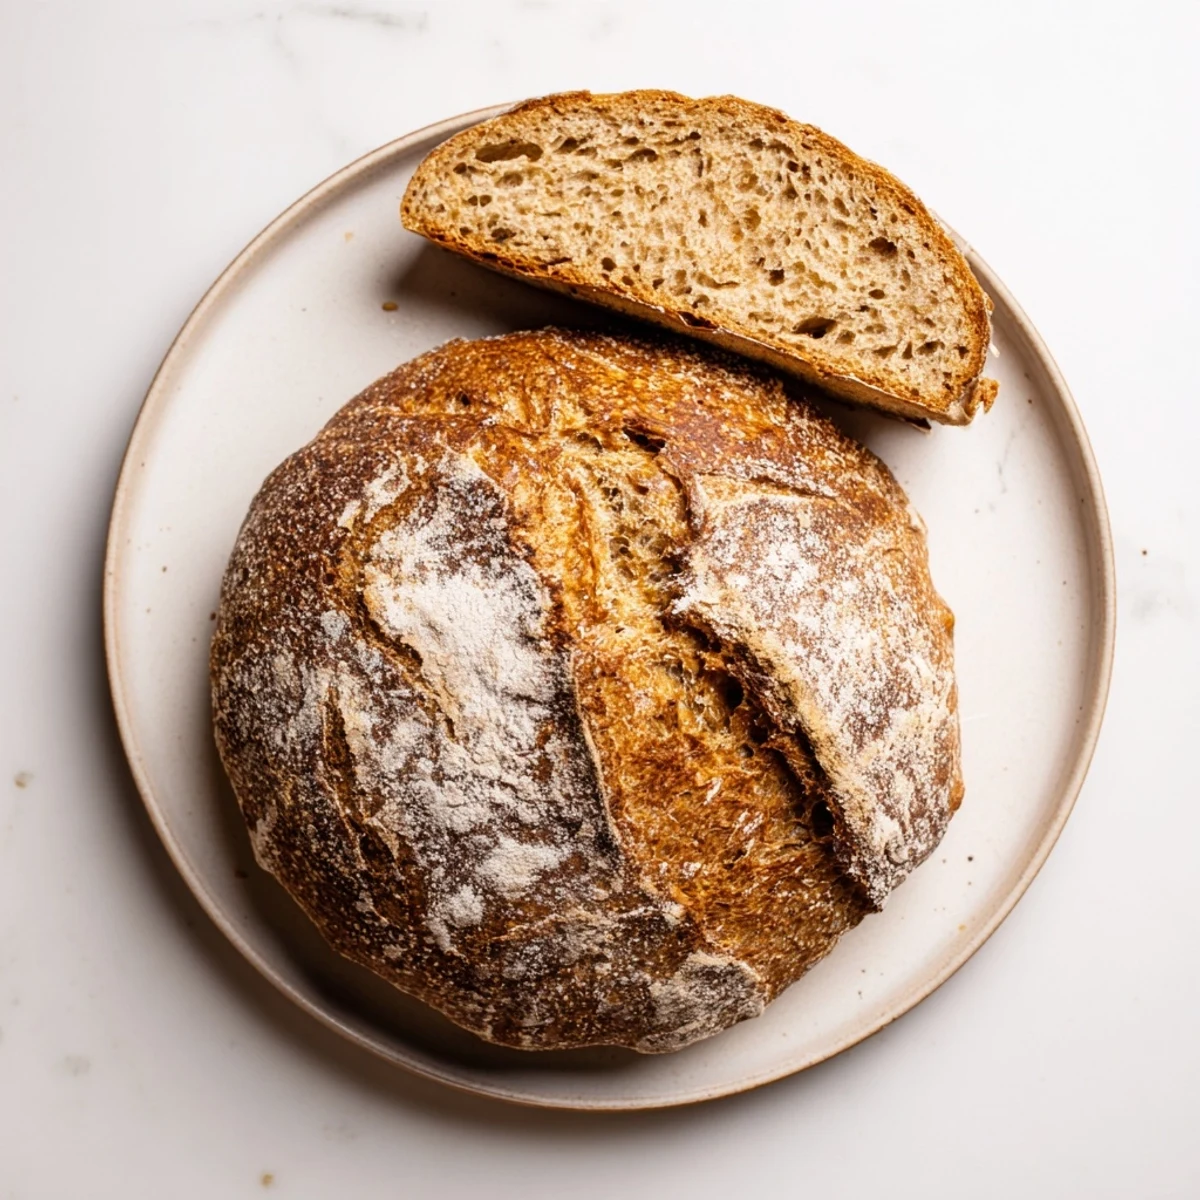
 My teenager who claims to dislike homemade bread ate three slices the moment this came out of the oven. There is honest joy in breaking into that caramelized crust with your bare hands.
Getting The Best Crust
The Dutch oven method is non negotiable here because it traps steam during baking which keeps the crust soft initially then sets it into something shatteringly crisp. A regular baking sheet will give you a hard lackluster crust.
Timing Your Bake
Mix the dough before bed and it will be ready to bake by dinner the next day. The long fermentation is what does all the work for you developing flavor without any kneading.
Customization Ideas
Add half a cup of chopped olives rosemary or walnuts when you mix the dry ingredients for a savory twist. Whole wheat flour can replace a third of the white flour for more depth.
- Swap in some rye flour for a earthier taste
- Try adding roasted garlic cloves to the dough before rising
- Brush with water and sprinkle seeds before baking for extra crunch
 Save to Pinterest
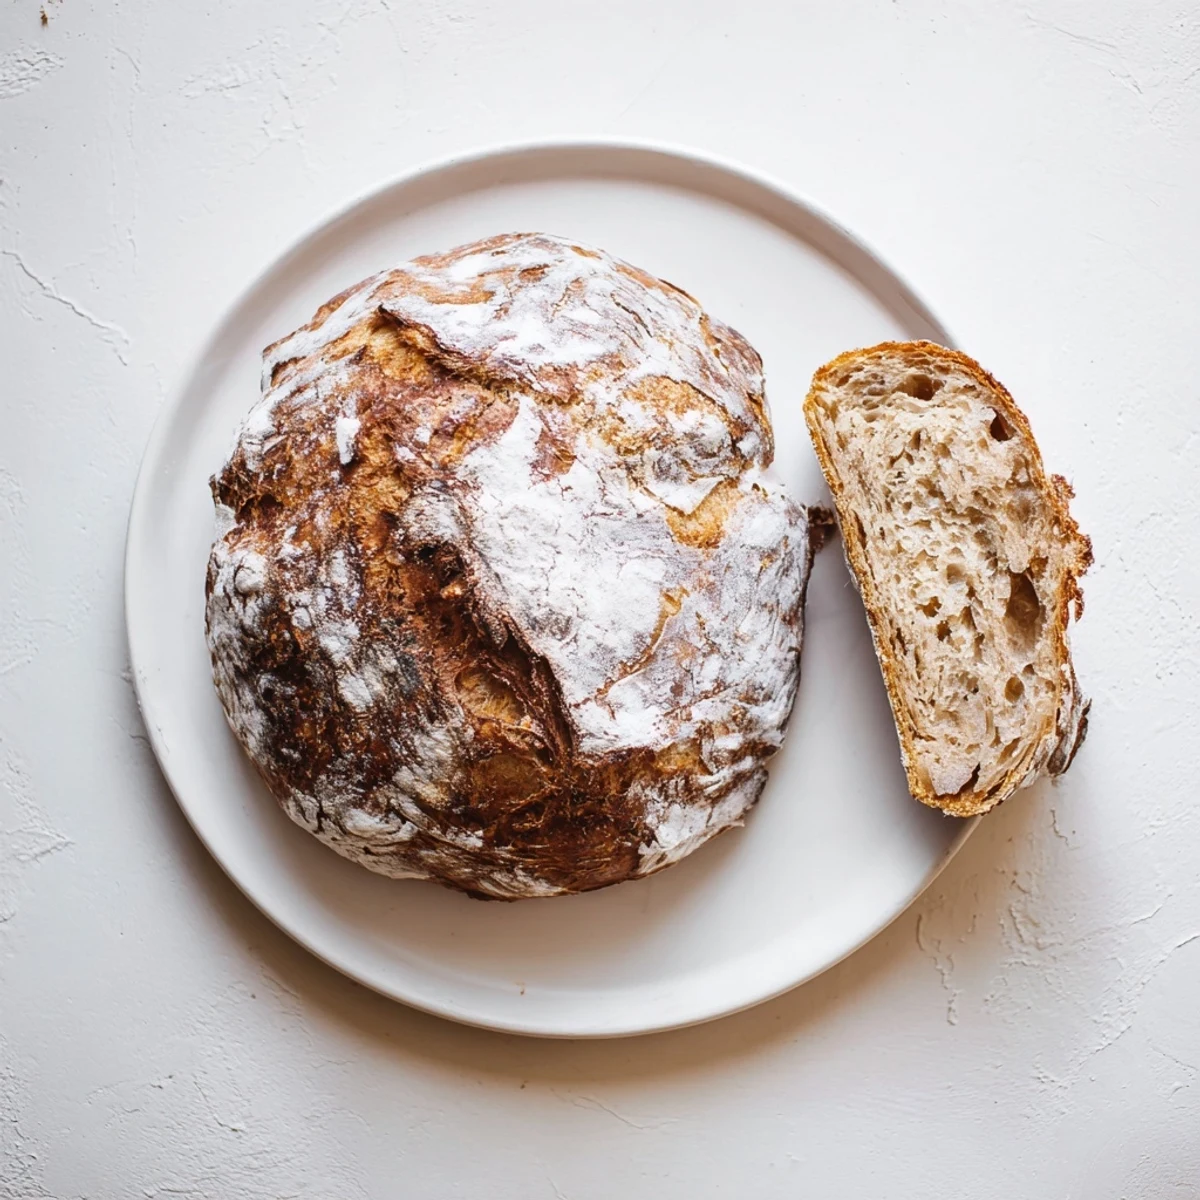
 Fresh bread this good makes any meal feel like a special occasion even on a Tuesday night.
Your Recipe Questions
- → Why use a Dutch oven for baking?
-
A Dutch oven traps steam during baking, creating the ideal environment for crust formation. The moisture keeps the exterior soft initially, allowing maximum oven spring before the crust sets. This results in the signature thick, crackly crust that defines artisan loaves.
- → Can I make this without a Dutch oven?
-
Yes. Place a metal baking sheet on the lowest oven rack while preheating, then add ice cubes when you slide the dough in. Alternatively, use a heavy pot with a tight-fitting lid or a cloche baker. The key is creating a steam-filled environment.
- → How do I know when the dough has risen enough?
-
After 12–18 hours, the surface should appear dotted with bubbles and have increased significantly in size. The dough will look loose and almost fluid. When you gently press the surface, the indentation should remain visible. These signs indicate proper fermentation.
- → Why must the bread cool completely before slicing?
-
Hot bread is still cooking internally. Cutting into it releases steam and creates a gummy texture. Allowing at least an hour of cooling lets the crumb set properly, ensuring each slice has the perfect chewy-tender consistency. Warm bread is tempting, but patience rewards you with better texture.
- → Can I add mix-ins like herbs or cheese?
-
Absolutely. Fold in ½ cup of shredded cheese, chopped fresh herbs, roasted garlic, or sun-dried tomatoes during the initial mixing. For chunkier additions like nuts or olives, add them after the first rise while shaping to avoid interfering with gluten development.
- → What's the difference between instant and active dry yeast?
-
Instant yeast dissolves directly into flour without proofing, making it perfect for this method. Active dry yeast requires blooming in warm water first. Both work here, but instant yeast offers more reliable results since the dough doesn't undergo traditional kneading to activate the yeast.
