 Save to Pinterest
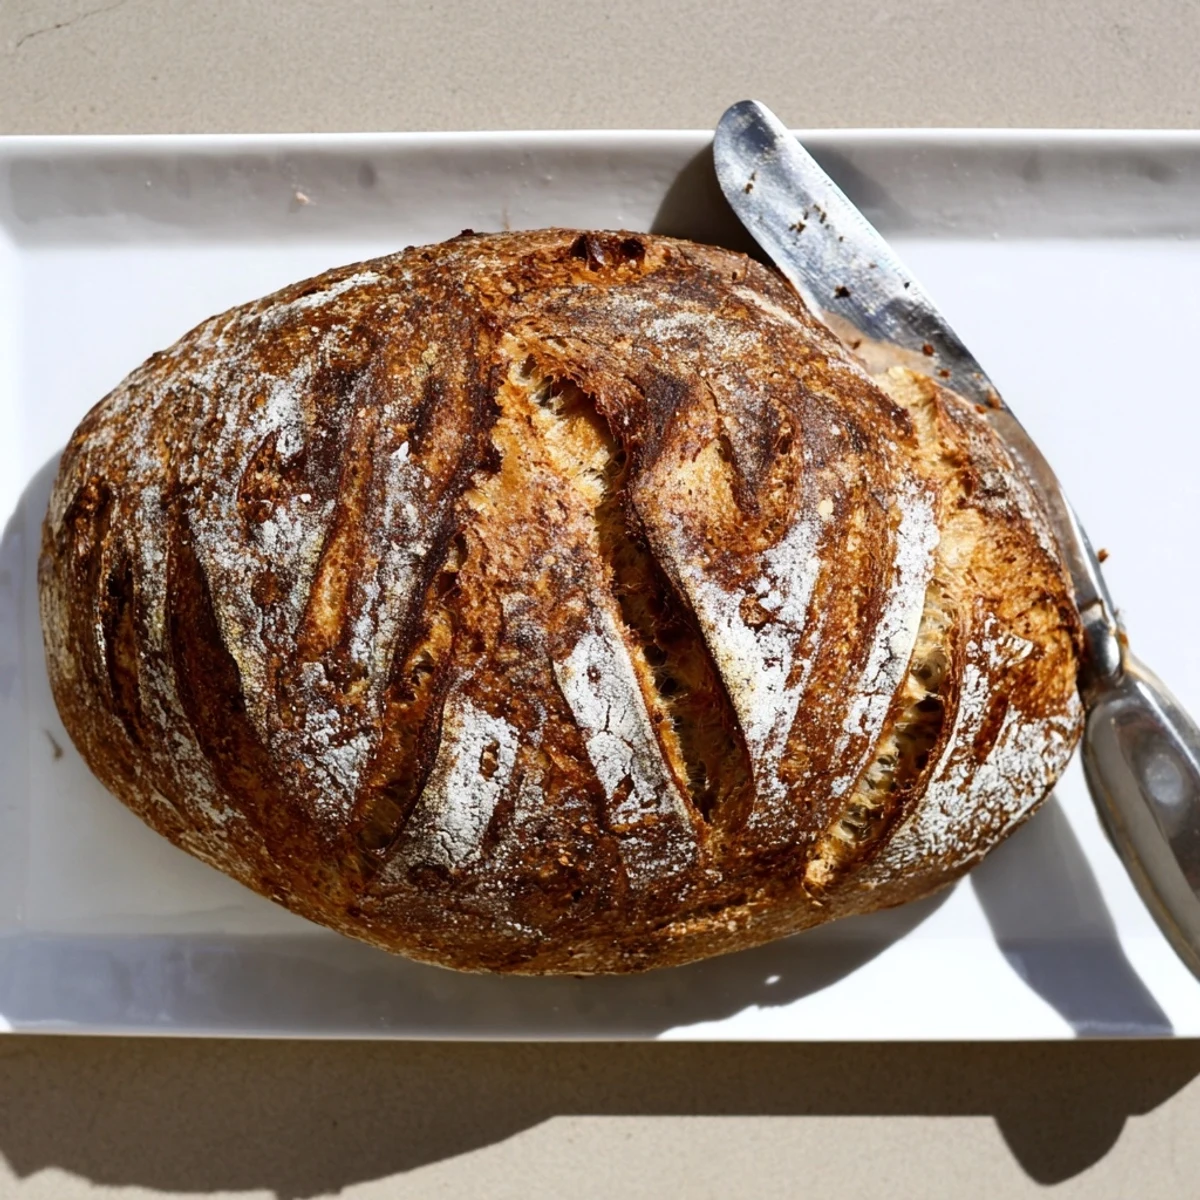
 Create a bakery-quality loaf with just flour, water, yeast, and salt. This no-knead method yields a beautifully crusted bread with airy pockets inside, perfect for serving alongside soups or with olive oil.
The dough requires minimal hands-on time, rising naturally to develop flavor and texture. Bake in a Dutch oven for professional results with a crackly crust that keeps fresh for days.
The kitchen was quiet except for the timer, and I could not believe I had actually made bread that crackled when I pulled it from the oven. My first attempt at homemade bread was not out of some grand ambition but because the store was closed and I really wanted toast. That shaggy, sticky dough felt wrong in my hands, yet somehow it transformed into the most beautiful loaf I had ever seen.
Last winter my neighbor smelled the bread baking and actually knocked on my door to ask what I was making. We ended up sharing warm slices with salted butter right there in the kitchen while the snow fell outside. Now it is my go to when I want to make someone feel welcome in my home.
Ingredients
- Bread flour: Higher protein content than all purpose flour gives you that chewy artisan texture we all love
- Salt: Do not skip this or reduce it because salt actually controls fermentation and deepens flavor
- Instant yeast: No proofing needed which saves time and eliminates an entire step where things could go wrong
- Lukewarm water: Think bathwater temperature, around 100°F, because too hot kills yeast and too cold slows everything down
- Cornmeal or semolina: This prevents sticking and adds a subtle crunch to the bottom crust
Instructions
- Mix your base:
- Combine flour, salt, and yeast in a large bowl and give it a good whisk so everything is evenly distributed before adding any water.
- Form the dough:
- Pour in the water and stir with a wooden spoon until you have a shaggy, sticky mess that looks like it needs more flour but absolutely does not.
- Let it rise:
- Cover the bowl with plastic wrap or a damp towel and walk away for 1 to 2 hours until the dough has doubled in size and looks puffy.
- Shape gently:
- Turn the dough onto a floured surface and fold the edges underneath to form a rough ball without overworking it.
- Second rest:
- Place the dough seam side down on parchment paper sprinkled with cornmeal, cover loosely, and let it rest for 30 minutes while you preheat the oven.
- Get ready to bake:
- Preheat your oven to 450°F and if you have a Dutch oven, put it inside empty so it gets blazing hot.
- Score the loaf:
- Transfer the dough with its parchment paper into your hot Dutch oven or onto a baking sheet, then use a sharp knife to cut a shallow slash across the top.
- Bake covered:
- Cover the Dutch oven and bake for 25 minutes to create steam that gives you that crackly crust.
- Finish baking:
- Remove the lid and bake another 15 minutes until the loaf is deep golden brown and sounds hollow when you tap the bottom.
- Cool completely:
- Let the bread rest on a wire rack for at least 30 minutes because slicing too early will make the interior gummy.
 Save to Pinterest
 My sister called me in tears once because her bread turned out like a brick, and when I walked her through the recipe, I realized she had added double the flour trying to make the dough feel smooth. We made another batch together over FaceTime, and when she texted a photo of her beautiful golden loaf, I felt just as proud as if I had made it myself.
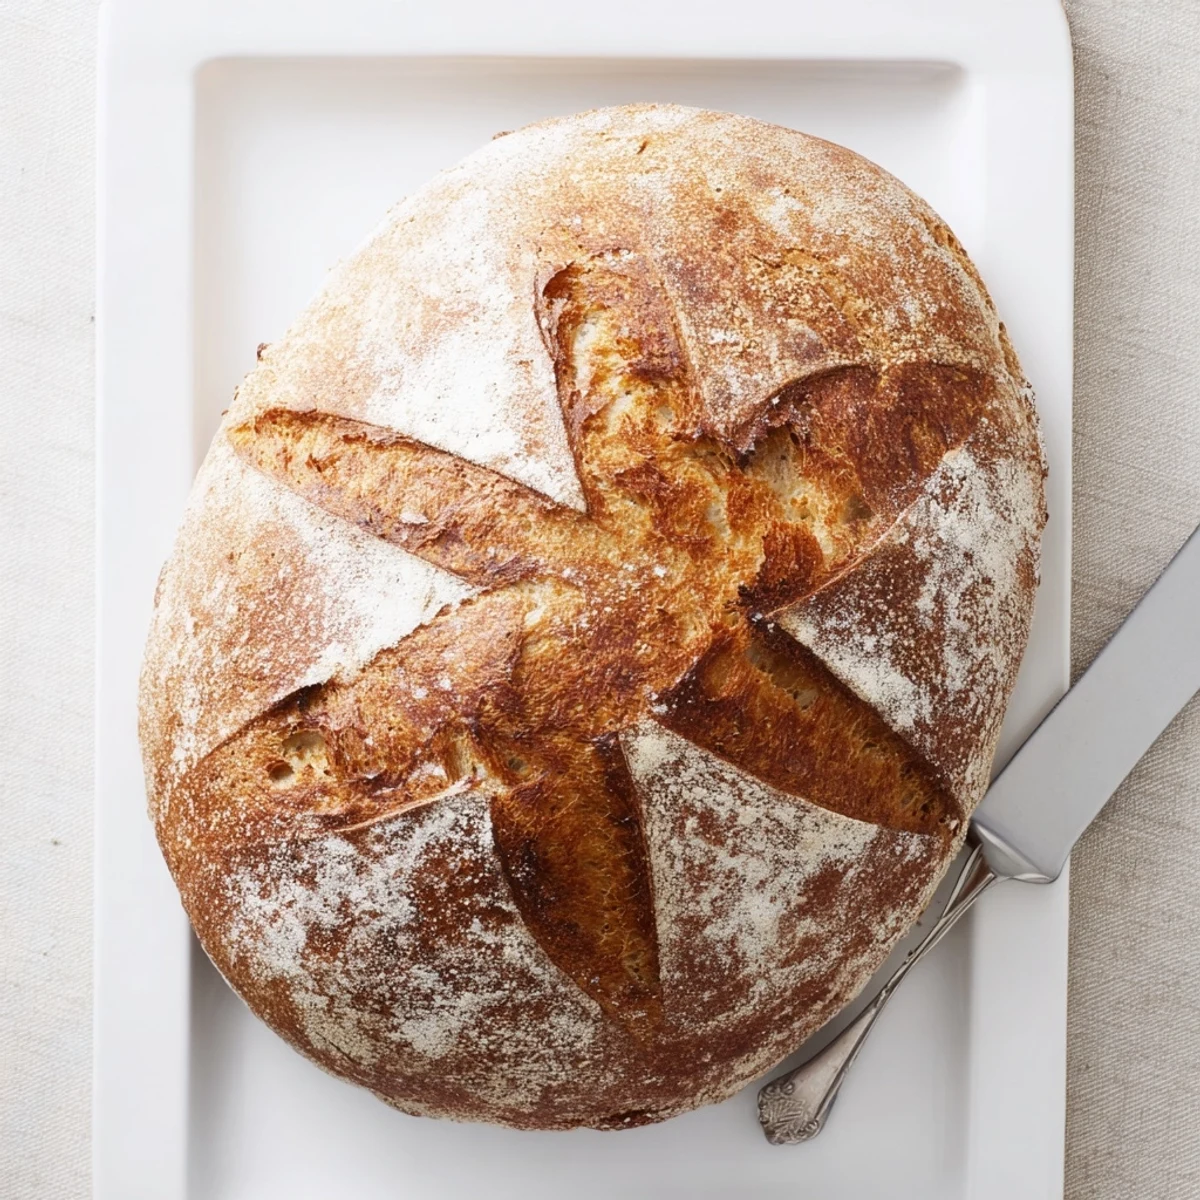
Getting The Crust Right
The steam created by baking covered in a Dutch oven is what gives you that blistered, bakery style crust that shatters when you bite into it. I used to spray water into my oven until I learned this trick, and the difference was night and day.
Customizing Your Loaf
Sometimes I mix in chopped rosemary or roasted garlic right after the first rise, and other times I keep it plain for simple toast. A tablespoon of olive oil added to the dough creates a softer crust and more tender crumb if you prefer that style.
Storage And Serving
Homemade bread has no preservatives so it dries out faster than store bought, but that also means it freezes beautifully. I slice mine before freezing and toast straight from frozen for the best results.
- Store in a paper bag at room temperature for up to 2 days, never plastic which makes the crust soggy
- Freeze whole or sliced for up to 3 months wrapped tightly in plastic and foil
- Refresh day old bread by sprinkling with water and warming at 350°F for 10 minutes
 Save to Pinterest
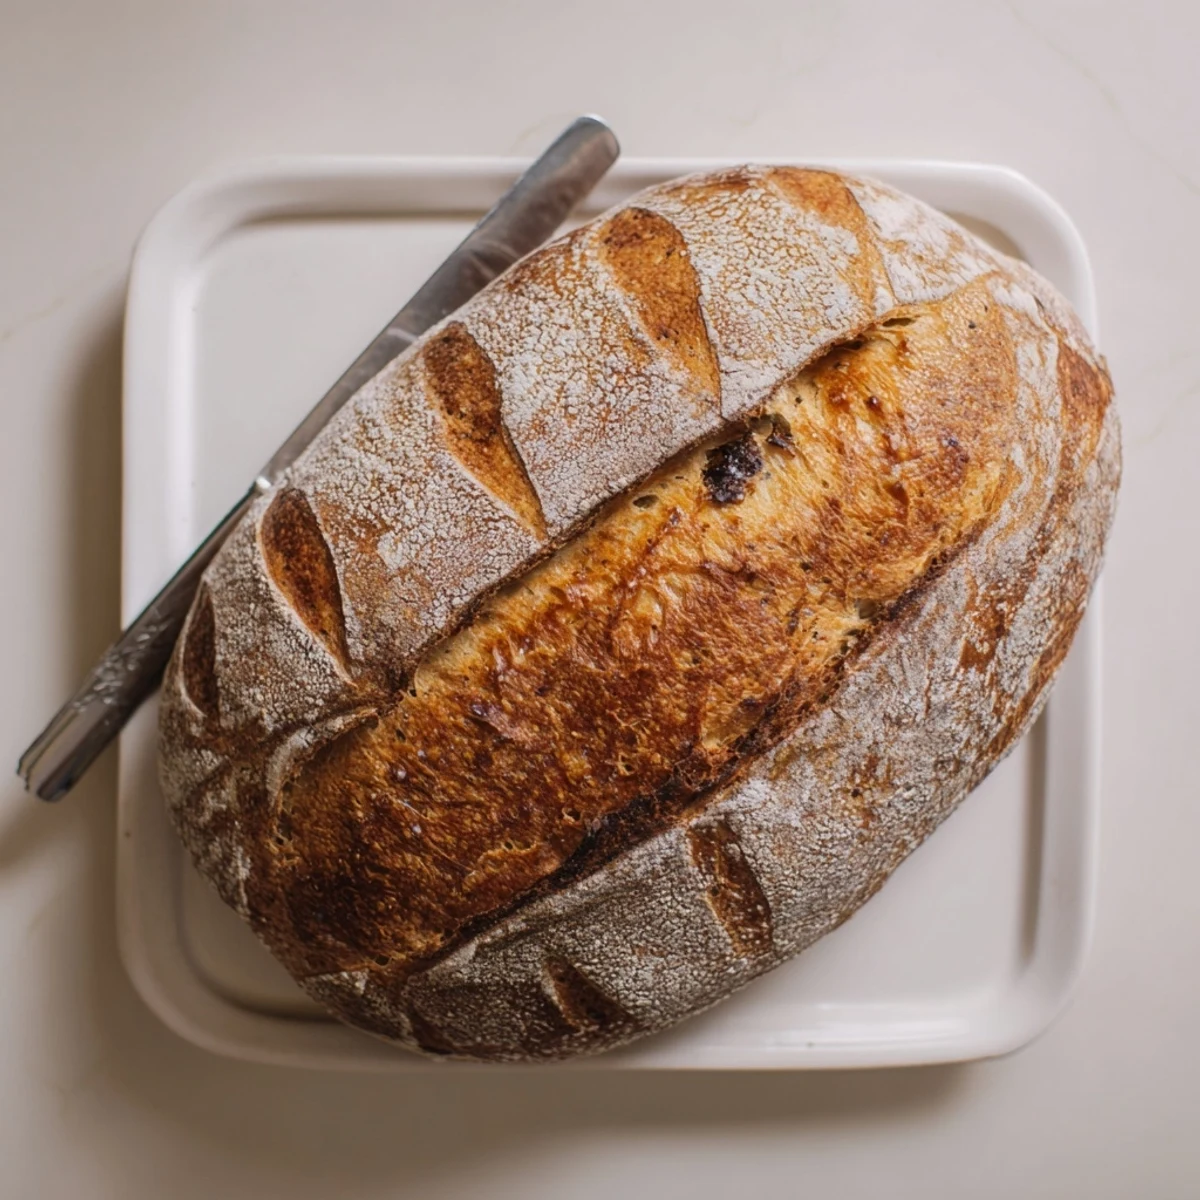
 There is something deeply satisfying about making bread with nothing but flour, water, salt, and yeast. The first time you tear into a warm slice slathered with butter, you will understand why this ancient recipe has survived for thousands of years.
Your Recipe Questions
- → What makes this bread rustic?
-
The rustic character comes from the high-temperature baking in a Dutch oven, which creates a thick, crackly crust. The long fermentation period develops deep flavor while the simple ingredients and minimal kneading produce an irregular crumb structure typical of traditional European loaves.
- → Can I make this without a Dutch oven?
-
Yes, a heavy baking sheet or pizza stone works well. Preheat your baking vessel thoroughly to create steam initially, which helps form the crust. You may also place a pan of water in the oven below the bread to mimic the steam effect of a Dutch oven.
- → How do I know when the bread is done?
-
The crust should be deep golden brown, and the bottom should sound hollow when tapped. An instant thermometer inserted into the center should read 190-200°F (88-93°C). Let it cool completely on a wire rack before slicing for the best texture.
- → Why is instant yeast recommended?
-
Instant yeast dissolves easily without proofing and activates quickly in lukewarm water. It provides consistent results and saves time compared to active dry yeast, which requires blooming before use. The result is reliable rising even for beginners.
- → Can I add mix-ins like herbs or cheese?
-
Absolutely. Fresh rosemary, thyme, or roasted garlic blend beautifully with the simple dough. Add these during the initial mixing step. For cheese or olives, fold them in gently after the first rise to avoid tearing the developed gluten structure.
- → How should I store the baked loaf?
-
Store at room temperature in a paper bag or wrapped in a cloth for up to 3 days. Avoid plastic bags, which trap moisture and make the crust soft. For longer storage, slice and freeze in a sealed bag, toasting individual slices as needed.
