 Save to Pinterest
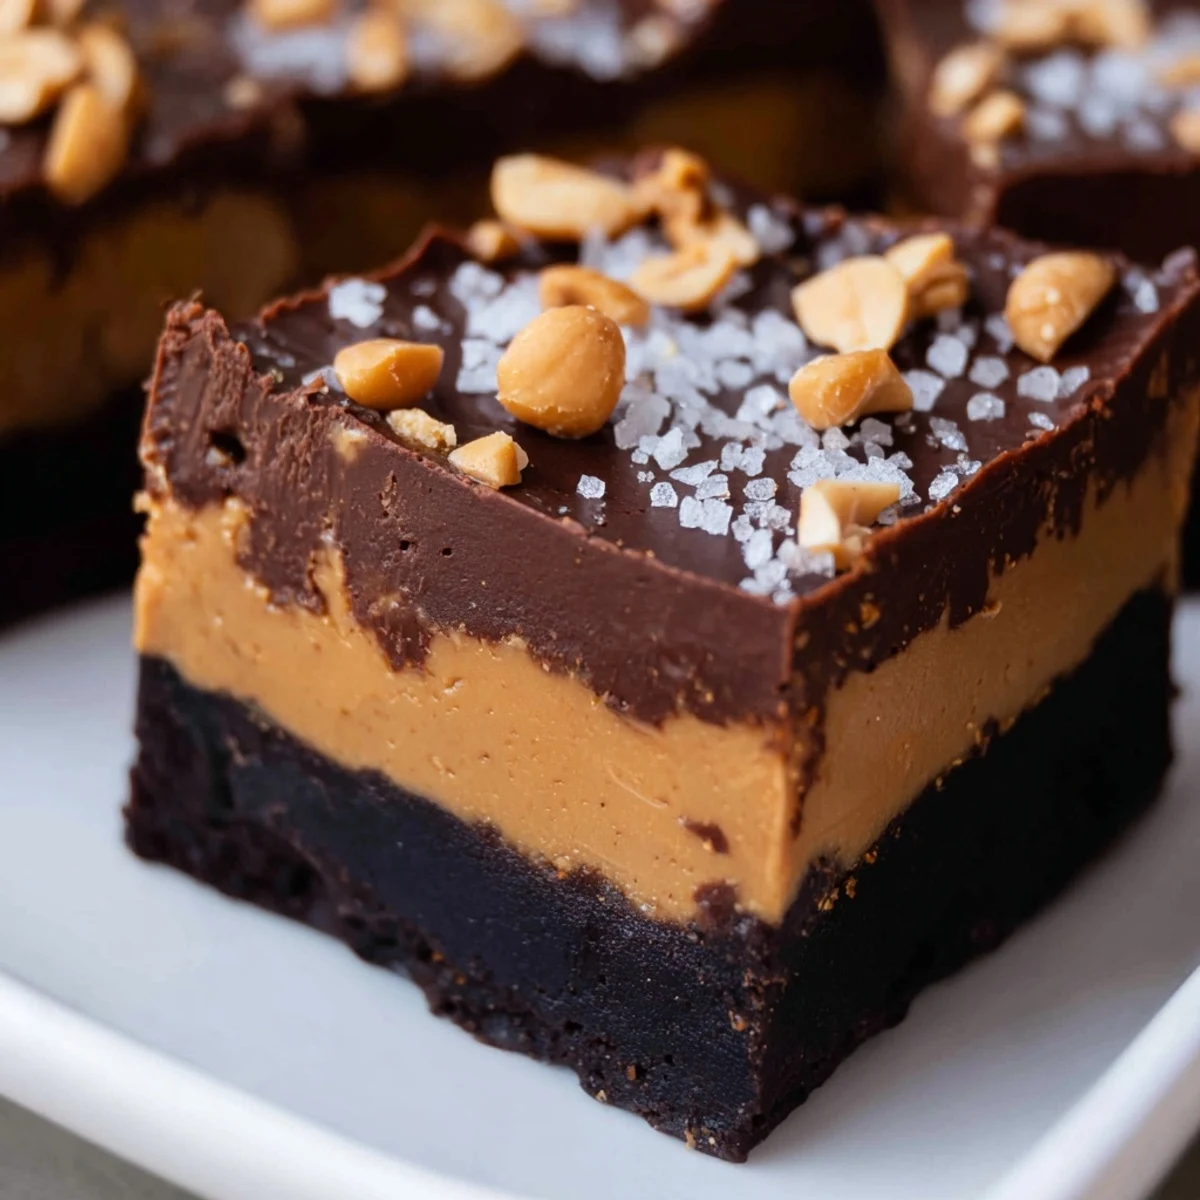
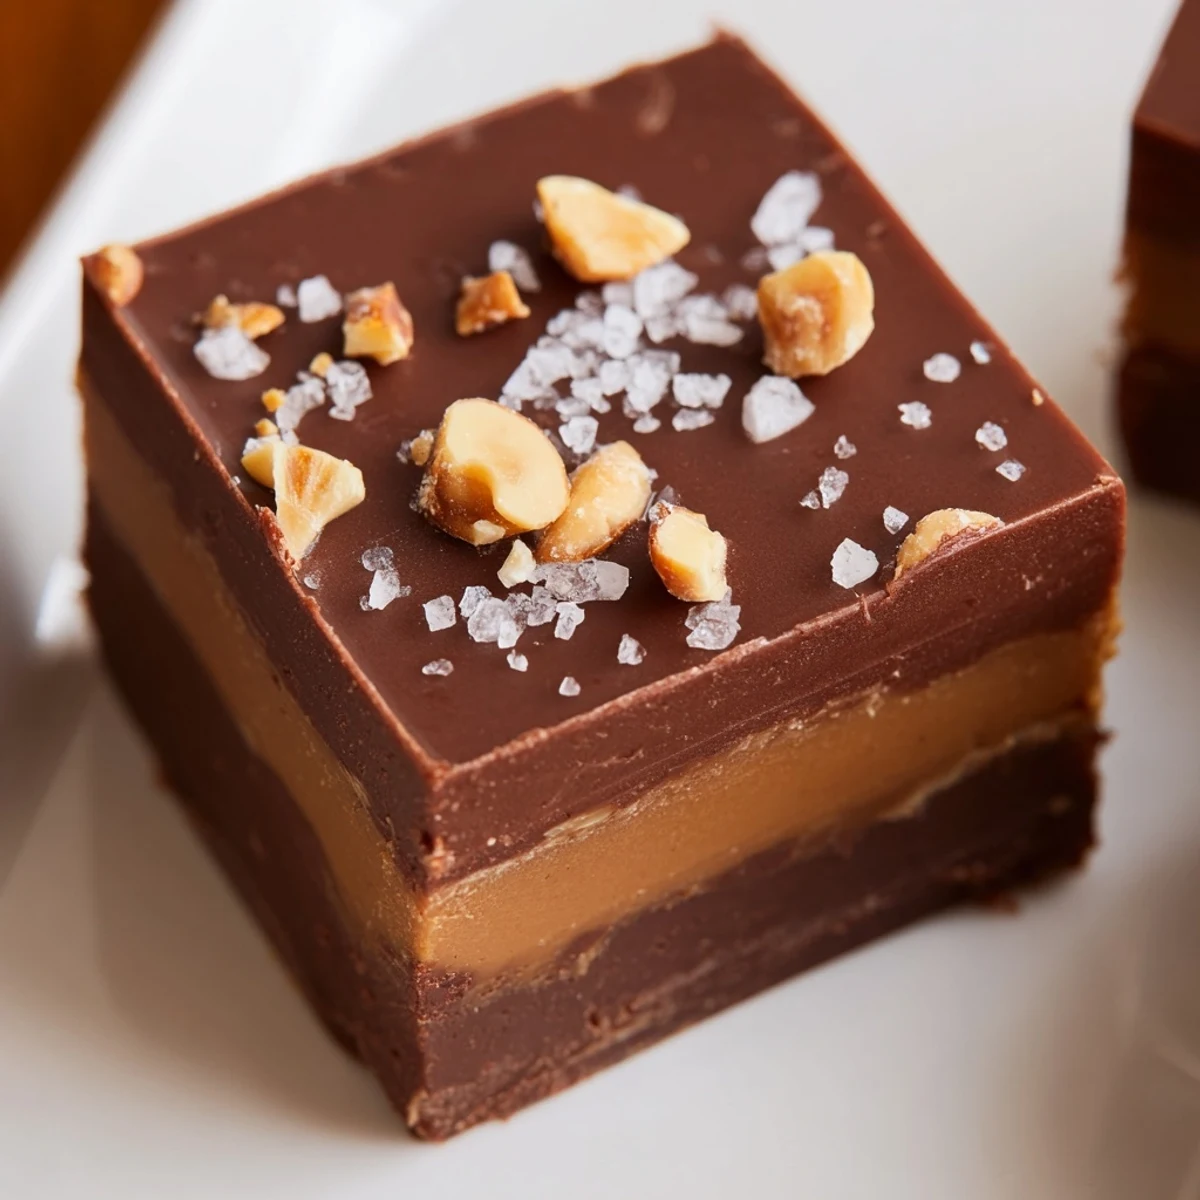
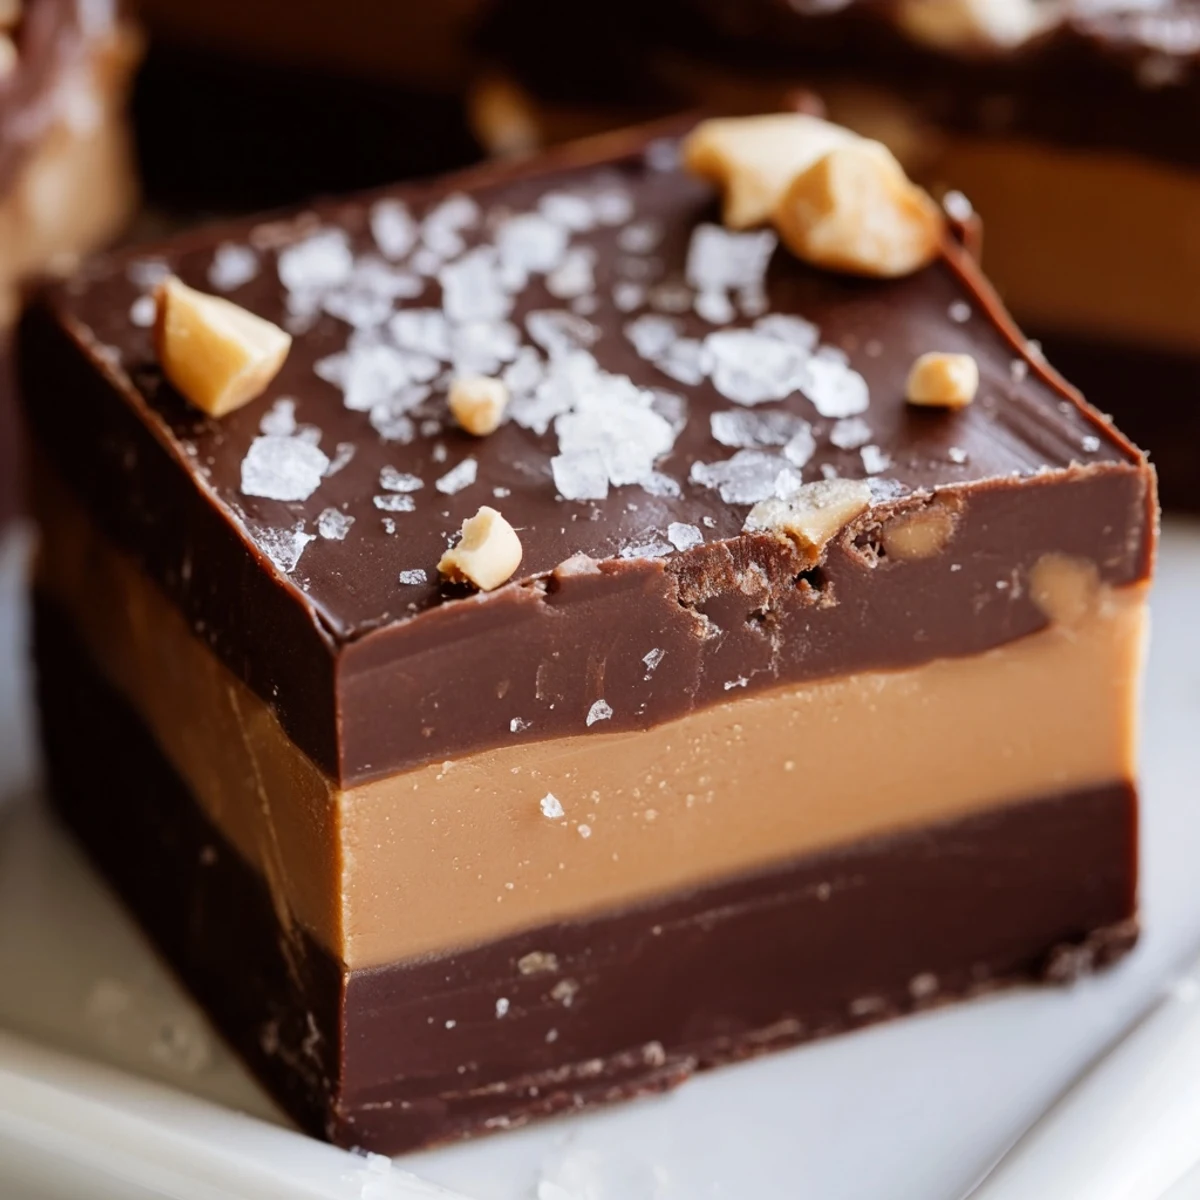
 This delightful confection combines the classic pairing of chocolate and peanut butter into a rich, creamy fudge. It’s an easy, no-bake preparation, perfect for a quick yet impressive dessert. You'll start by melting chocolate with condensed milk and butter for the base, reserving some for the top. A simple peanut butter mixture is then layered over the initial chocolate. The remaining chocolate crowns the creation, with an optional sprinkle of nuts and sea salt. After a couple of hours of chilling, this indulgent treat is ready to be sliced and enjoyed, yielding about 24 pieces. A truly satisfying sweet bite.
The scent of melting chocolate always takes me back to my grandmother&s kitchen, where something sweet was always bubbling on the stove. This chocolate peanut butter fudge, though, is a much more recent discovery for me, born out of a desperate craving for something utterly decadent one chilly autumn evening. I remember stirring the rich chocolate base, the aroma filling my small apartment, feeling a sense of anticipation building with every turn of the spatula. It felt like conjuring a little piece of pure comfort.
I recall bringing a batch of this fudge to a friend&s holiday potluck once, nestled carefully on a silver tray. The initial quiet around the dessert table quickly gave way to murmurs of delight, and within minutes, the plate was empty. Seeing everyone&s faces light up after a single bite made all the minimal effort absolutely worth it; it was a small moment of shared happiness.
Ingredients
- Semi-sweet chocolate chips: These are crucial for that rich, balanced chocolate flavor; going too dark can be overwhelming, and milk chocolate might be too sweet.
- Sweetened condensed milk: This isn&t just for sweetness, it&s the secret weapon for that incredibly smooth, creamy texture that makes the fudge melt in your mouth.
- Unsalted butter: Using unsalted allows you to control the salt content precisely, which is especially important when you&re adding flaky sea salt later.
- Creamy peanut butter: Opt for a good quality, creamy variety here – natural, unsweetened peanut butter can sometimes separate and make the texture less consistent.
- Powdered sugar: This ensures the peanut butter layer is silky smooth without any granular texture.
- Vanilla extract: A little splash of vanilla elevates both the chocolate and peanut butter flavors, tying them together beautifully.
- Roasted peanuts, chopped: These add a delightful crunch and intensify the nutty flavor, making each bite even more interesting.
- Flaky sea salt: This is non-negotiable for me; it cuts through the richness and brightens all the sweet notes.
Instructions
- Prepare your pan:
- Grab an 8-inch square baking pan and line it generously with parchment paper, leaving those edges hanging over so you can lift the whole glorious block out later. It&s a small step that saves so much trouble.
- Melt the chocolate dream:
- In a medium saucepan, gently combine your chocolate chips, that sweet condensed milk, and the quarter cup of butter over really low heat. Stir continuously, watching it transform into a glossy, smooth river of chocolate – don&t rush this part.
- Lay the first foundation:
- Pour about two-thirds of that gorgeous chocolate mixture into your prepared pan and spread it out evenly with a spatula. Resist the urge to lick the spoon just yet, we need that last bit for later.
- Whip up the peanut butter cloud:
- In another bowl, combine the peanut butter, powdered sugar, melted butter, and vanilla extract. Stir until it&s perfectly smooth and creamy, a truly irresistible spread.
- Layer on the nutty goodness:
- Carefully spoon and spread the peanut butter mixture over the chocolate layer in the pan. Take your time to get it as even as possible, it will firm up nicely.
- Crown with chocolate:
- Give your reserved chocolate mixture a quick stir or a very gentle reheat if it&s gotten too firm. Then, lovingly spread it over the peanut butter layer, creating a smooth, inviting top.
- Sprinkle with delight:
- If you&re feeling fancy, now&s the time to scatter those chopped peanuts and a generous pinch of flaky sea salt over the top. The salt is a game-changer, trust me.
- Patiently chill:
- Pop your pan into the refrigerator for at least two hours, or until it&s completely firm. This waiting game is the hardest part, but so worth it for perfect slices.
- Slice and savor:
- Once set, use the parchment paper overhang to lift the fudge from the pan, then slice it into neat squares. Now, finally, you can enjoy your delicious creation!
 Save to Pinterest
 This fudge has become a quiet staple in our home during movie nights. There&s something so comforting about having a plate of these rich squares on the coffee table while a favorite film plays, making the evening feel a little more special. It&s a simple pleasure, but those are often the best kind.
The Art of the Melt
Getting that initial chocolate base perfectly smooth is more of an art than a science, but easily mastered. It&s all about gentle heat; if you try to rush it, the chocolate can seize, becoming grainy and clumpy, which is heartbreaking to watch. I&ve learned that patience with a low flame and constant stirring is your best friend here, ensuring a silky foundation for your fudge.
Perfecting Your Layers
Spreading the layers evenly can sometimes feel like a challenge, especially with the sticky peanut butter. A little trick I&ve picked up is to warm your spatula slightly or spray it with a tiny bit of cooking spray before spreading. This helps the peanut butter glide over the chocolate without pulling it up, creating those distinct, beautiful layers you&re aiming for.
Serving and Storing Your Masterpiece
Once your fudge is beautifully set, cutting it into neat squares can be the final hurdle. I recommend using a sharp, warm knife, wiping the blade clean between each cut to ensure crisp edges. This fudge holds up remarkably well, making it a fantastic make-ahead dessert or edible gift.
- For the cleanest cuts, run your knife under hot water and wipe it dry before each slice.
- Store the fudge in an airtight container in the refrigerator to keep it fresh and firm for up to a week.
- Consider adding a sprinkle of toasted coconut flakes on top for an unexpected textural and flavor twist.
 Save to Pinterest
 This Chocolate Peanut Butter Fudge is truly a testament to simple ingredients creating something extraordinary. I hope you enjoy making and sharing this sweet indulgence as much as I do.
Your Recipe Questions
- → How long does this fudge need to chill before serving?
-
For the best texture and to ensure it's fully set, this fudge requires at least 2 hours of refrigeration. This allows both the chocolate and peanut butter layers to firm up properly for clean slicing.
- → Can I use different types of chocolate or peanut butter?
-
Yes, absolutely! While semi-sweet chocolate chips are recommended, you can experiment with milk chocolate or dark chocolate for varying richness. For the peanut butter layer, creamy is specified, but chunky peanut butter can add a delightful crunch.
- → How should I store leftover fudge?
-
To maintain its freshness and creamy texture, store the fudge in an airtight container in the refrigerator. It will keep well for up to one week. You can also freeze it for longer storage.
- → What if my chocolate mixture becomes too thick when reheating?
-
If the reserved chocolate mixture becomes too firm to spread, gently reheat it over very low heat or in a microwave in short bursts (10-15 seconds) until it becomes spreadable again. Be careful not to overheat it.
- → Can I make this dessert vegan?
-
Yes, a vegan version is entirely possible! Simply substitute dairy-free chocolate chips, vegan butter, and sweetened condensed coconut milk for the dairy ingredients. Always check product labels to ensure they meet your dietary needs.
- → What's the best way to cut the fudge cleanly?
-
For clean cuts, allow the fudge to chill completely. Use a sharp knife that has been run under hot water and wiped dry. Wipe the knife clean between each cut to prevent sticking and ensure neat squares.
