 Save to Pinterest
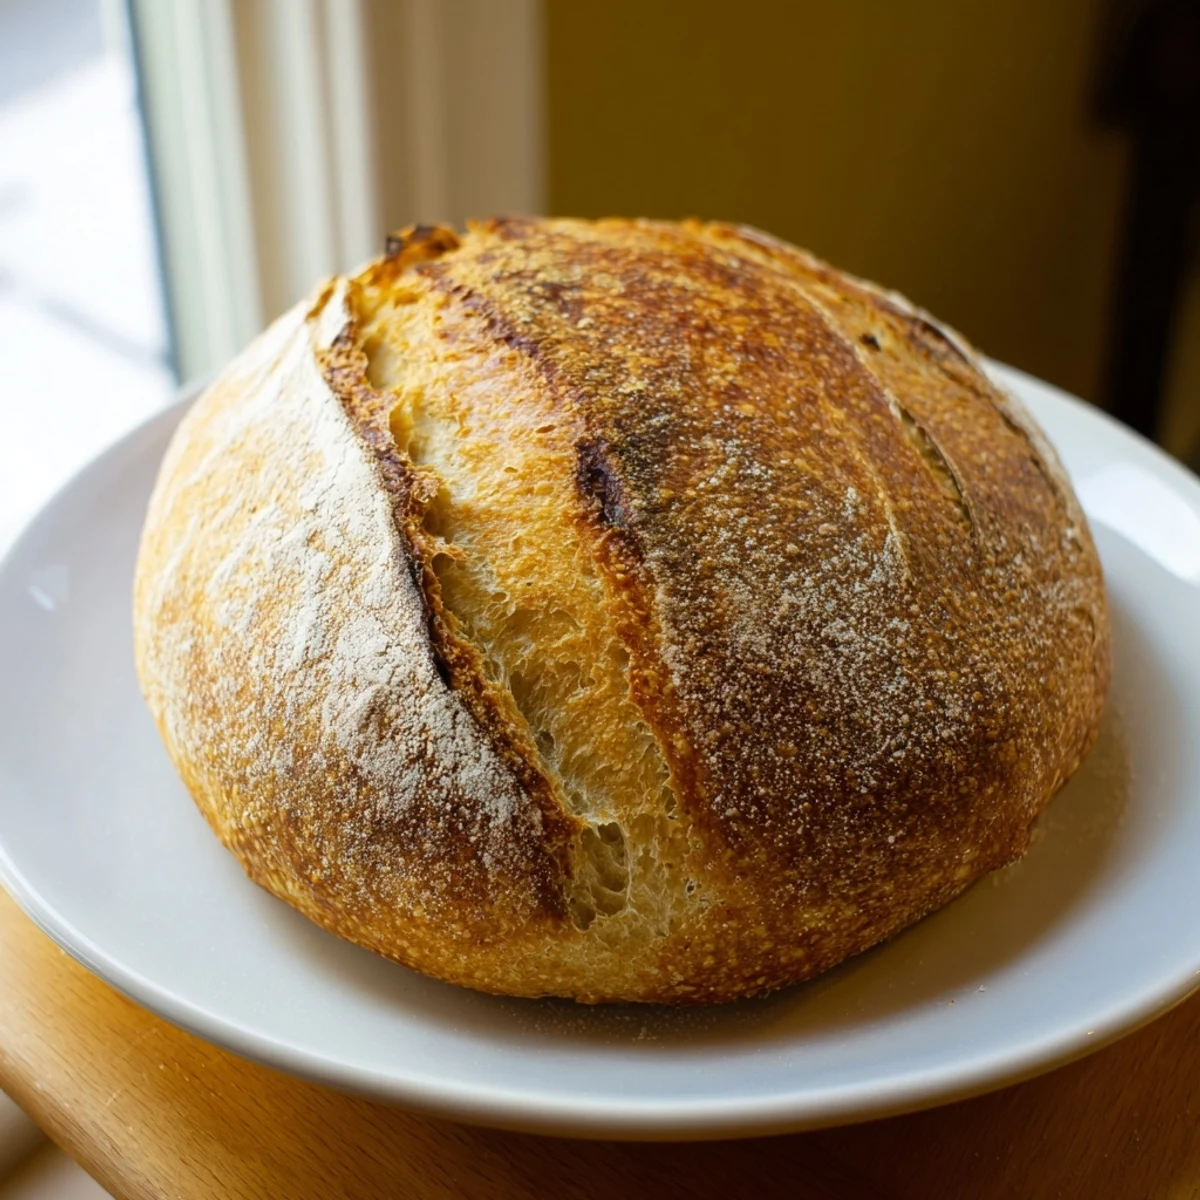
 This stovetop bread delivers homemade goodness without needing an oven. The dough comes together with just flour, yeast, water, and olive oil, kneaded until smooth and elastic. After rising, the round loaf cooks slowly in a covered skillet, developing a golden crust while staying tender inside. The entire process takes about 45 minutes of active time, plus an hour for rising.
Low and slow heat ensures even cooking without burning. You'll know it's done when the bread sounds hollow when tapped—just like traditional baked bread. Serve warm with butter or olive oil, perhaps with added herbs like rosemary or thyme for extra flavor.
My tiny apartment kitchen didnt have an oven for three years, and that constraint sparked a bread-making journey I never expected. One rainy Sunday, craving fresh carbs, I decided to attempt the impossible: bake bread on the stove. That first attempt came out dense and burned on one side, but something about the process felt magical.
Ive made this bread during power outages using a camping stove, on beach trips with a portable burner, and countless times just because I want that satisfaction of pulling apart warm, freshly baked bread without heating up the whole house. My neighbors used to follow the smell to my door, not believing I made it entirely on the stove.
Ingredients
- All-purpose flour (2 ½ cups): Bread flour works too, but AP flour gives you that perfect everyday texture for sandwiches and toast
- Instant dry yeast (1 ½ teaspoons): No need to proof it first, just mix it right in with the dry ingredients
- Sugar (1 teaspoon): Just enough to feed the yeast and help browning without making it taste sweet
- Salt (1 teaspoon): Essential for flavor and controlling the yeasts activity
- Olive oil (1 tablespoon plus extra): Keeps the dough tender and adds a subtle richness to the final crumb
- Warm water (1 cup): Think bathwater temperature, about 110°F, to activate the yeast without killing it
Instructions
- Mix the dough foundation:
- Combine your flour, yeast, sugar, and salt in a large bowl, whisking them together thoroughly so everything is evenly distributed.
- Bring it together:
- Pour in the warm water and olive oil, then stir with your wooden spoon until you get a shaggy, slightly sticky dough that holds together when you press it.
- Work the dough:
- Turn it out onto a floured surface and knead for 8 to 10 minutes, pushing and folding until the dough transforms from sticky and rough to smooth, elastic, and slightly tacky.
- Let it rise:
- Place your dough in an oiled bowl, cover it with a damp cloth, and tuck it somewhere warm for about an hour until its doubled in size.
- Shape your loaf:
- Punch down the risen dough gently and form it into a round, smooth ball, tucking the edges underneath to create surface tension.
- Prep your pan:
- Generously oil your heavy skillet or nonstick pan, then place the dough in the center and cover it tightly with the lid.
- First cook:
- Set your burner to the absolute lowest setting and cook covered for 15 minutes, peeking occasionally to make sure the bottom isnt getting too dark.
- Flip and finish:
- Carefully turn the bread over, cover again, and cook another 12 to 15 minutes until golden brown and hollow-sounding when you tap the crust.
- Cool completely:
- Let the bread rest on a wire rack for at least 15 minutes before slicing, or youll squash all those beautiful air pockets you just created.
 Save to Pinterest
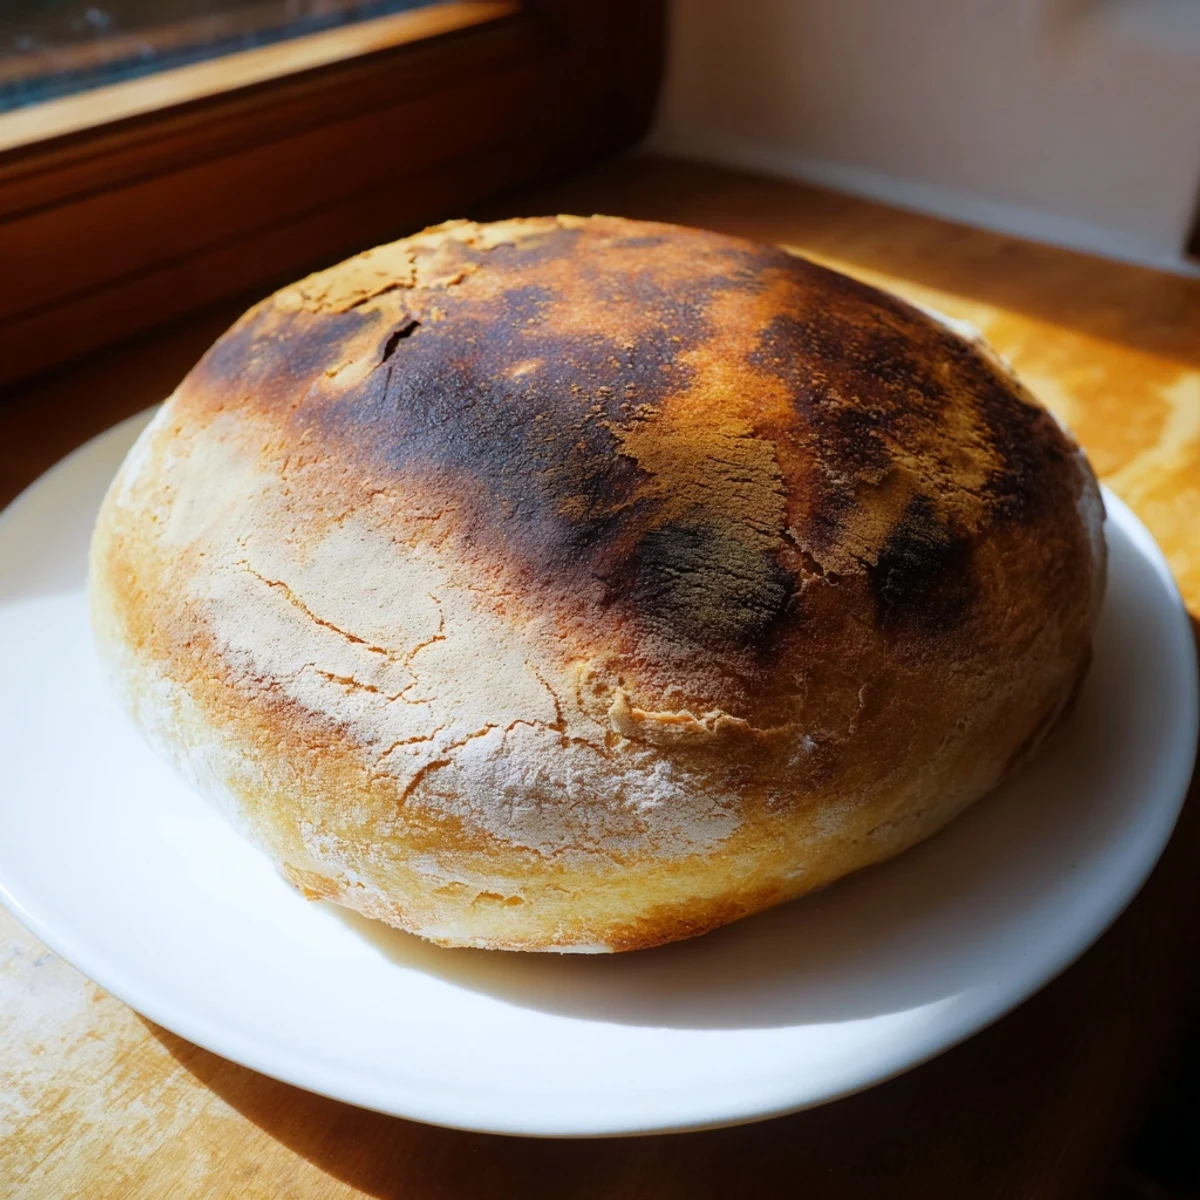
 This bread became my go-to housewarming gift for friends with limited kitchens, and theres something profound about serving people food you made with nothing but a single burner and determination. The first time my sister made it successfully after dozens of failed attempts with other recipes, she called me in tears because she finally felt like she could bake.
Getting the Heat Right
Every stove is different, and Ive learned that my lowest setting might still be too high for delicate bread baking. I keep an eye on the bottom during that first 15 minutes and adjust the heat as needed, sometimes even using a heat diffuser if I have one. The goal is gentle, steady heat that cooks the bread through without aggressive browning.
When to Flip
Timing the flip took me several attempts to master. You want enough structure that the bread holds together when you turn it, but not so cooked that the bottom is hard. I look for a golden color and slightly firm edges before I even attempt the flip, and I use two spatulas if the loaf feels fragile.
Customization Ideas
Sometimes I knead in fresh herbs, grated garlic, or even shredded cheese during that final minute of kneading. The variations are endless, and this basic dough is incredibly forgiving. A friend of mine adds crushed walnuts and rosemary for an upscale version that disappears instantly at parties.
- Try adding roasted garlic cloves to the dough for a savory dinner bread
- Mix in dried herbs like thyme or oregano for an Italian-inspired twist
- Brush the finished loaf with melted butter and garlic while its still warm
 Save to Pinterest
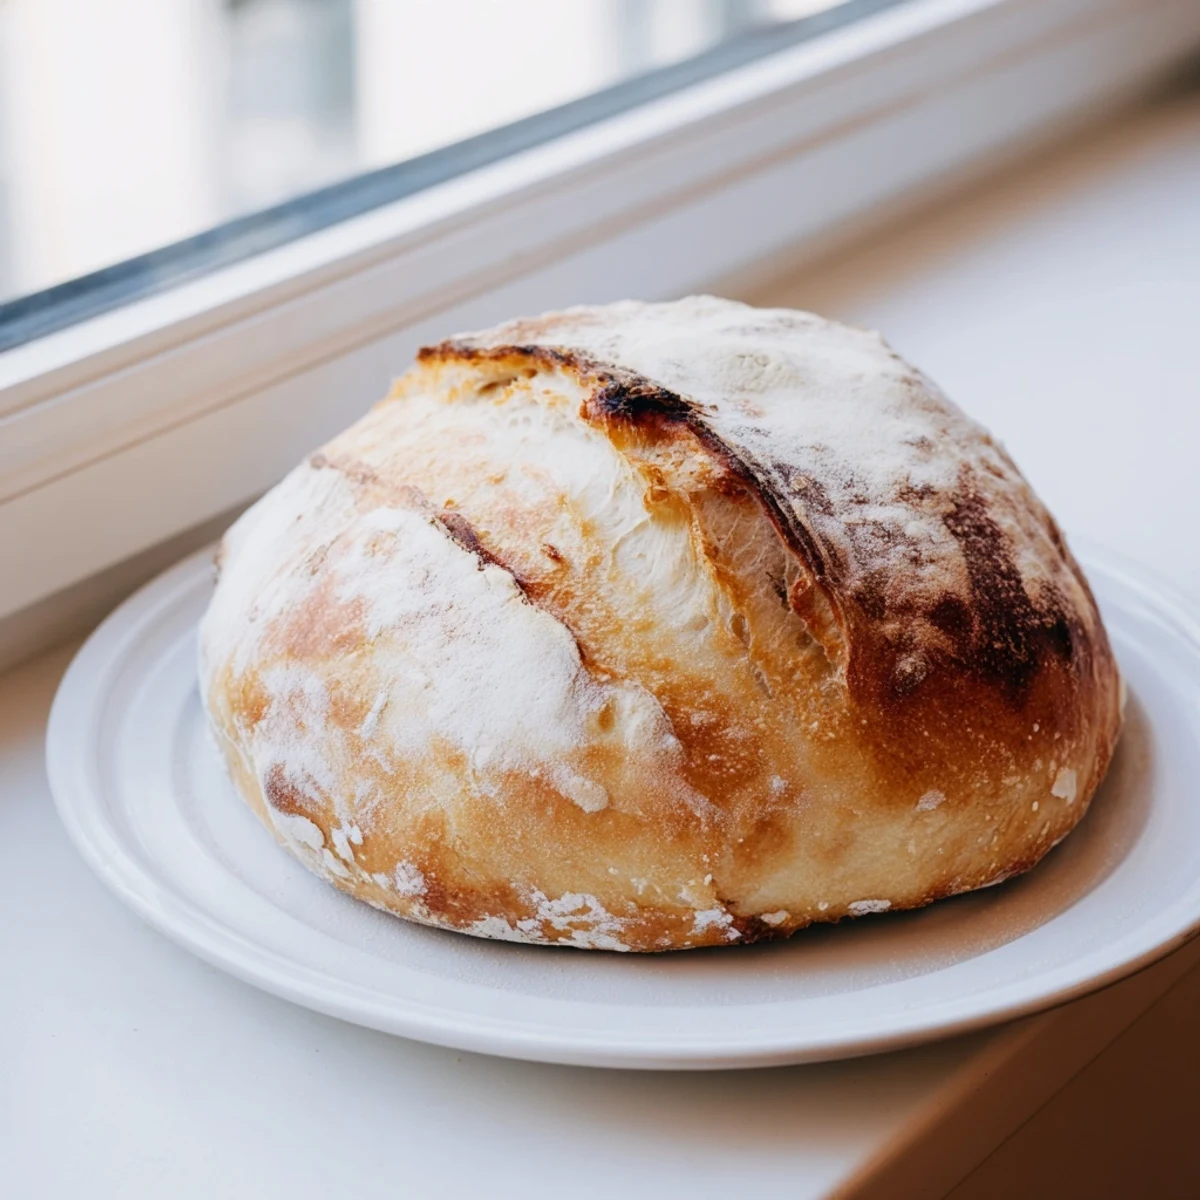
 Theres something incredibly satisfying about making bread without any special equipment, and I hope this recipe opens up a world of possibilities for you too.
Your Recipe Questions
- → Can I make this bread without a lid?
-
A tight-fitting lid is essential for trapping heat and steam, which helps the bread cook through evenly. Without it, the bread may not bake properly and could remain raw inside. If you don't have a lid, try using a baking sheet or another pan that fits snugly over your skillet.
- → Why does the bread need to cook on the lowest heat?
-
Low heat prevents the bottom from burning while allowing the interior to cook completely. The trapped steam from covering the pan creates an oven-like environment. Cooking too quickly will result in a burnt exterior and doughy center.
- → Can I add other ingredients like cheese or garlic?
-
Absolutely! You can knead in shredded cheese, minced garlic, or dried herbs during the initial mixing. Just keep additions to about ½ cup total to maintain proper dough consistency. These additions should be incorporated before the first rise.
- → How do I know when the bread is fully cooked?
-
The bread is done when both sides are golden brown and it sounds hollow when tapped on the top or bottom. You can also insert a skewer into the center—if it comes out clean, the bread is ready. Let it cool for at least 15 minutes before slicing.
- → Can I freeze this bread?
-
Yes, once completely cooled, wrap the bread tightly in plastic wrap and foil, then freeze for up to 3 months. Thaw at room temperature, then refresh in a warm skillet for a few minutes to restore the crust.
