 Save to Pinterest
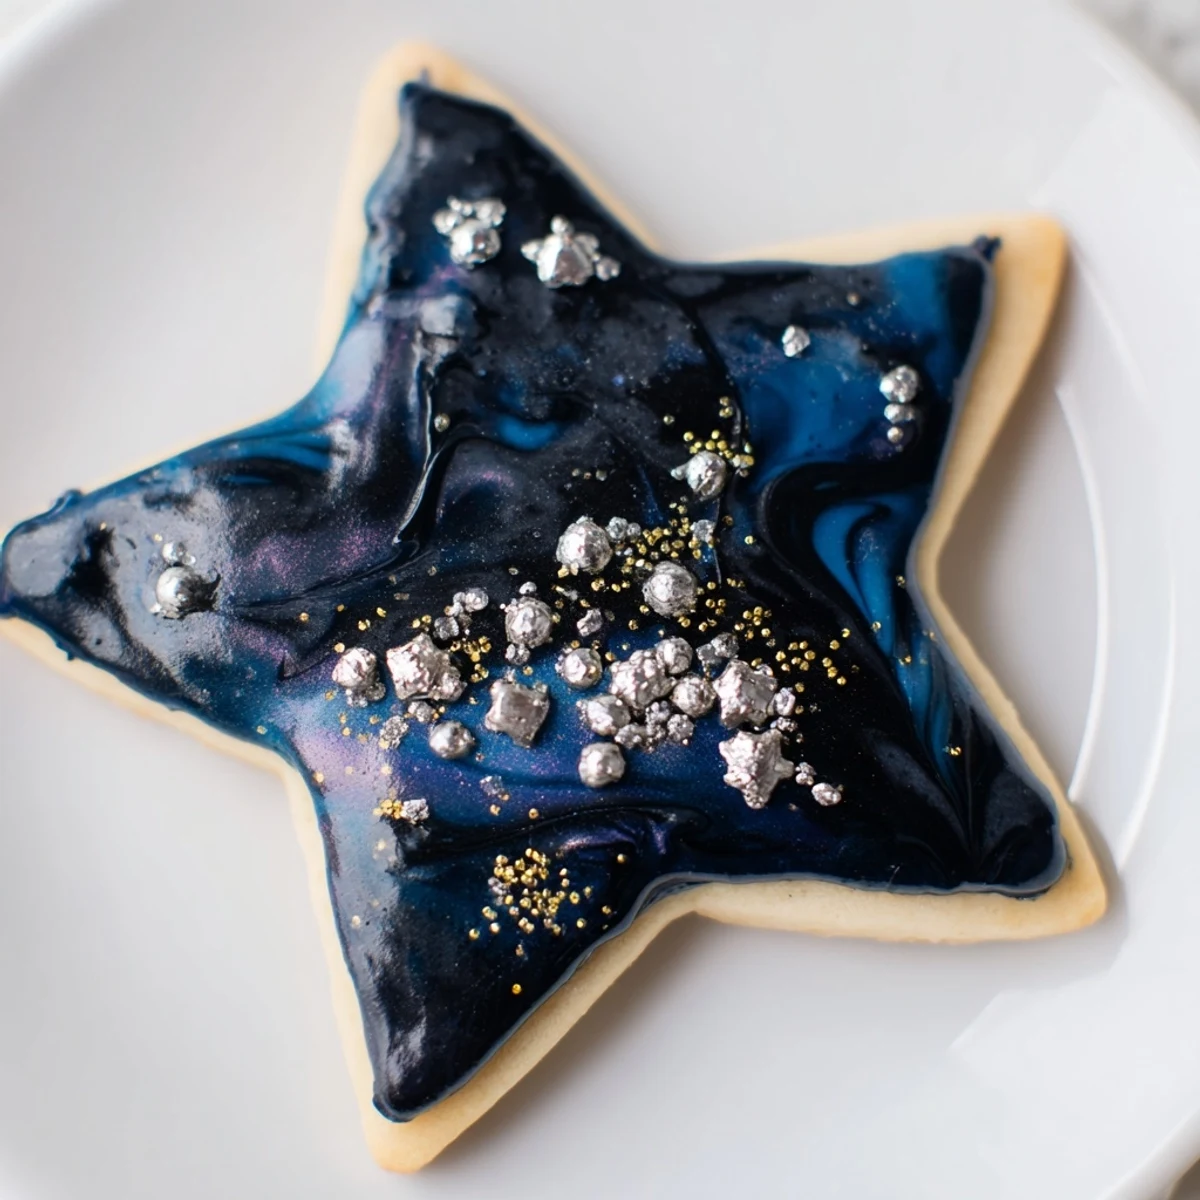
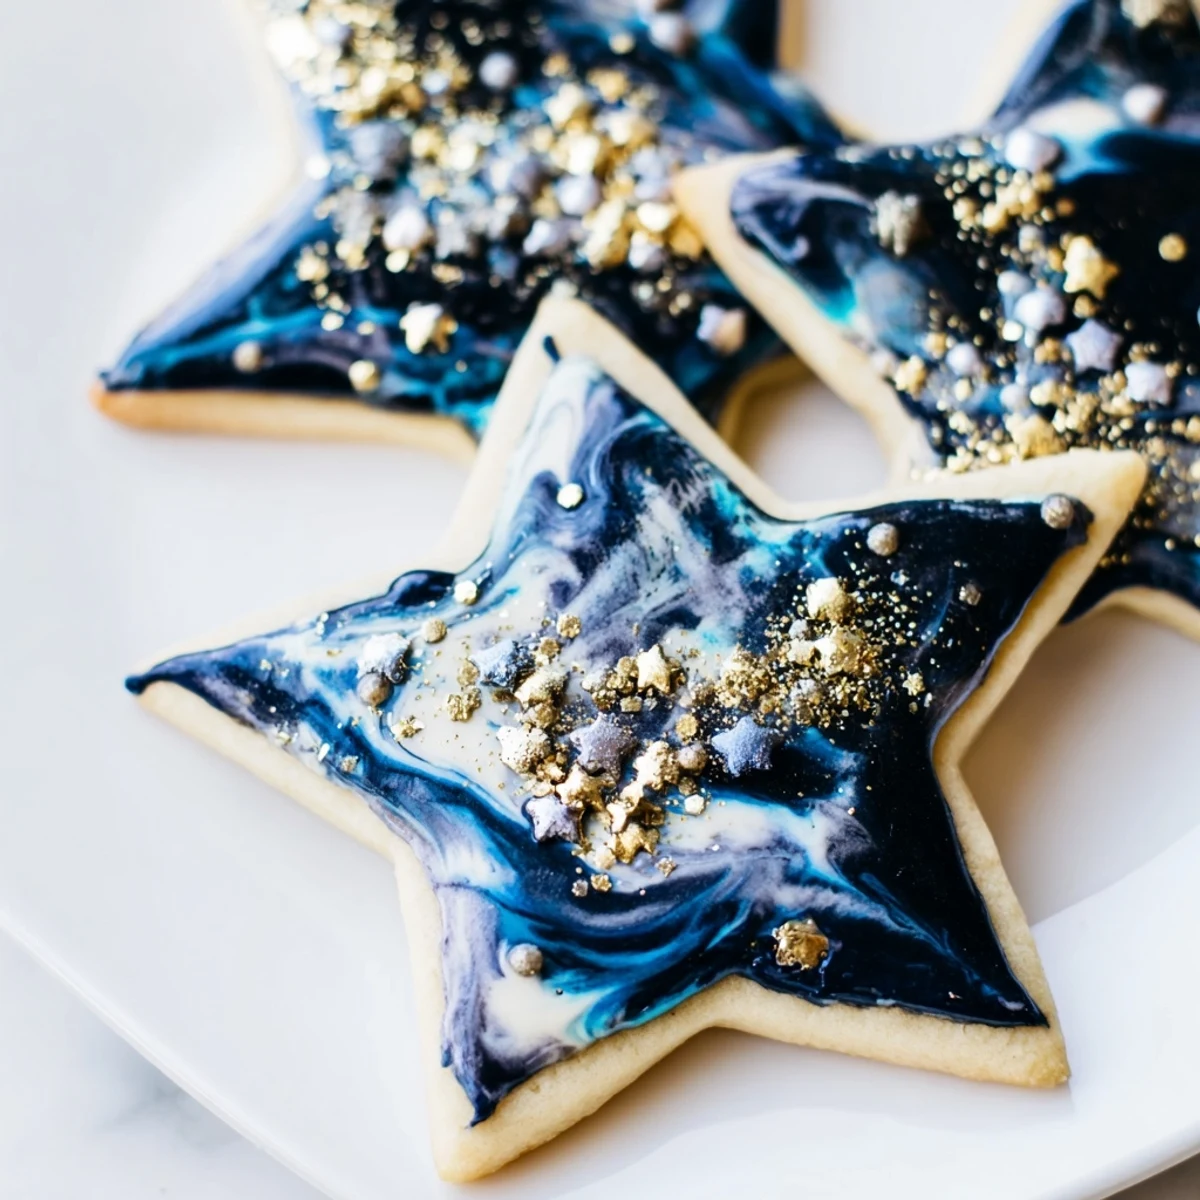
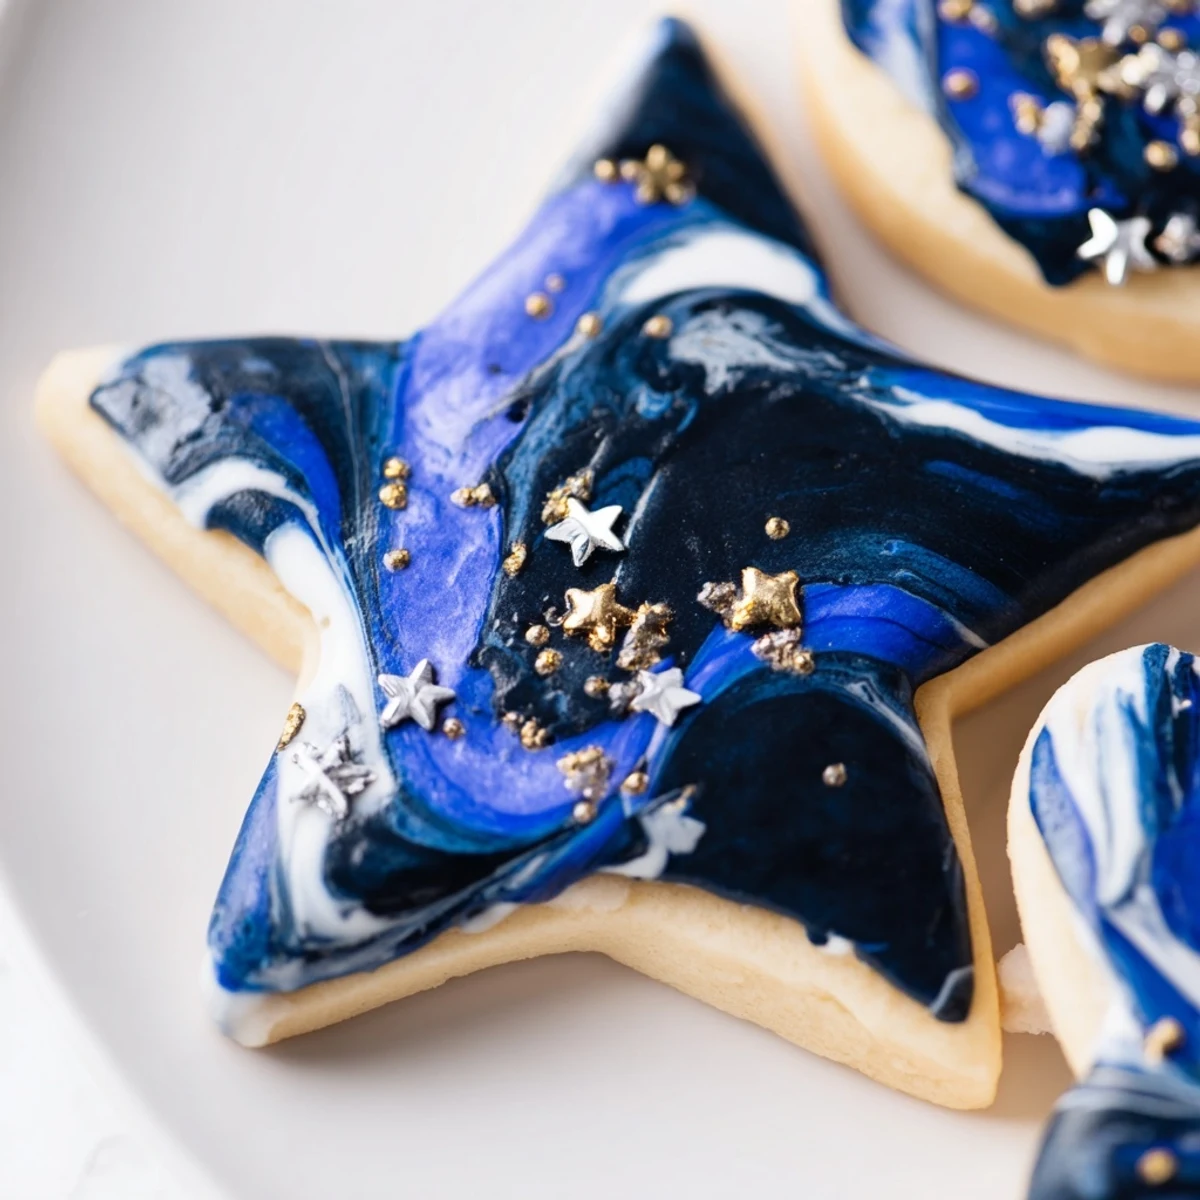
 These enchanting vanilla sugar cookies feature a mesmerizing night sky effect achieved through marbled royal icing in deep blue and black tones. The cookie base is tender and buttery, perfectly complementing the sweet, glossy icing that creates unique swirl patterns on each treat. Edible gold and silver stars add a magical shimmer that makes these cookies ideal for birthday parties, holiday gatherings, or any celestial-themed celebration. The marbling technique ensures every cookie has its own distinct galaxy-like appearance.
The first time I made these cosmic cookies was for a meteor shower party that ended up being rained out. We stayed inside anyway, eating starry sweets and watching old space documentaries instead. Something about those deep blue swirls dotted with edible stars made even a cloudy night feel magical.
My niece helped decorate the first batch and accidentally created this gorgeous galaxy effect by dragging a toothpick through the colors. Now I pretend that was my plan all along.
Ingredients
- All-purpose flour: The backbone of tender cookies that hold their shape through rolling and cutting
- Baking powder: Just enough to give these cookies a subtle lift without making them cakey
- Salt: Essential for balancing all that sugar and letting vanilla shine through
- Unsalted butter: Room temperature is nonnegotiable here for proper creaming with the sugar
- Granulated sugar: Creates crisp edges while keeping centers tender and melt-in-your-mouth
- Egg: Binds everything together while adding structure and richness
- Pure vanilla extract: The warm floral backbone that makes these taste like comfort
- Powdered sugar: Sifting first prevents lumps that would mar your smooth icing finish
- Milk: Start with less than you think you need for the perfect pourable consistency
- Light corn syrup: The secret ingredient that makes icing set beautifully with a glossy sheen
- Gel food coloring: Concentrated formula means you get deep space colors without thinning the icing
- Edible star sprinkles: Available at baking supply stores or online, these transform simple cookies into something enchanted
Instructions
- Whisk your dry foundation:
- Combine flour, baking powder, and salt in a medium bowl, then set it aside while you work on the wet ingredients.
- Cream butter and sugar:
- Beat them together until the mixture turns pale and fluffy, about 2 to 3 minutes of patient mixing.
- Add egg and vanilla:
- Mix until everything is incorporated and the batter looks smooth and glossy.
- Blend in the flour:
- Gradually add those dry ingredients, mixing just until you no longer see streaks of white flour.
- Chill the dough:
- Divide in half, shape into flat discs, wrap tight, and refrigerate for at least 30 minutes.
- Prep your oven:
- Heat it to 350 degrees F and line your baking sheets with parchment paper.
- Roll and cut:
- Working with one disc at a time, roll to 1/4 inch thickness and cut into stars or rounds.
- Arrange and bake:
- Place cookies 1 inch apart on prepared sheets and bake for 9 to 11 minutes until edges are barely golden.
- Cool completely:
- Let them rest on the baking sheet for 5 minutes before moving to a wire rack to finish cooling.
- Make the icing base:
- Whisk powdered sugar, 2 tablespoons milk, corn syrup, and vanilla until perfectly smooth.
- Create the galaxy effect:
- Divide icing between two bowls and tint one deep blue, the other black.
- Swirl and decorate:
- Gently marble the two colors in a shallow dish, dip each cookie face down, then immediately scatter with edible stars before the icing sets.
 Save to Pinterest
 These became my go-to contribution for winter solstice parties after everyone kept asking for the recipe. Something about edible stars feels like bringing a bit of wonder to the table.
Getting That Perfect Marble
The trick is barely swirling your colors together. Overmixing turns your galaxy into muddy gray, but undermixing leaves distinct patches that look like you messed up. I found that running a toothpick through just two or three gentle S curves creates the most realistic night sky effect.
Cookie Shape Strategy
Star cutters are gorgeous here, but simple rounds let the marble effect really take center stage. The first time I made these, I used both shapes and discovered that stars can be tricky to dip without getting icing in all the wrong crevices.
Make Ahead Magic
The dough actually improves after a day in the refrigerator, developing deeper flavor and rolling out like a dream. I often make the dough on Sunday and bake on Tuesday when the mood strikes.
- Freeze undecorated baked cookies between layers of parchment for up to two months
- Thaw frozen cookies completely before icing or the condensation will ruin your finish
- Fresh sprinkles lose their shimmer over time, so add them right before serving
 Save to Pinterest
 There is something deeply satisfying about serving food that makes people pause and smile before they even take a bite. These cookies turn ordinary moments into little celebrations.
Your Recipe Questions
- → How do I achieve the perfect marbled effect?
-
Gently swirl the blue and black icing together in a shallow dish using a toothpick or skewer. Don't overmix - you want distinct ribbons of color. Dip each cookie face-down and lift quickly to preserve the marble pattern.
- → Can I make these cookies ahead of time?
-
Yes! The dough freezes beautifully for up to 2 months. Bake and freeze undecorated cookies, then thaw and ice when ready. Fully decorated cookies can be stored in an airtight container for 3-5 days.
- → What if I don't have gel food coloring?
-
Liquid food coloring works but may alter the icing consistency. Start with less milk to compensate for the added liquid. Gel coloring provides more vibrant, concentrated color with less impact on texture.
- → Why is chilling the dough important?
-
Chilling prevents the cookies from spreading too much in the oven, maintaining their shape and thickness. Cold dough also rolls out more evenly without sticking, giving you clean edges and uniform baking.
- → How should I store these decorated cookies?
-
Once the icing has completely set (about 2-4 hours), store in single layers between parchment paper in an airtight container. Keep at room temperature away from humidity and direct sunlight to preserve the shimmer.
- → Can I use different shapes?
-
Absolutely! While stars enhance the celestial theme, rounds, moons, or custom shapes work beautifully. The marbling effect looks stunning on any shape that provides enough surface area for the pattern to show.
