 Save to Pinterest
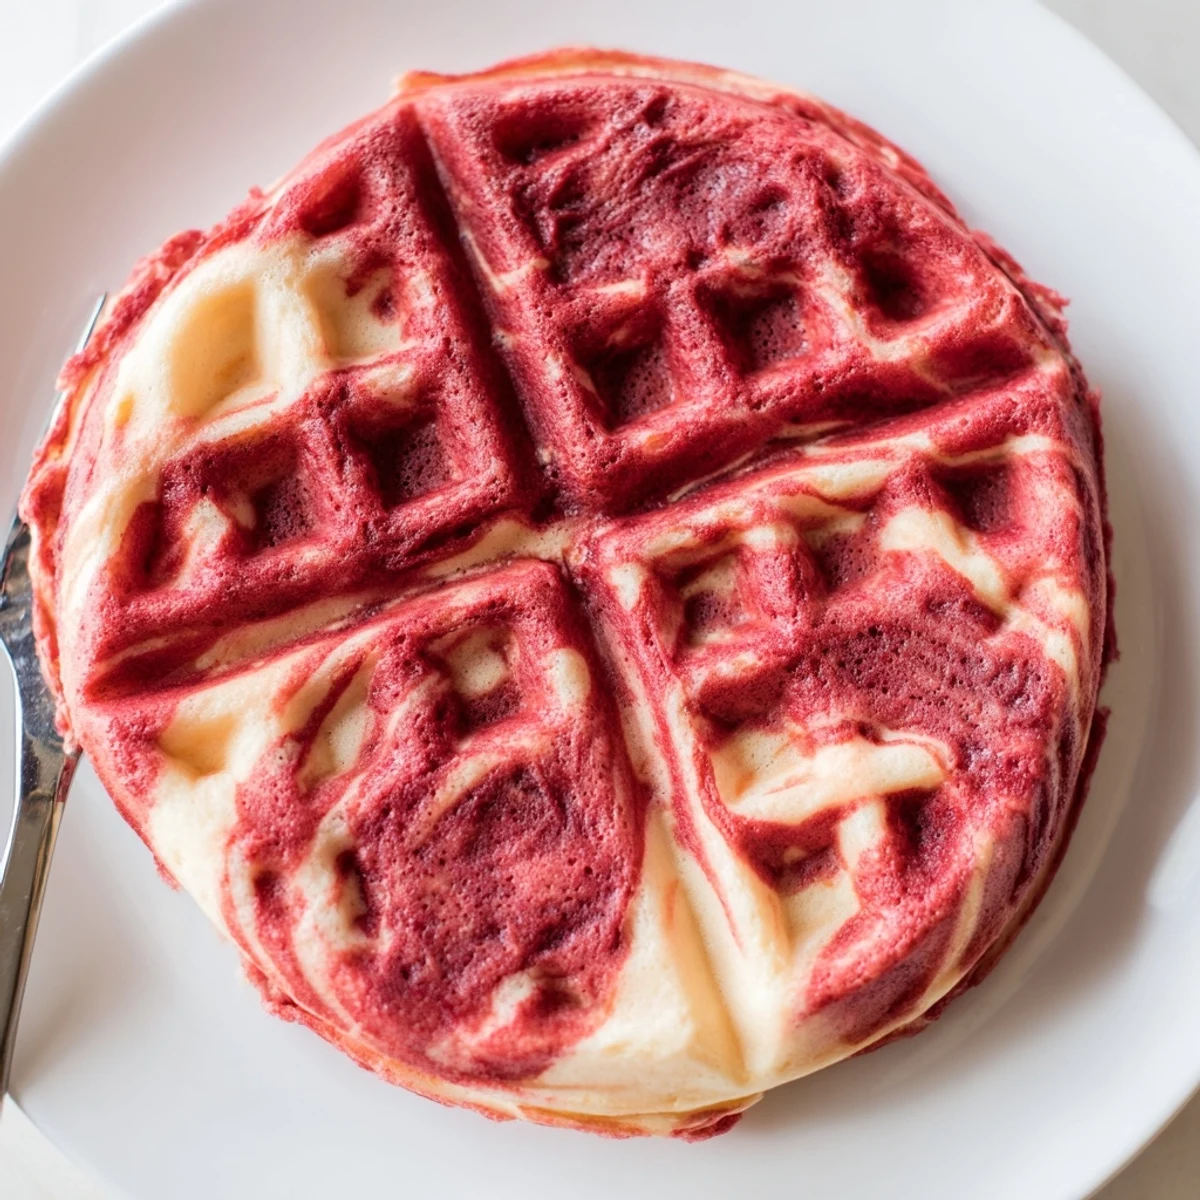
 These striking red velvet marble waffles combine rich cocoa-infused batter with classic vanilla for a stunning presentation. The marbling technique creates beautiful swirls while delivering the best of both flavors - chocolatey depth and sweet creaminess. Ready in just 30 minutes, they're ideal for impressing guests at weekend brunch or treating yourself to something special on weekday mornings.
The kitchen was still dark when I decided red velvet needed to happen at 7 AM on a Tuesday. I'd seen marble cakes before, but swirling chocolate and vanilla into waffle batter felt like discovering a secret language between breakfast and dessert. My roommate stumbled in, rubbing her eyes, and asked why I was measuring food coloring before coffee. By the time the first batch hissed against the iron, the whole apartment smelled like chocolate and possibility.
My sister's wedding brunch was creeping up and I'd promised something memorable but manageable. I tested these on three different weekends, adjusting the cocoa and food coloring ratios until the contrast looked right. When her friends started asking for the recipe instead of the mimosas, I knew I'd found the one.
Ingredients
- 2 cups all-purpose flour: The foundation that holds everything together without making the waffles too dense
- 2 tbsp granulated sugar: Just enough sweetness to balance the tangy buttermilk without overshadowing the cocoa
- 2 tsp baking powder: This is what gives you those gorgeous pockets and crisp edges
- 1/2 tsp baking soda: Works with the buttermilk for that characteristic red velvet lift
- 1/4 tsp salt: Don't skip this, it makes the chocolate flavor actually taste like chocolate
- 1 3/4 cups buttermilk, room temperature: The secret ingredient that gives red velvet its signature tang and tender crumb
- 2 large eggs: Room temperature eggs blend better and help the batter achieve the right consistency
- 4 tbsp unsalted butter, melted and slightly cooled: Adds richness and helps create that crisp exterior we all want
- 1 tsp vanilla extract: Pure vanilla makes a noticeable difference here since it's one of the main flavors
- 2 tbsp unsweetened cocoa powder: Dutched cocoa gives a deeper color and milder chocolate flavor
- 1 tbsp red food coloring: Gel coloring gives a more vibrant red without thinning the batter
Instructions
- Mix the dry foundation:
- Whisk flour, sugar, baking powder, baking soda, and salt in a large bowl until everything's evenly distributed. Take your time here, good mixing now means tender waffles later.
- Combine the wet ingredients:
- In a separate bowl, whisk buttermilk, eggs, melted butter, and vanilla until the mixture looks smooth and slightly frothy. Make sure your butter isn't hot enough to cook the eggs.
- Bring them together gently:
- Pour the wet mixture into the dry ingredients and fold with a spatula or wooden spoon just until the flour disappears. Some small lumps are totally fine, overmixing makes tough waffles.
- Create your two batters:
- Split the batter evenly between two bowls. Stir the cocoa powder and red food coloring into one bowl until it's a deep, uniform red. Leave the other bowl as is for your vanilla contrast.
- Get your iron ready:
- Preheat your waffle iron and give it a quick coating of oil or nonstick spray. A properly heated iron makes all the difference between crispy and soggy.
- The marble magic:
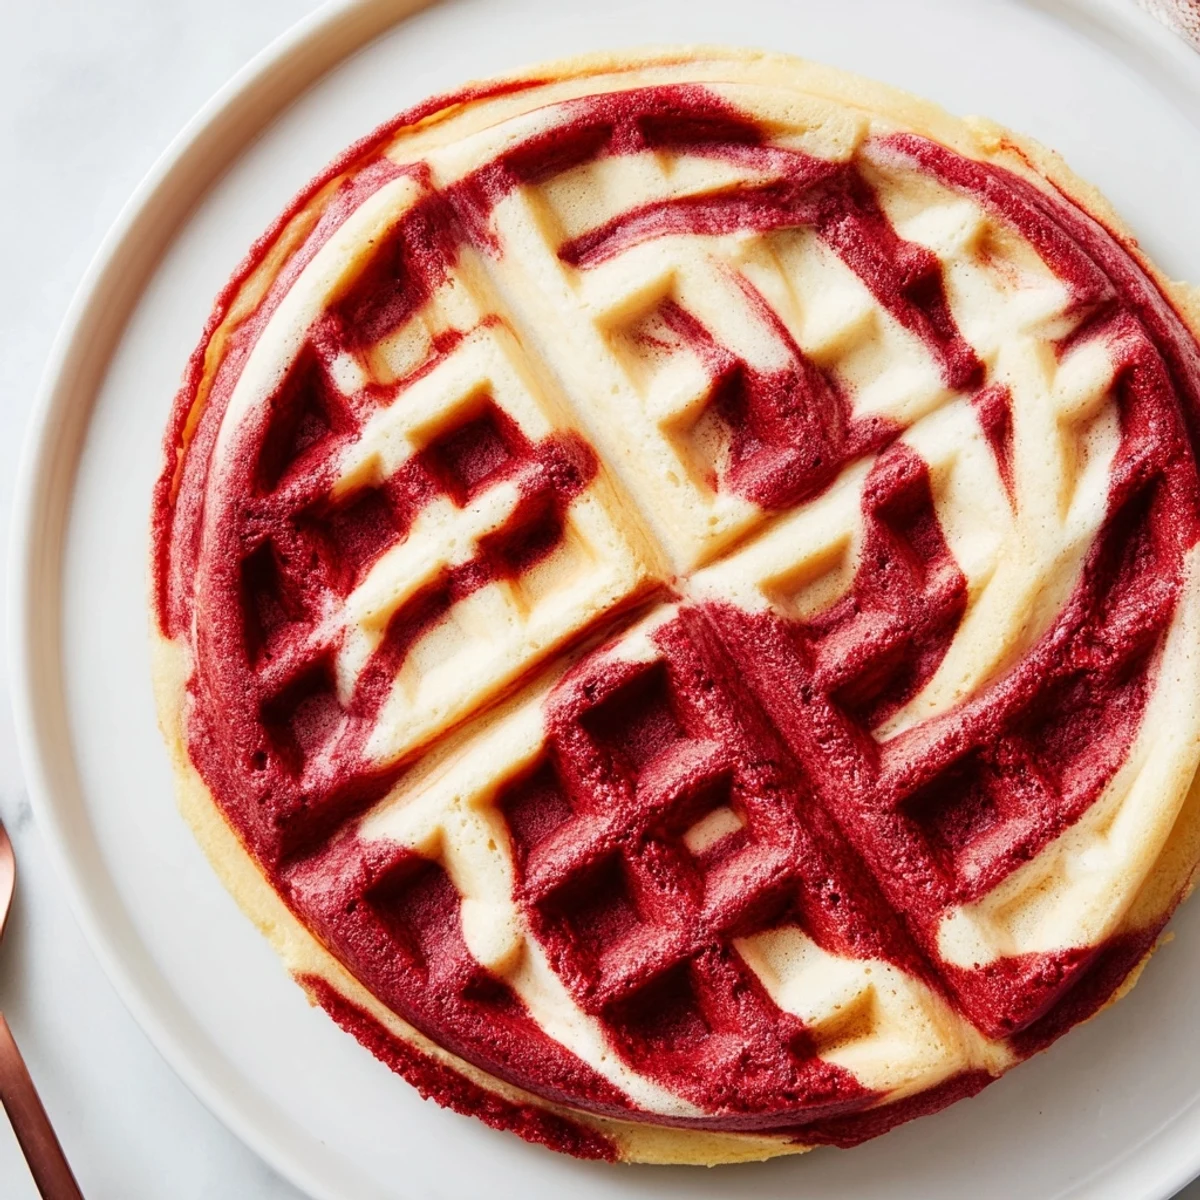
- Drop alternating spoonfuls of red and vanilla batter onto the center of the iron. Run a chopstick or butter knife through once or twice, don't overdo it or you'll lose the swirl effect.
- Wait for perfection:
- Close the lid and cook for 3 to 5 minutes until golden brown and crisp to the touch. Trust your nose more than the timer, when it smells like baked chocolate, they're probably done.
- Serve them up:
- Cream cheese glaze, maple syrup, or fresh berries all work beautifully here. These deserve to be eaten while they're still steaming hot.
 Save to Pinterest
 My niece stared at the marbled pattern on her plate for a full minute before taking her first bite. Then she looked up with red velvet crumbs on her chin and asked if we could have these for every single sleepover. Some requests you just can't refuse.
Mastering the Marble
The key is restraint when swirling your batters together. One gentle pass through the dollops creates those beautiful veins without turning the whole thing pink. I learned the hard way that enthusiastic swirling results in mud colored waffles that still taste great but lose their visual magic.
Keeping Them Crisp
If you're making these for a crowd, set your oven to 200°F and place cooked waffles directly on the wire rack. This keeps them crispy and warm without getting soggy the way stacking them does. I discovered this trick during Christmas morning chaos and haven't looked back.
Cream Cheese Glaze Mastery
Whisk room temperature cream cheese until smooth before adding powdered sugar and milk. This prevents those stubborn lumps that never quite dissolve no matter how long you stir. A splash of vanilla extract in the glaze ties everything together beautifully.
- Thin the glaze with milk one tablespoon at a time until it reaches your desired consistency
- Apply the glaze while waffles are still warm so it melts into all those crispy crevices
- Leftover glaze keeps in the fridge for up to a week if you somehow have any leftover
 Save to Pinterest
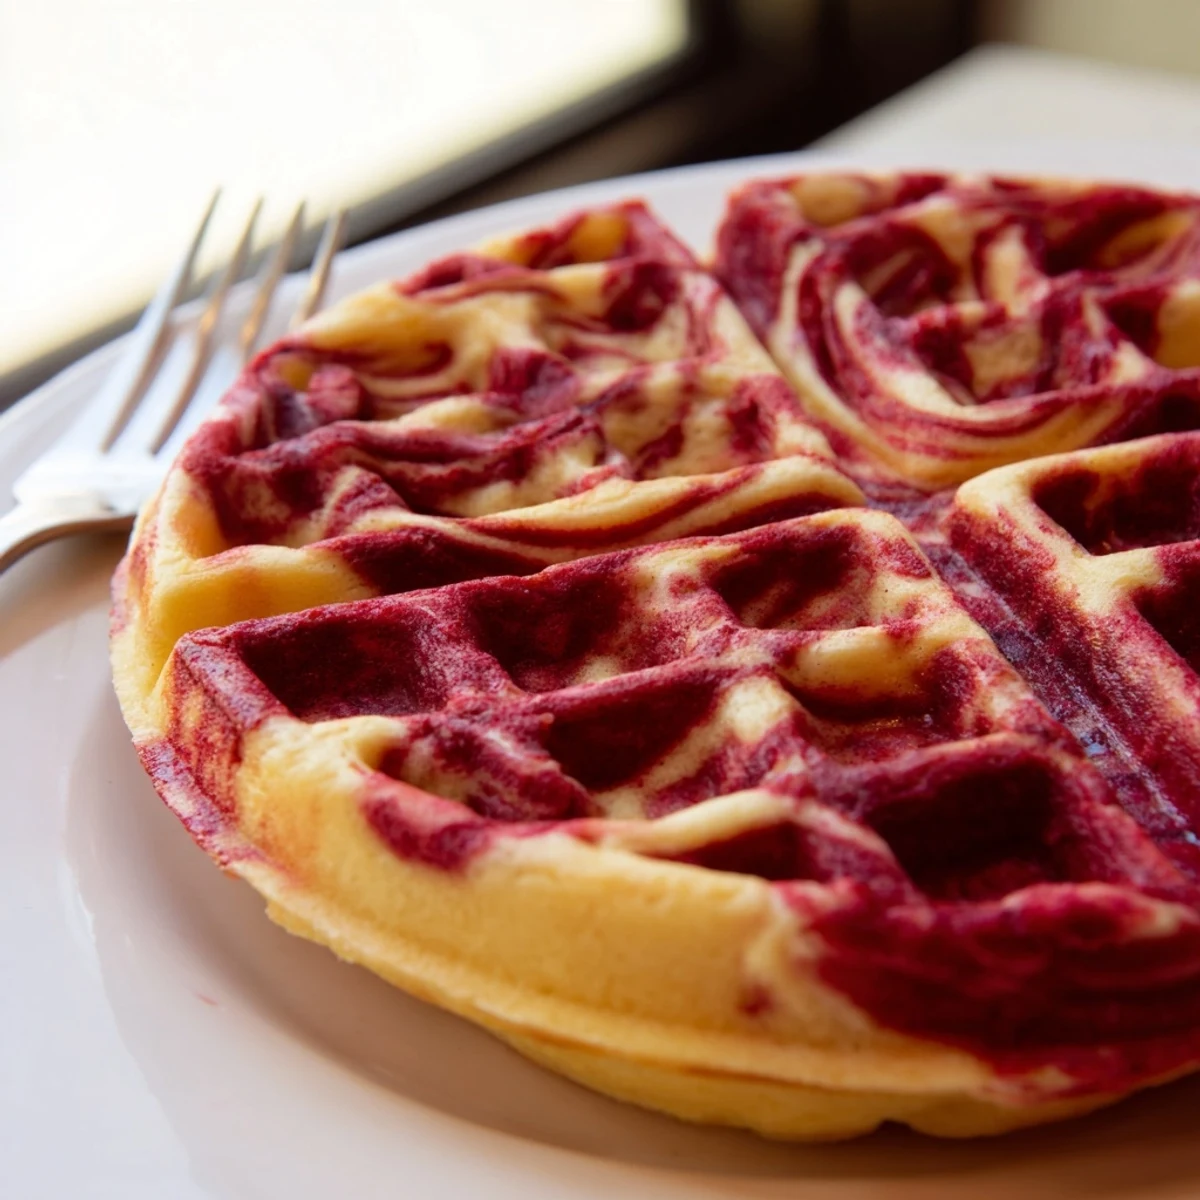
 There's something deeply satisfying about cutting into a waffle that looks like a work of art but comes together in less than 30 minutes. Hope these make your mornings a little more colorful.
Your Recipe Questions
- → How do I achieve the perfect marble effect?
-
Alternate spoonfuls of red velvet and vanilla batters onto your waffle iron, then gently swirl with a chopstick or butter knife once. Avoid over-swirling, which can muddy the distinct patterns and blend the flavors too much.
- → Can I make the batter ahead of time?
-
Prepare both batters and store separately in airtight containers in the refrigerator for up to 12 hours. The leavening agents work best when the batter cooks fresh, but overnight resting can actually develop more tender waffles.
- → What toppings work best with these waffles?
-
Cream cheese glaze complements the tangy buttermilk and cocoa notes beautifully. Fresh strawberries, raspberries, or whipped cream enhance the presentation. Maple syrup adds classic sweetness without overpowering the delicate marble flavors.
- → Why use buttermilk in the batter?
-
Buttermilk's acidity activates the baking soda for extra lift, creating lighter, fluffier interiors. Its tangy flavor balances the sweetness and enhances the red velvet's characteristic depth, making these waffles exceptionally tender.
- → Can I use natural food coloring instead?
-
Beet juice or pomegranate juice can provide red coloring, though results may be more subtle than gel or liquid food dye. Start with 1 tablespoon and adjust until you achieve your desired vibrant red hue.
- → How do I store leftover waffles?
-
Cool completely on a wire rack, then freeze in a single layer before transferring to freezer bags. Reheat in a toaster or 350°F oven for 5 minutes to restore crispiness. They'll keep well for up to 3 months.
