 Save to Pinterest
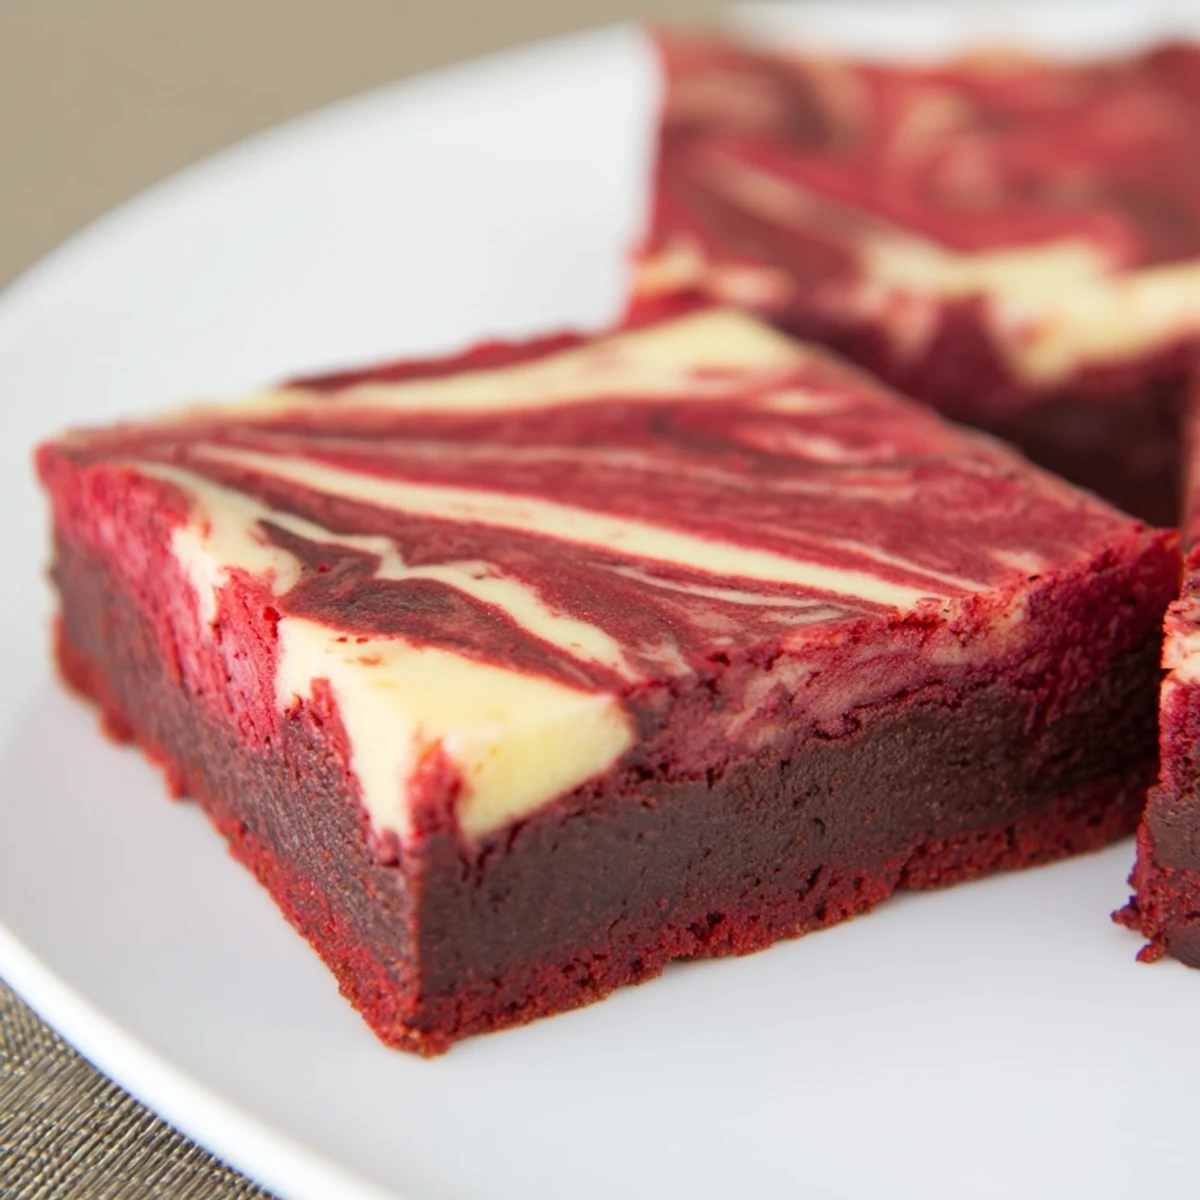
 These indulgent red velvet brownies offer a fudgy texture infused with a vibrant cocoa flavor and topped with a creamy, tangy cheesecake swirl. The marbled effect creates a stunning presentation while blending smooth cream cheese with rich chocolate layers. Perfectly balanced, they bake to just set centers ensuring moist, tender bites ideal for sharing. Preparation is straightforward, and they keep well refrigerated for several days, making them an elegant treat for gatherings or personal enjoyment.
I stood in my kitchen at midnight, kitchen timer beeping somewhere in the background, completely mesmerized by the swirl pattern I was creating. These brownies were born from a serious craving for something dramatic and chocolatey, and the marbling turned out better than I had imagined. The contrast between deep red and creamy white makes them feel like a celebration, even on a random Tuesday.
My sister called me while these were baking, and I spent the entire conversation peeking through the oven door like a worried parent. When they finally came out, the smell of warm chocolate and vanilla filled the whole apartment. I brought a batch to work the next day, and three people asked for the recipe before lunch even rolled around.
Ingredients
- Unsalted butter: Melting it first creates that dense fudgy texture that makes these brownies so irresistible
- Granulated sugar: This amount provides the perfect sweetness level to balance the tangy cheesecake layer
- Large eggs: Room temperature eggs blend more smoothly into the batter for consistent texture
- Vanilla extract: Do not skimp here because vanilla bridges the gap between chocolate and cheesecake flavors
- Red food coloring: Gel coloring gives the most vibrant red hue without adding extra liquid to the batter
- All purpose flour: Measure carefully because too much flour will make these cakey instead of fudgy
- Unsweetened cocoa powder: This provides the chocolate foundation without overpowering the delicate red velvet flavor
- Salt: Even a small amount wakes up all the other flavors and prevents them from tasting flat
- Cream cheese: Make sure it is completely softened to avoid lumps in your swirl layer
- Egg yolk: Using just the yolk in the cheesecake layer adds richness without making it too loose
Instructions
- Prepare your baking space:
- Preheat oven to 175°C and line your pan with parchment paper, letting the edges hang over like handles
- Make the red velvet base:
- Whisk melted butter and sugar until completely smooth, then add eggs, vanilla, and food coloring
- Add the dry ingredients:
- Sift in flour, cocoa, and salt, then fold gently until just combined and no dry streaks remain
- Reserve some batter:
- Set aside about ¼ cup of the brownie batter for the marbling step later
- Spread the base layer:
- Pour the remaining batter into your prepared pan and spread it evenly into all corners
- Prepare the cheesecake swirl:
- Beat softened cream cheese until smooth, then add sugar, egg yolk, and vanilla until creamy
- Create the marbling effect:
- Drop spoonfuls of cheesecake mixture over the brownie batter, then dollop reserved brownie batter on top
- Swirl everything together:
- Run a knife or skewer through the layers gently, swirling just enough to create a marble pattern
- Bake to perfection:
- Bake for 32 to 35 minutes until the center is set and a toothpick comes out with just a few moist crumbs
- Cool completely before slicing:
- Let cool in the pan, then lift out using parchment and cut into neat squares
 Save to Pinterest
 These became my go to dessert for dinner parties because they look impressive but are actually quite simple to make. Something about that red and white swirl makes people feel special before they even take a bite.
Getting the Right Texture
I have learned that pulling these out when a toothpick still has moist crumbs is the secret to perfectly fudgy brownies. If you wait until the toothpick comes out completely clean, they will be cakey rather than dense and rich.
Swirling Techniques
The first time I made these, I went too aggressive with the knife and ended up with muddy brown batter instead of distinct swirls. Now I make just three or four gentle figure eights and let the oven do the rest of the work.
Make Ahead Storage
These actually taste better the next day after the flavors have had time to meld and the texture has set completely. I often bake them the evening before I need them.
- Keep them refrigerated because the cheesecake layer needs to stay cold
- Bring slices to room temperature for about 15 minutes before serving
- The parchment paper handles make lifting the whole batch out incredibly easy
 Save to Pinterest
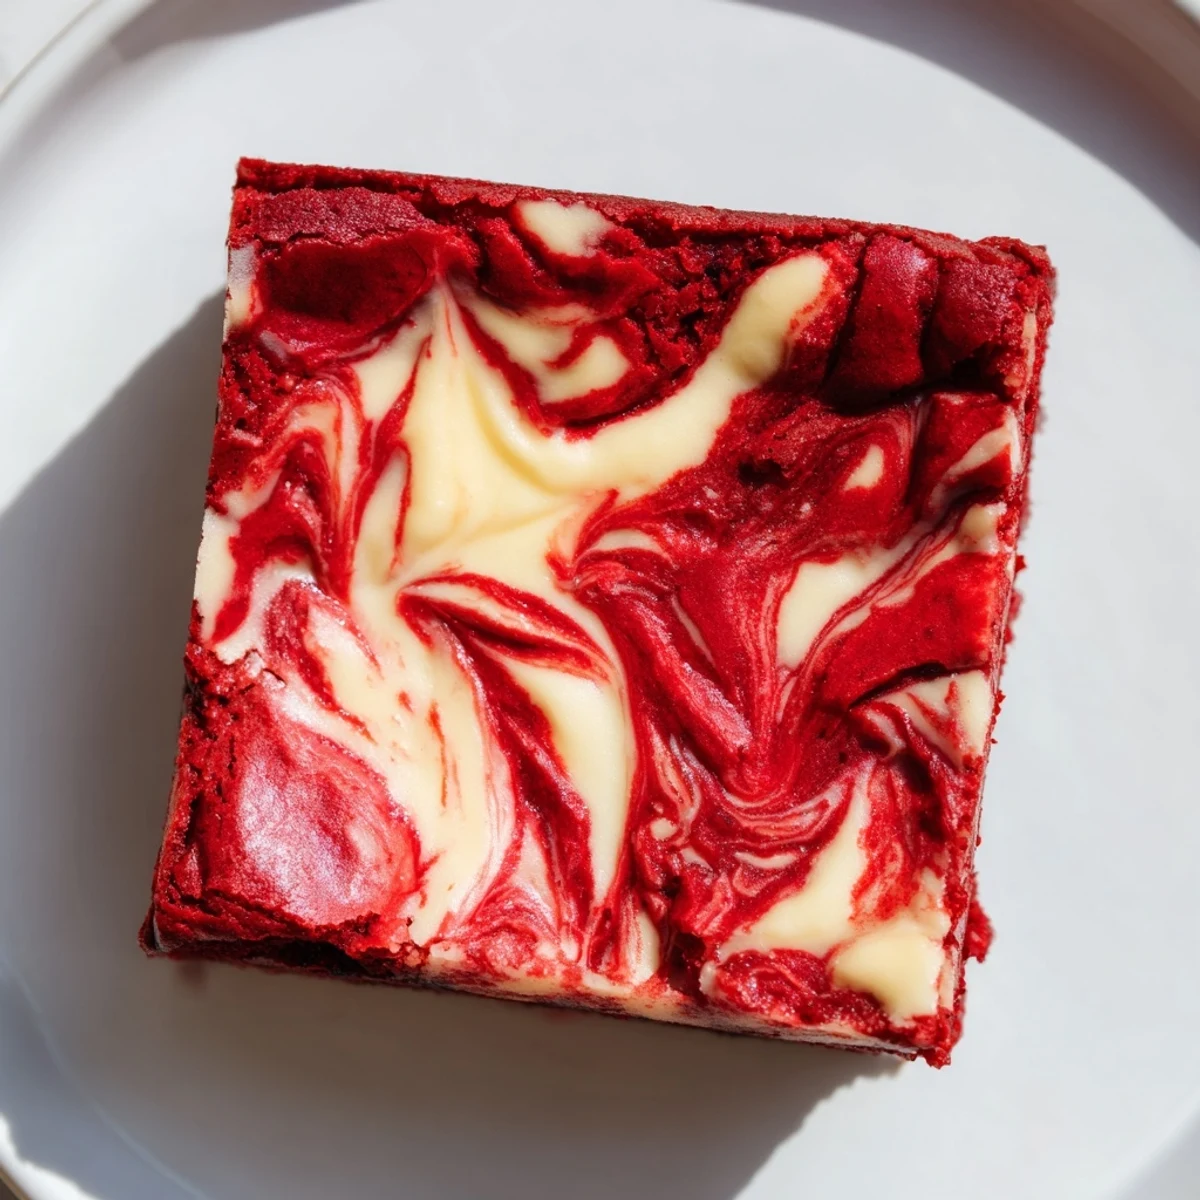
 There is something deeply satisfying about slicing into that marbled top and seeing the layers you created. Hope these bring some red velvet joy to your kitchen.
Your Recipe Questions
- → What makes red velvet brownies different from regular brownies?
-
Red velvet brownies combine classic cocoa and red coloring with a moist, tender texture, enhanced by cream cheese swirls that add a creamy tang.
- → How can I achieve the marbled effect?
-
Drop spoonfuls of the cream cheese mixture over the brownie batter, then gently swirl with a knife or skewer before baking.
- → What is the best way to store these brownies?
-
Keep them in an airtight container in the refrigerator for up to five days to preserve freshness and texture.
- → Can I enhance the color of the brownies?
-
Using gel food coloring instead of liquid intensifies the red hue without affecting batter consistency.
- → Are these brownies suitable for a vegetarian diet?
-
Yes, these brownies contain dairy, eggs, and wheat but no meat products, making them vegetarian friendly.
