 Save to Pinterest
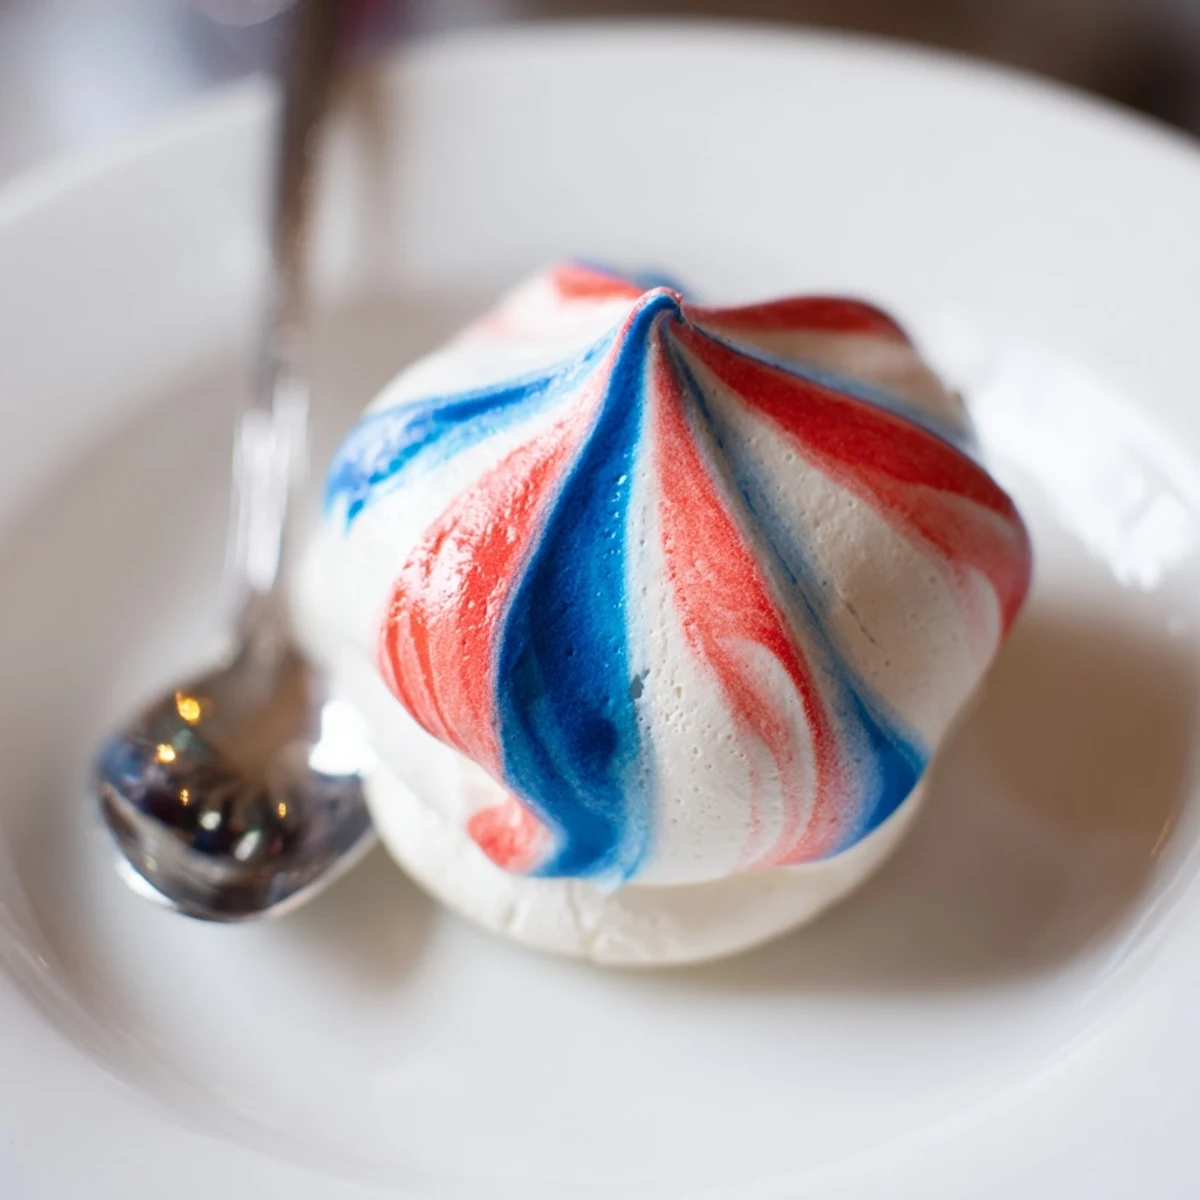
 Light, crisp meringue kisses are whipped from room-temperature egg whites and granulated sugar to glossy, stiff peaks. Pipe small 1-1.5 inch mounds into a piping bag lined with red and blue gel stripes, then bake low and slow at 200°F (90°C) for about 1 hour 15 minutes. Let cool in the oven with the door closed to dry completely. Ensure bowls and utensils are grease-free and use cream of tartar for stability; adjust coloring for intensity. Yields roughly 40 bite-sized meringues; store airtight up to 5 days.
The sharp scent of vanilla always hangs in the air when I make these Patriotic Meringue Kisses, but what I remember most is the shivery sound the mixer makes as the glossy peaks form. I tried these for the first time on a hot July afternoon, determined not to let the heat ruin my meringue. There’s something playful about painting streaks of food coloring inside a piping bag—like edible fireworks in progress. If you need a dessert that shouts celebration and happily melts on your tongue, this one sets the mood instantly.
Once, I made these meringue kisses with my niece for her summer birthday party—she ended up with a blue streak across her nose, and the kitchen morphed into a little laboratory of giggles. We argued about whose piping swirls were 'the fluffiest,' and when the dried meringues finally crackled off the parchment, her eyes went wide with approval. That sense of anticipation kept us both hovering by the oven door.
Ingredients
- Egg Whites: Room temperature makes all the difference—they whip up fluffier, and I’ve learned to keep even a drop of yolk away.
- Granulated Sugar: The slow addition really matters for shinier, sturdier peaks; resist the urge to dump it all in at once.
- Cream of Tartar: It stabilizes the whites, so your meringue doesn’t collapse halfway through piping.
- Salt: Just a pinch wakes things up and softens any cloying sweetness.
- Vanilla Extract: Adds warmth—a kitchen always feels cozier when you open the vanilla bottle.
- Red & Blue Gel Food Coloring: Gel is intense in color but doesn’t flood the meringue; I learned liquid coloring leads to sad, streaky blobs.
Instructions
- Set the Stage:
- Heat the oven to 200°F and line two trays with parchment—you’ll want a clear workspace because things move quickly once you start whipping.
- Whip It Right:
- In a meticulously clean bowl, combine egg whites and cream of tartar; mix until you see soft peaks with gentle curves.
- Add Sweetness Gradually:
- Spoon in the sugar one tablespoon at a time; once it’s in, go longer than you think for those stiff, glossy peaks that stay upright.
- Flavor & Finish:
- Mellow out the meringue with salt and vanilla, just until incorporated – don’t overbeat here.
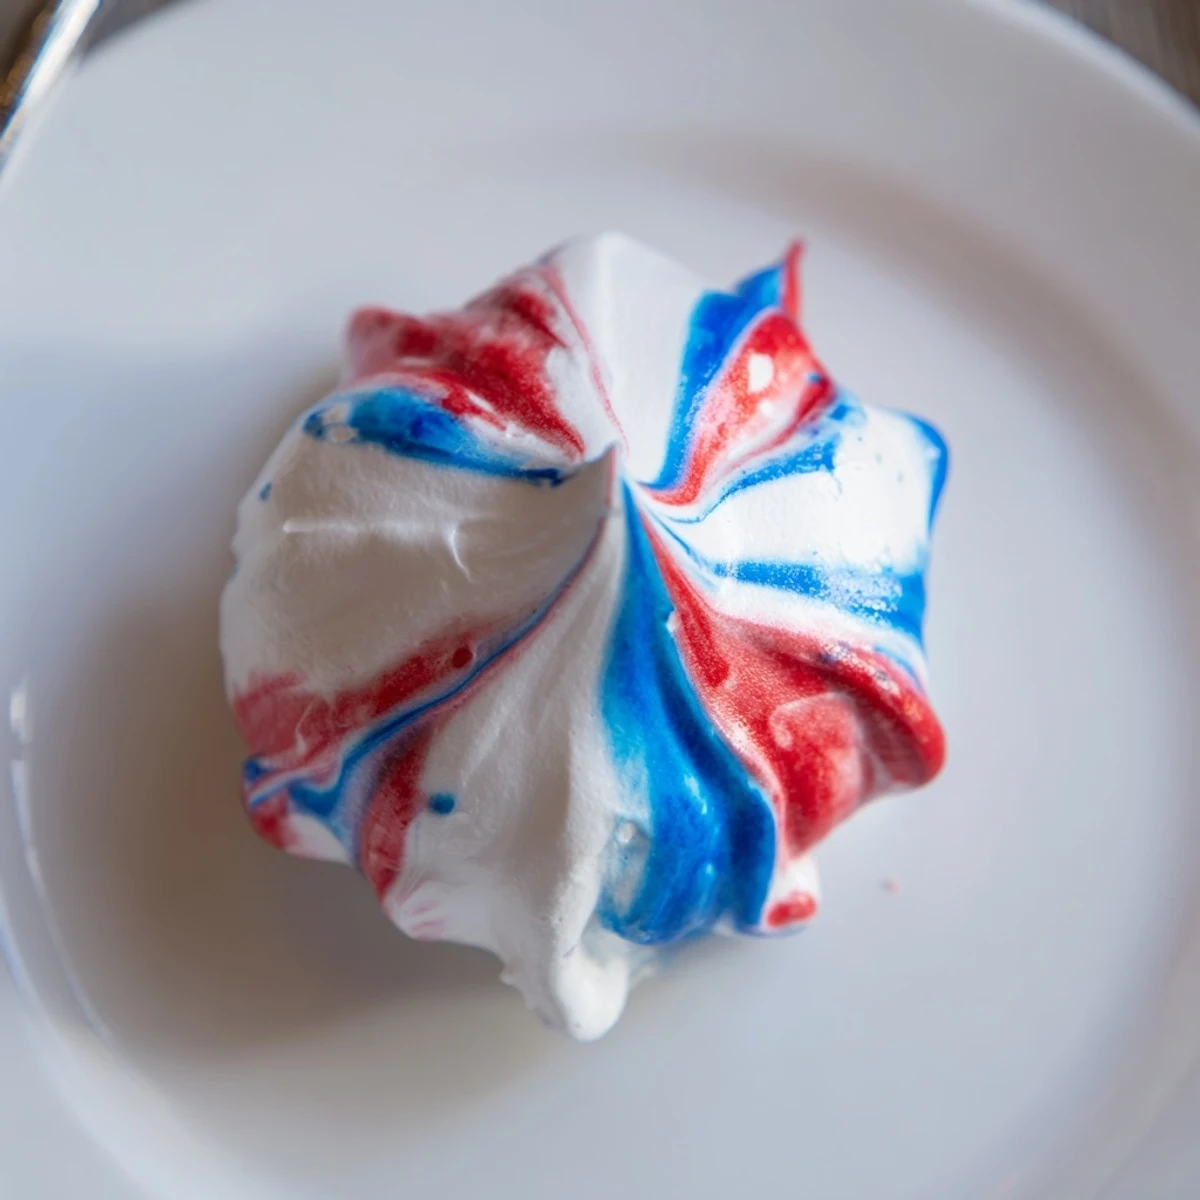
- Stripe Your Bag:
- Paint bold, single strokes of red and blue gel along the insides of your piping bag, letting the white meringue fill the space between.
- Pipe Kisses:
- Spoon the billowy meringue into the bag with care not to smudge your stripes, then pipe out little mounds about an inch wide, letting each curl finish in a soft peak.
- Bake & Dry:
- Slide the sheets into the oven and let them dry for over an hour, resisting the urge to peek; the low heat works its quiet magic.
- Cool Completely:
- When the timer dings, turn off the oven but leave the kisses inside—the wait is worth it for that shatteringly crisp texture.
- Store and Savor:
- Peel them gently from the paper and tuck them into an airtight container; they stay fresh for up to five days, though they rarely last that long.
 Save to Pinterest
 The kisses were still warm when we set them out for our neighborhood parade watch; suddenly, the adults were sneaking seconds while the kids calculated how many fit in a palm. For a moment, the whole crowd gathered, making something as simple as meringue feel absolutely festive.
Let’s Talk Texture
If you pull a kiss off the tray and it feels soft, give them another 10 minutes in the turned-off oven. The perfect meringue gently resists your bite at first, then dissolves with a sweet sigh.
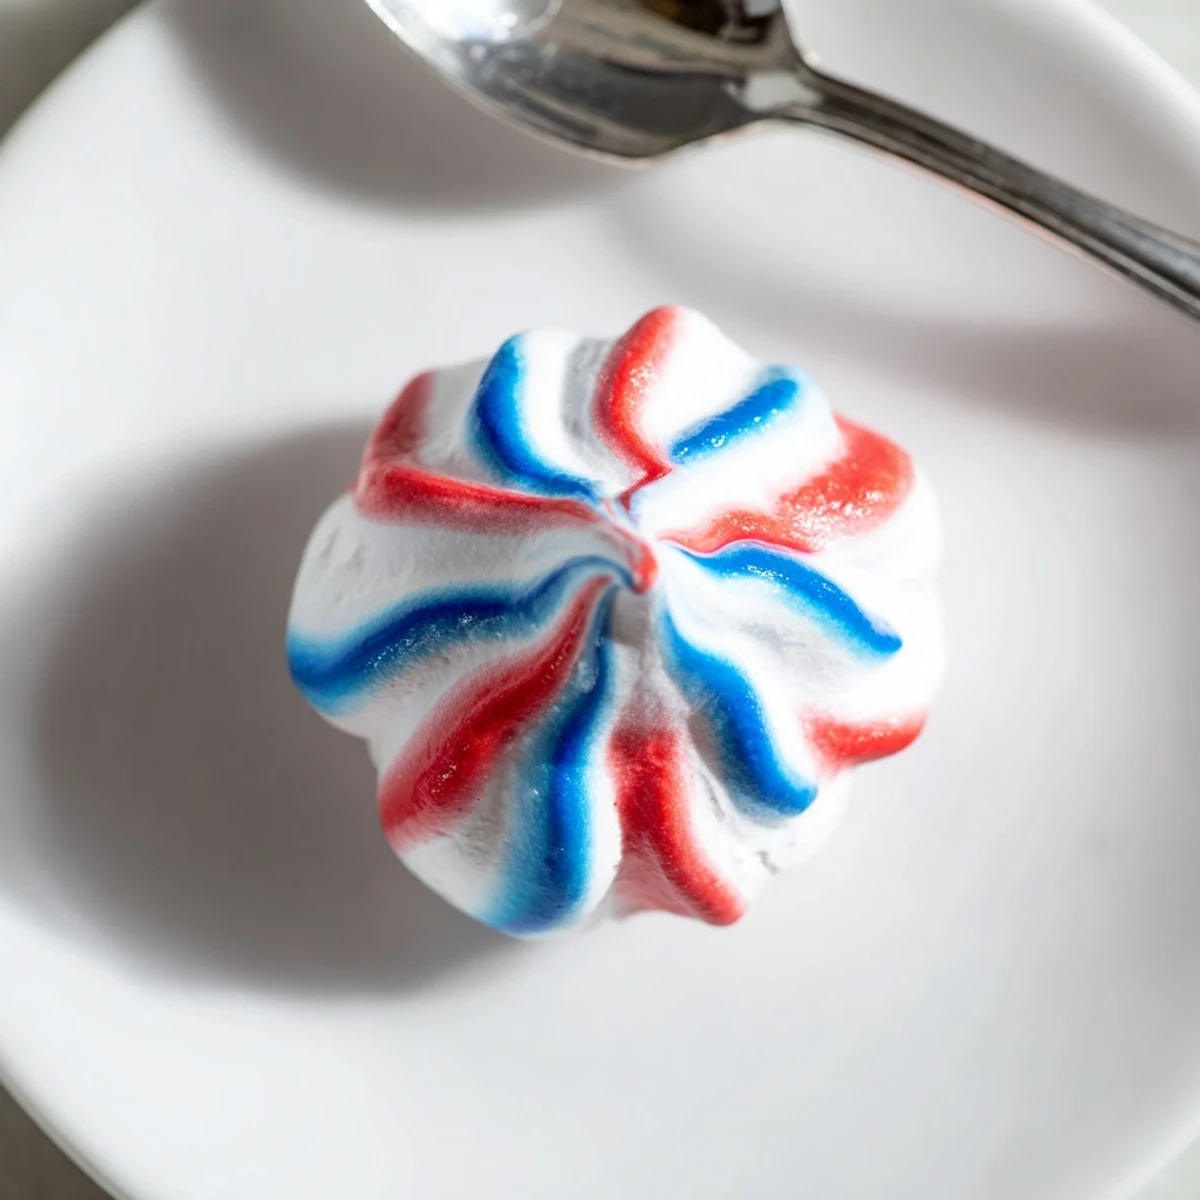
Color Swirl Tricks
The more dramatic you want your swirl, the heavier the stripe of gel in the bag—just don’t overdo it, or the color can bleed. I like to wipe excess gel color off the brush to keep the lines clean and defined.
Serving and Storage Ideas
Mound these kisses into a clear jar for hostess gifts, or scatter across cakes as edible confetti—either way, they disappear quickly.
- Line the storage container with parchment for easy lifting.
- Don’t refrigerate or they’ll get sticky.
- These freeze beautifully, just let them come to room temp uncovered before serving.
 Save to Pinterest
 Every time you crack open a tin of these meringue kisses, expect a little burst of celebration. They’re whimsical, crisp, and gone before you know it—just as a good treat should be.
Your Recipe Questions
- → How do I get glossy, stiff peaks?
-
Use room-temperature egg whites, add cream of tartar, and beat on medium to high speed. Add granulated sugar gradually, a tablespoon at a time, until the mixture holds glossy, stiff peaks.
- → Why bake at a low temperature for so long?
-
Low, slow baking at around 200°F (90°C) dries the meringues without browning, producing a crisp exterior and fully dried interior. Cooling in the turned-off oven helps them finish drying evenly.
- → How should I store finished meringue kisses?
-
Keep them in an airtight container at room temperature to preserve crispness; avoid humidity. Properly stored, they remain crisp for up to five days.
- → Will the colors bleed or fade?
-
Gel food coloring provides concentrated color with minimal water, reducing bleeding. Paint stripes inside the bag and avoid over-mixing the colored areas to keep distinct red, white, and blue swirls.
- → Can I change sizes or colors?
-
Yes. Pipe larger or smaller mounds for different bite sizes, and swap or combine colors to suit other holidays. For bolder hues, use more gel color inside the bag.
- → What are common mistakes to avoid?
-
Avoid any grease or yolk in the whites, adding sugar too quickly, or baking at high heat. These lead to flat, sticky, or browned meringues instead of crisp kisses.
