 Save to Pinterest
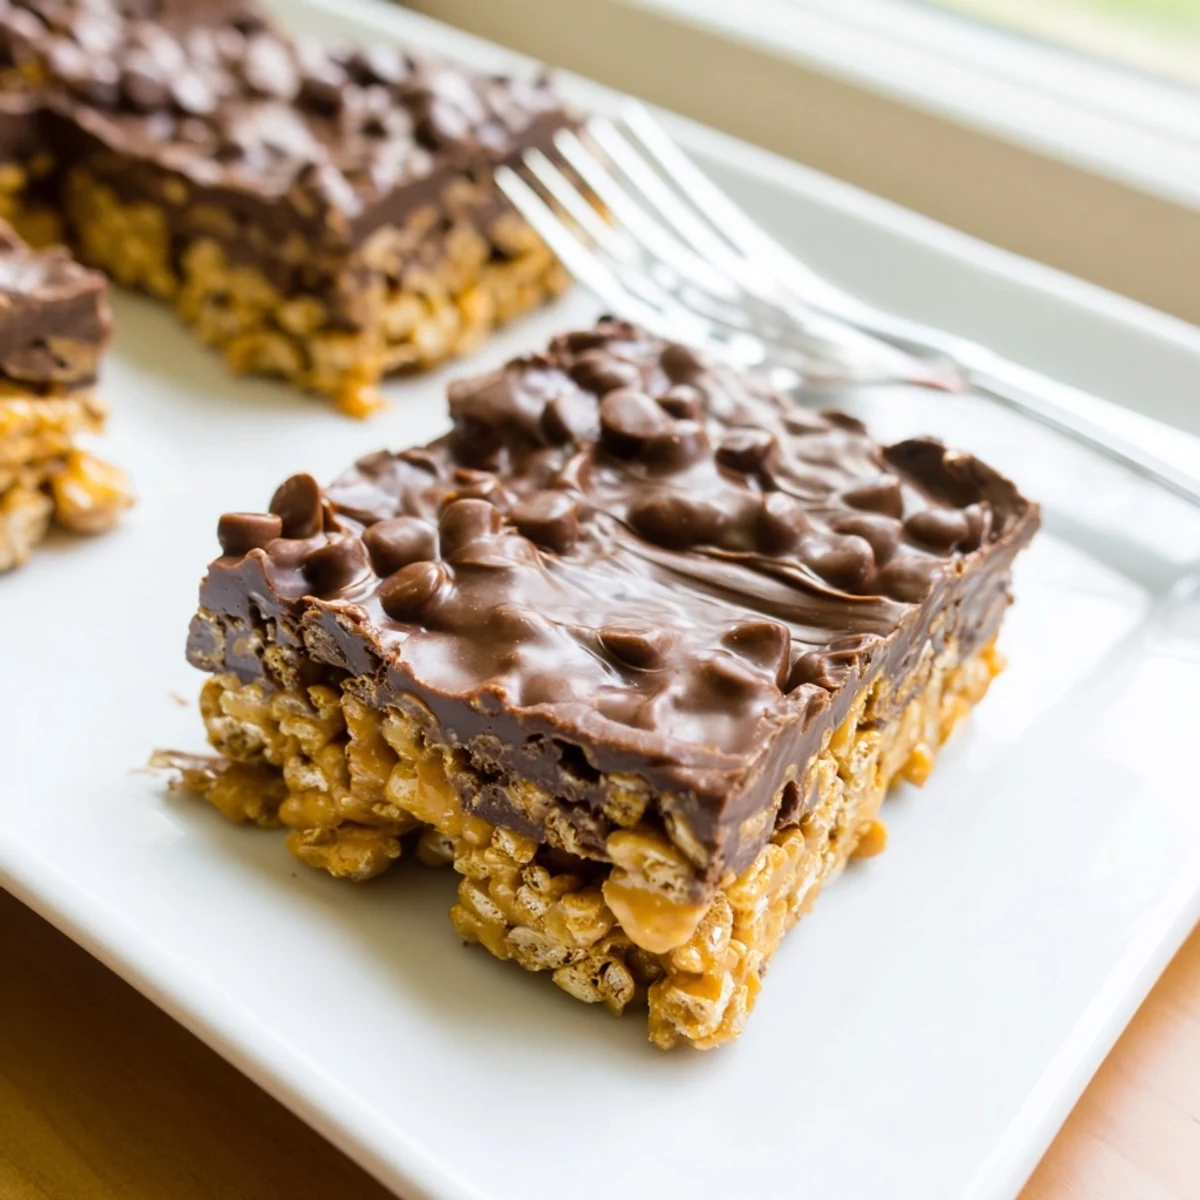
 These sweet and crunchy bars combine gluten-free Honey Chex cereal with a warm peanut butter, honey, and butter mixture, pressed firmly into a pan and topped with melted chocolate chips. Ready in just 15 minutes of prep time, they set in the refrigerator for about an hour until firm enough to slice into 16 portable bars. The texture offers satisfying crispness from the cereal balanced by creamy peanut butter and smooth chocolate. Perfect for potlucks, after-school snacks, or whenever you need a quick homemade treat without turning on the oven.
The first time I made these bars was during a summer heatwave when turning on the oven felt like a personal betrayal. My kitchen thermometer read 88 degrees, yet my teenage nephew had just announced he'd be bringing friends over after soccer practice, expecting something homemade. These no-bake treats saved my afternoon and my reputation.
Last December, I brought a batch to a cookie exchange and watched them disappear in record time. Three different people asked for the recipe, and when I explained there was no baking involved, their eyes lit up with the same relief I'd felt that sweltering summer day.
Ingredients
- 4 cups gluten-free Honey Chex cereal: The honey version adds sweetness that plain Chex lacks, plus the perfect crunch that stays crisp even under chocolate
- 1 cup creamy peanut butter: Use a brand that lists only peanuts and salt as ingredients for the smoothest texture
- 1/2 cup honey: Warm honey for 15 seconds in the microwave to make it pourable and easier to incorporate
- 1/4 cup unsalted butter: Room temperature butter melts more evenly with the peanut butter, preventing any grainy texture
- 1 cup semisweet chocolate chips: Check labels carefully for gluten-free certification since some brands use barley malt
- 2 tablespoons creamy peanut butter: This extra bit in the chocolate layer creates that magical Reese's flavor everyone loves
Instructions
- Prep your pan first:
- Line an 8x8-inch pan with parchment paper, letting the edges hang over like a sling for easy lifting later
- Melt the sticky base:
- Combine peanut butter, honey, and butter in a saucepan over medium-low heat, stirring until everything melts into a glossy, smooth mixture
- Coat the cereal:
- Pour in the Chex and fold gently until every piece is covered, working quickly before the mixture cools and thickens
- Press it down:
- Transfer to your prepared pan and press firmly with a spatula or the back of a spoon until compact and level
- Make the chocolate layer:
- Melt chocolate chips with the extra peanut butter in the microwave, stirring at 30-second intervals until silky and pourable
- Seal the deal:
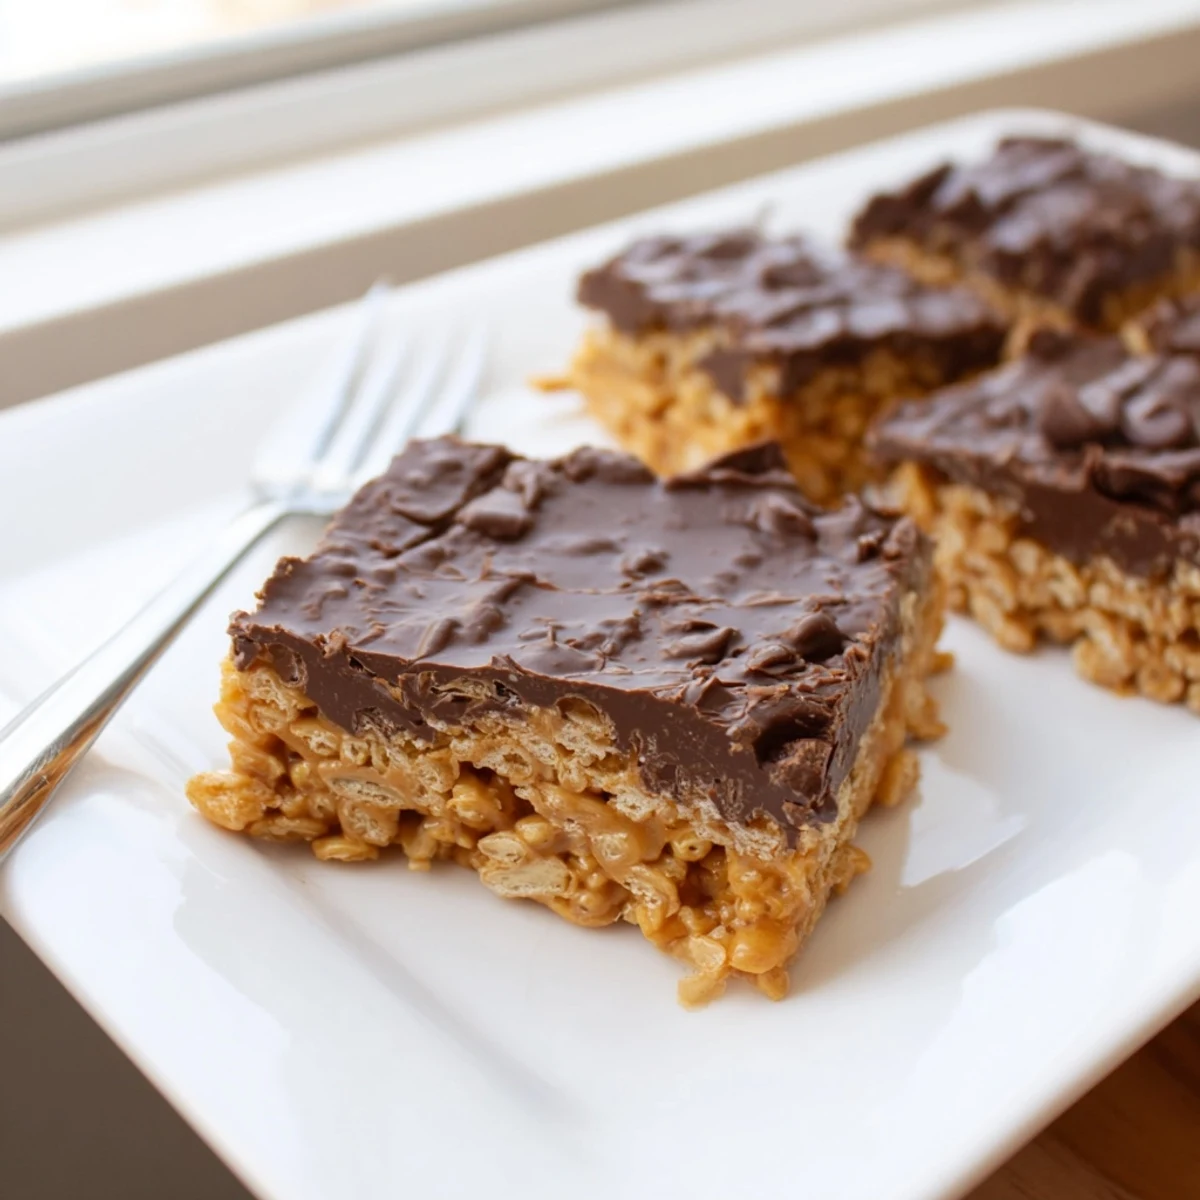
- Pour chocolate over the cereal base and spread evenly, then refrigerate for at least one hour until firm
- Finish it off:
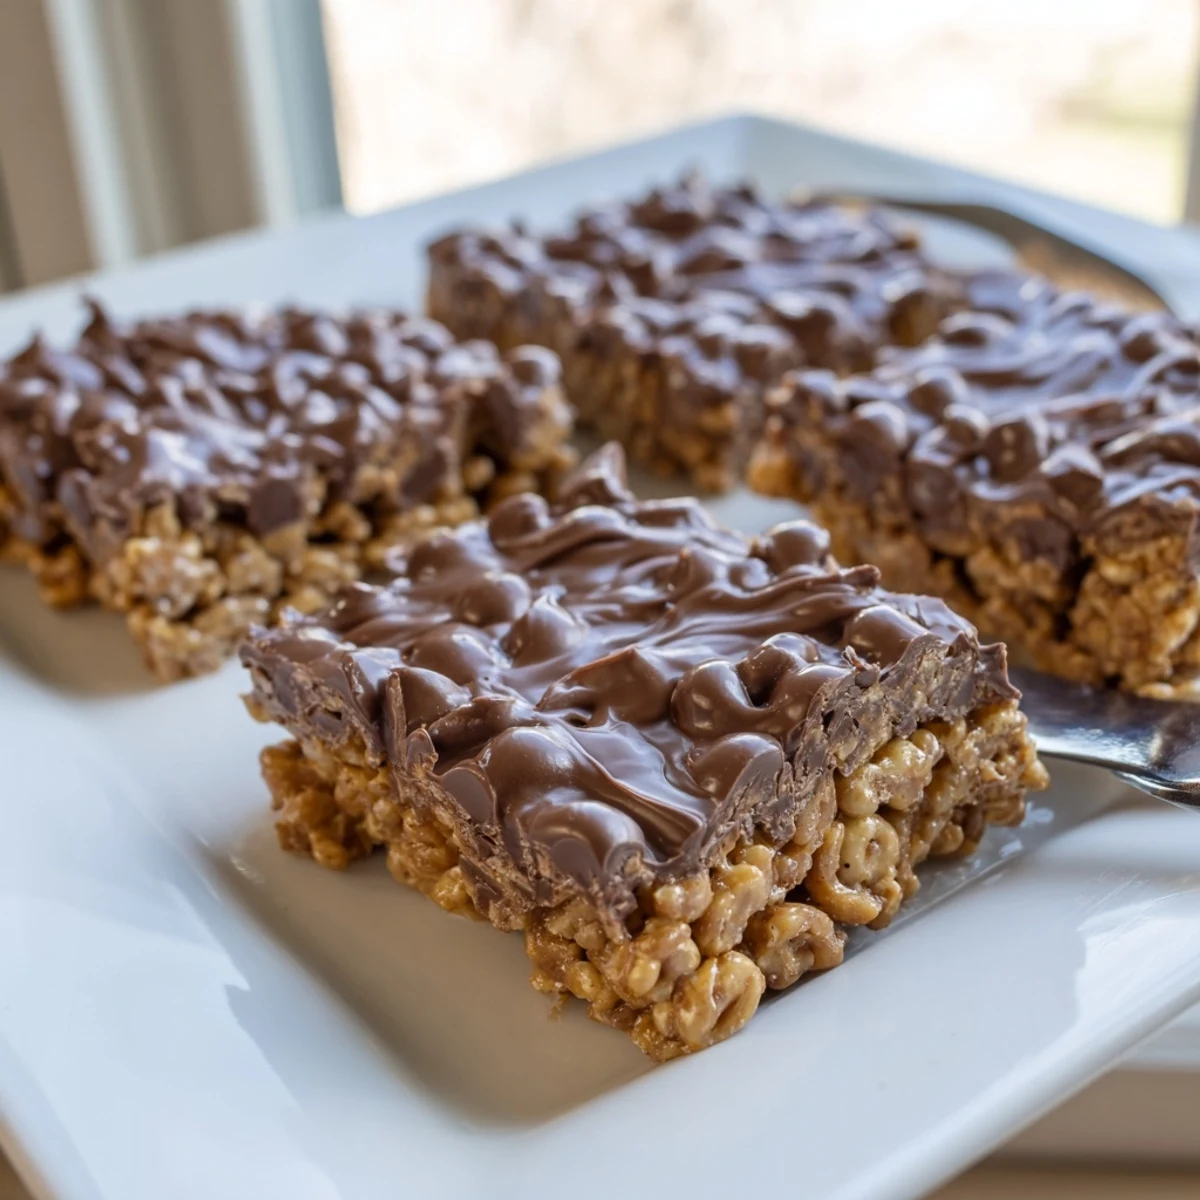
- Use the parchment overhang to lift the whole slab out, then cut into 16 squares with a sharp knife
 Save to Pinterest
 My friend's daughter has celiac disease, and seeing her face light up when she realized she could eat the same treat as everyone else at the birthday party made these bars absolutely worth mastering. Food that brings people together is the best kind.
Making Them Your Own
Sometimes I swap in sunflower seed butter when serving nut-free crowds, and the result is just as delicious. A tiny pinch of flaky salt on top of the chocolate makes these taste like something from a fancy bakery.
Storage Secrets
These bars keep beautifully in the refrigerator for up to a week, though they rarely last that long in my house. Layer them between parchment paper in an airtight container to prevent sticking together.
Serving Suggestions
Try cutting them into tiny squares for parties or large rectangles for an after-school snack. They're fantastic alongside coffee for breakfast, though I won't tell if you eat two before noon.
- Serve slightly chilled for the cleanest cuts
- Let them sit at room temperature for 10 minutes before serving for the softest texture
- Cut them while cold but serve after they've softened slightly
 Save to Pinterest
 There's something deeply satisfying about making treats that look impressive but require almost no effort at all. These bars have become my go-to for every occasion that calls for something sweet.
Your Recipe Questions
- → How long do these bars need to chill before serving?
-
Refrigerate the bars for at least 1 hour until the chocolate layer is completely set and firm. For best results, allow them to chill fully before cutting to achieve clean edges.
- → Can I use regular Chex instead of Honey Chex?
-
Yes, you can substitute regular Rice Chex or Corn Chex. Consider adding an extra tablespoon of honey to the base mixture to maintain the sweetness level if using plain cereal.
- → What's the best way to store these bars?
-
Keep them in an airtight container in the refrigerator for up to 1 week. The cold temperature keeps the chocolate firm and maintains the crunchy texture of the cereal.
- → Can I make these nut-free?
-
Absolutely! Substitute sunflower seed butter for the peanut butter in both the base and chocolate topping. The flavor profile will change slightly but the texture remains similar.
- → Why is my chocolate layer seizing when melting?
-
Chocolate can seize if moisture gets into it or if overheated. Microwave in 30-second intervals, stirring between each, and ensure your bowl and utensils are completely dry.
- → Can I freeze these bars for longer storage?
-
Yes, wrap individual bars tightly in plastic wrap and store in a freezer-safe container for up to 3 months. Thaw in the refrigerator before serving.
