 Save to Pinterest
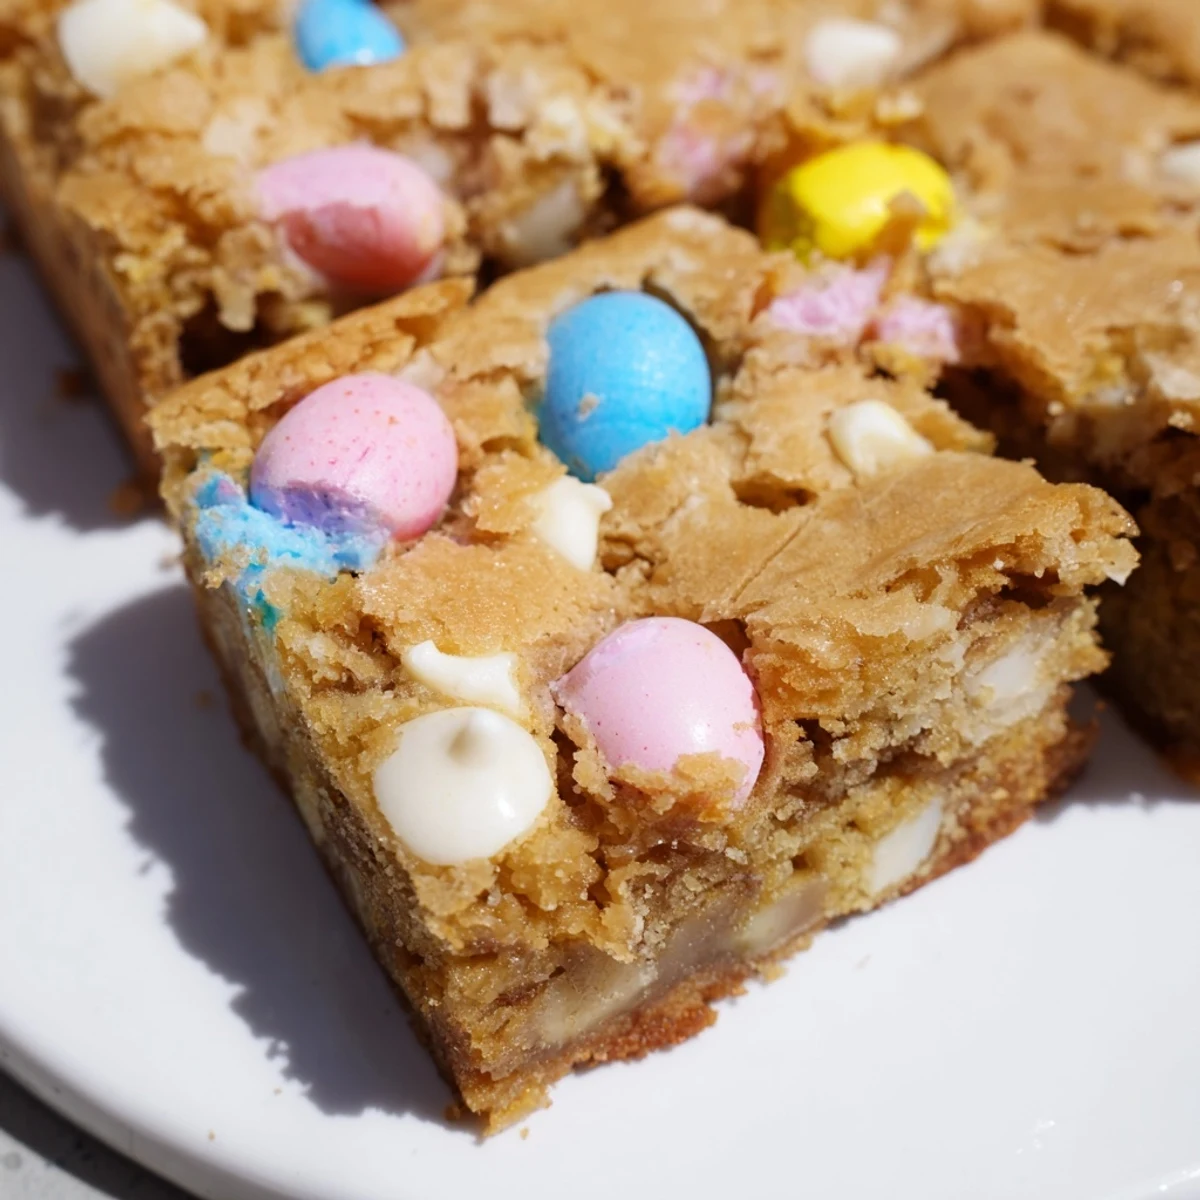
 These chewy golden blondies combine a rich buttery vanilla base with generous chunks of creamy white chocolate and crunchy colorful Mini Cadbury Easter Eggs throughout. The edges bake slightly crispy while centers remain wonderfully tender and fudgy.
Ready in just 40 minutes with simple pantry ingredients, these blondies come together quickly—melt the butter, whisk with sugars, fold in flour and eggs, then press the colorful mixture into a pan. The chopped candy creates beautiful marbled pockets of sweetness while whole Mini Eggs on top add festive crunch.
Perfect for Easter brunch, spring birthdays, or anytime you want a fun twist on classic blondies. Serve them slightly warm with vanilla ice cream for an extra indulgent dessert.
The grocery store aisle was practically exploding with pastel foil wrappers, and before I knew it, three bags of Mini Cadbury Eggs had landed in my cart. I brought them home intending to just snack through them, but something about that speckled candy shell crunching against melted chocolate felt like it needed to become something more permanent.
My sister texted me at midnight the first time I made these, demanding to know what smelled so incredible. I had to wrap them up and hide them in the back of the fridge just to keep myself from eating the entire pan while they were still warm.
Ingredients
- 1 1/2 cups all-purpose flour: The foundation that gives these blondies their structure and tender crumb
- 1/2 teaspoon baking powder: Just enough lift to keep them from being too dense
- 1/2 teaspoon salt: Balances the sweetness and makes all the flavors pop
- 1/2 cup unsalted butter, melted and cooled: Use real butter here, melted creates that gorgeous crackly top we all love
- 1 cup light brown sugar, packed: This is what gives blondies their deep caramel notes and chewy texture
- 1/4 cup granulated sugar: Adds sweetness and helps create that shiny meringue-like crust
- 2 large eggs: Room temperature eggs incorporate better and create the right structure
- 1 teaspoon vanilla extract: Do not skip this, it amplifies all the other flavors
- 1 cup Mini Cadbury Easter Eggs, roughly chopped: The star of the show, leave some chunks generous for maximum impact
- 1/2 cup white chocolate chips: White chocolate pairs perfectly with the sweet crunchy candy shell
Instructions
- Get your oven ready:
- Preheat to 350°F and line an 8x8 inch pan with parchment paper, letting the edges hang over like a little sling for easy lifting later
- Whisk the dry team:
- In a medium bowl, combine flour, baking powder, and salt until everything is evenly distributed
- Mix the sugars and butter:
- Whisk melted butter with both sugars until the mixture transforms into a glossy, smooth caramel-colored paste
- Add the eggs and vanilla:
- Crack in your eggs and pour in the vanilla, whisking until the batter looks velvety and slightly thickened
- Combine everything gently:
- Fold the dry ingredients into the wet mixture with a spatula, stopping the moment you no longer see dry flour streaks
- Fold in the good stuff:
- Gently incorporate most of your chopped Mini Eggs and white chocolate chips, saving the prettiest pieces for the top
- Spread and decorate:
- Press the batter into your prepared pan and scatter those reserved candy pieces across the surface where they will become irresistible golden morsels
- Bake until just right:
- Slide the pan into the oven for 23 to 26 minutes, looking for golden edges and a toothpick that comes out with a few moist crumbs clinging to it
- The hardest step:
- Let these cool completely in the pan before cutting into squares, which requires more willpower than actually making the recipe
 Save to Pinterest
 These have become my go-to for spring potlucks and Easter gatherings, mostly because people literally hover around the pan until they are served.
Making Them Your Own
Sometimes I swap the white chocolate for milk or dark chocolate when I am feeling something a little less sweet. The Mini Eggs carry enough sweetness on their own that darker chocolate actually balances things beautifully.
Storage and Serving
These blondies stay perfectly chewy for four days in an airtight container, though they rarely last that long in my house. Warm one in the microwave for fifteen seconds and top with vanilla ice cream for the kind of dessert that makes people close their eyes and smile.
Timing and Texture Secrets
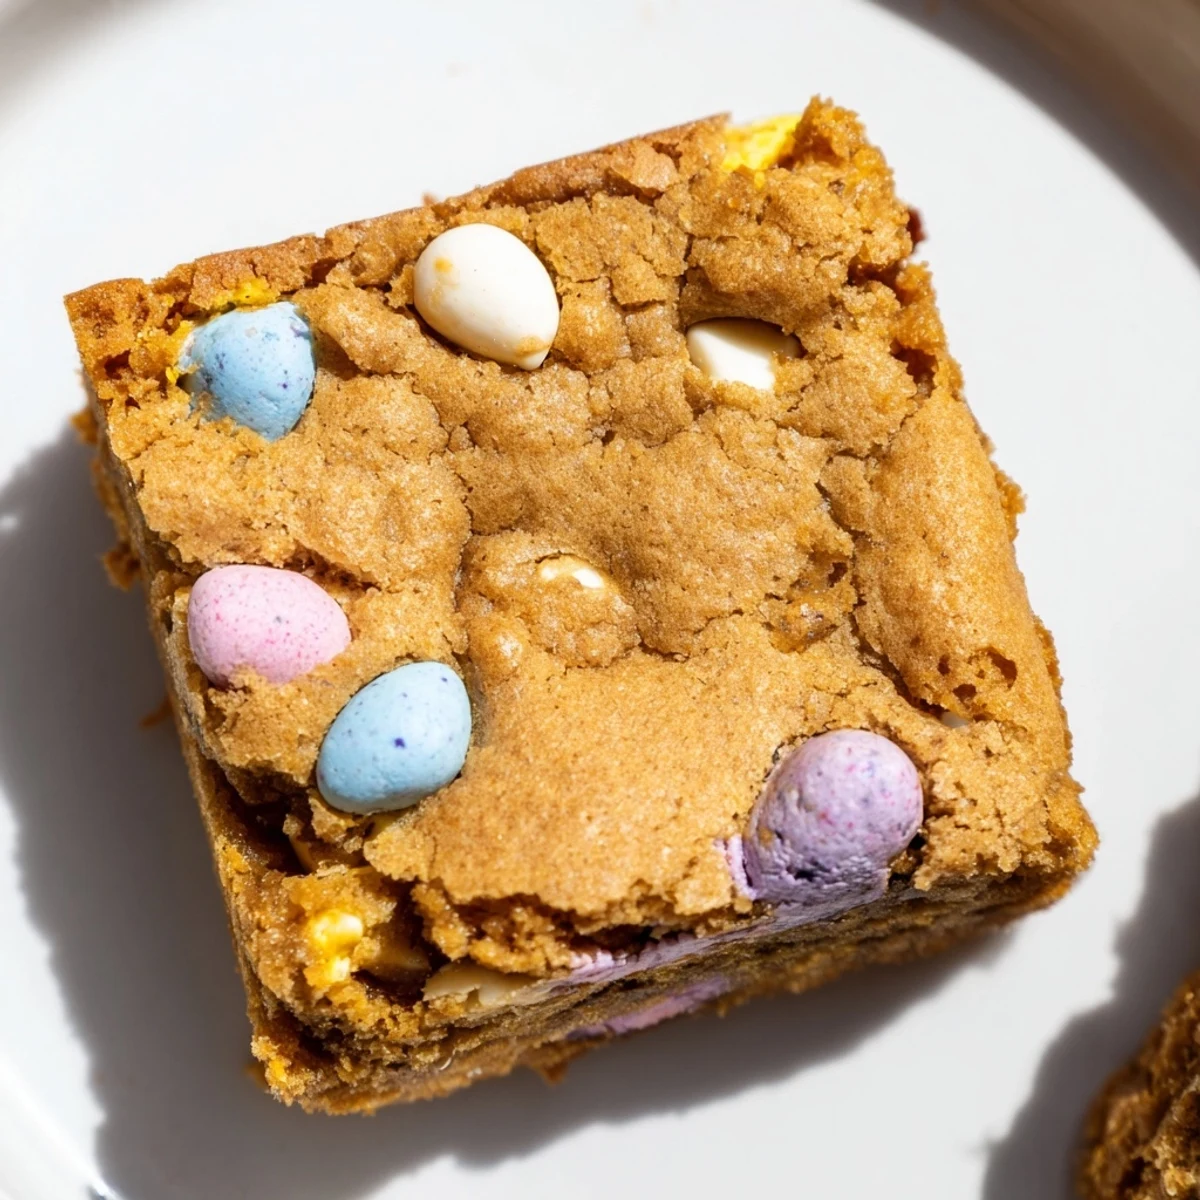
Leaving some Mini Eggs whole instead of chopping everything creates these incredible pockets of concentrated chocolate and crunch throughout each blondie. The candy shell softens slightly in the oven while maintaining that satisfying snap.
- Room temperature ingredients prevent the melted butter from seizing when you add the eggs
- Underbaking by just a minute or two ensures that fudgy center everyone fights over
- Use a sharp knife and wipe it clean between cuts for picture perfect squares
 Save to Pinterest
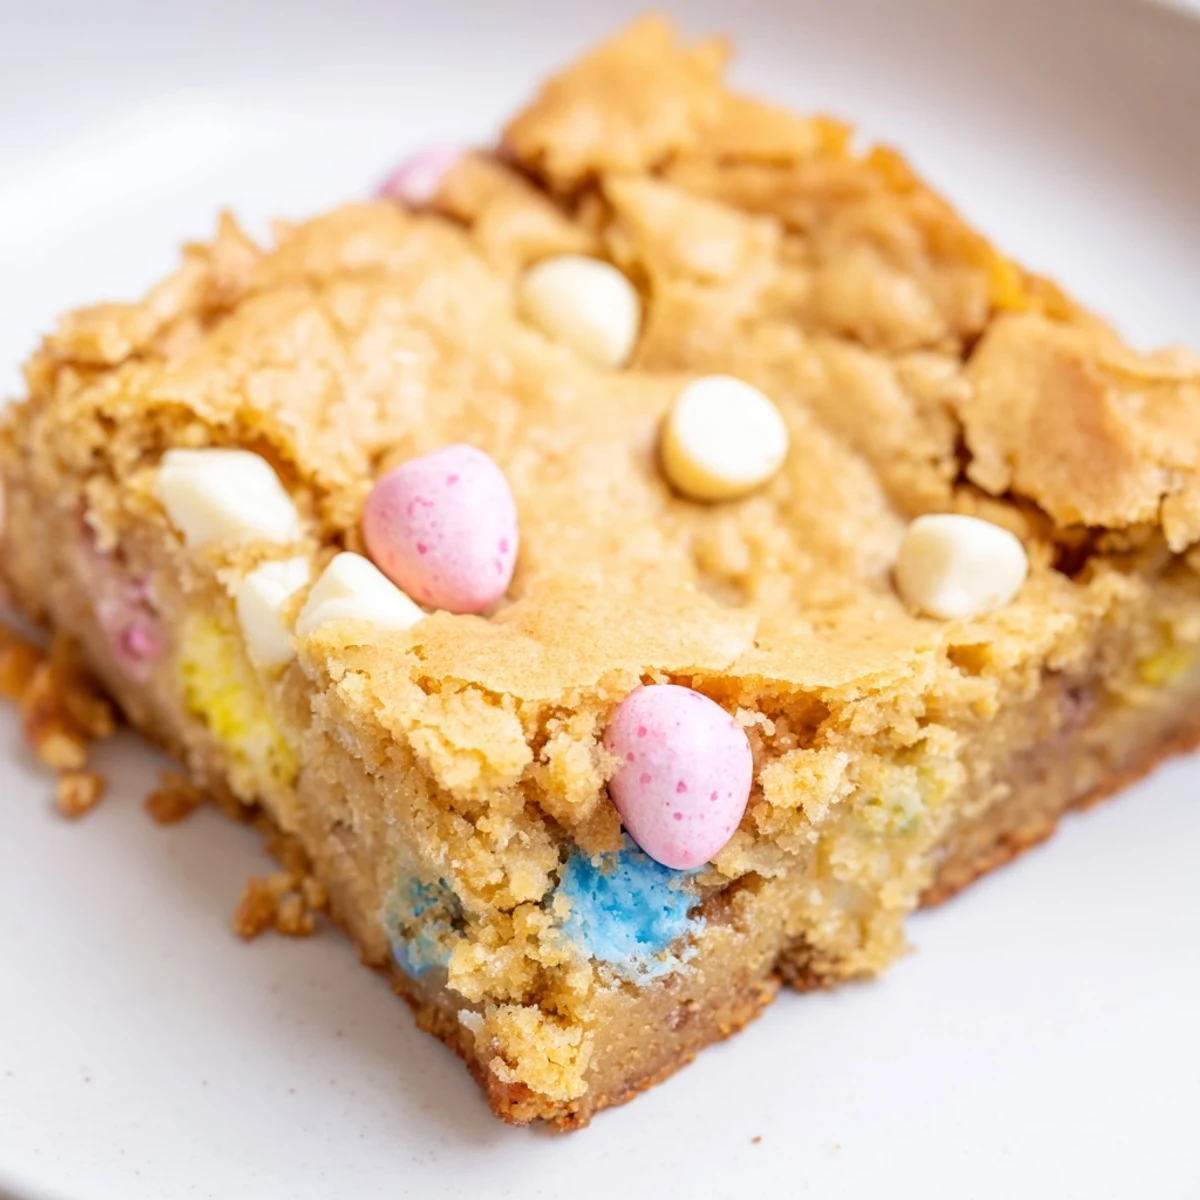
 There is something so joyful about biting into that speckled candy shell and getting that hit of sugary nostalgia alongside a warm, freshly baked blondie.
Your Recipe Questions
- → Can I make these blondies ahead of time?
-
Yes! These blondies actually taste better the next day as flavors develop. Store in an airtight container at room temperature for up to 4 days. You can also freeze individually wrapped squares for up to 3 months—thaw at room temperature before serving.
- → What size pan should I use?
-
An 8x8-inch square baking pan yields 16 perfectly portioned blondies. Using a larger 9x13-inch pan will make thinner blondies with reduced baking time, while a smaller pan creates thicker squares that need longer baking. Adjust time accordingly and test with a toothpick.
- → Can I substitute the Mini Cadbury Eggs?
-
Absolutely! Try other seasonal candy-coated chocolates like M&Ms, chopped regular Cadbury Creme Eggs, or even crushed Kit Kats. The candy coating adds essential crunch and color. For non-Easter versions, Reese's Pieces or chopped peanut butter cups work beautifully too.
- → Why are my blondies too cakey?
-
Overmixing the batter develops too much gluten, creating a cakey texture instead of chewy. Fold dry ingredients in just until combined—some flour streaks are okay. Also, be precise with flour measurements and avoid overbaking; remove from oven when a toothpick shows moist crumbs, not completely clean.
- → How do I know when blondies are done?
-
Blondies are finished when edges are golden brown and set, but the center still looks slightly soft. Insert a toothpick in the center—it should come out with a few moist crumbs, not wet batter. The residual heat continues cooking them as they cool, so don't overbake or they'll lose their chewiness.
