 Save to Pinterest
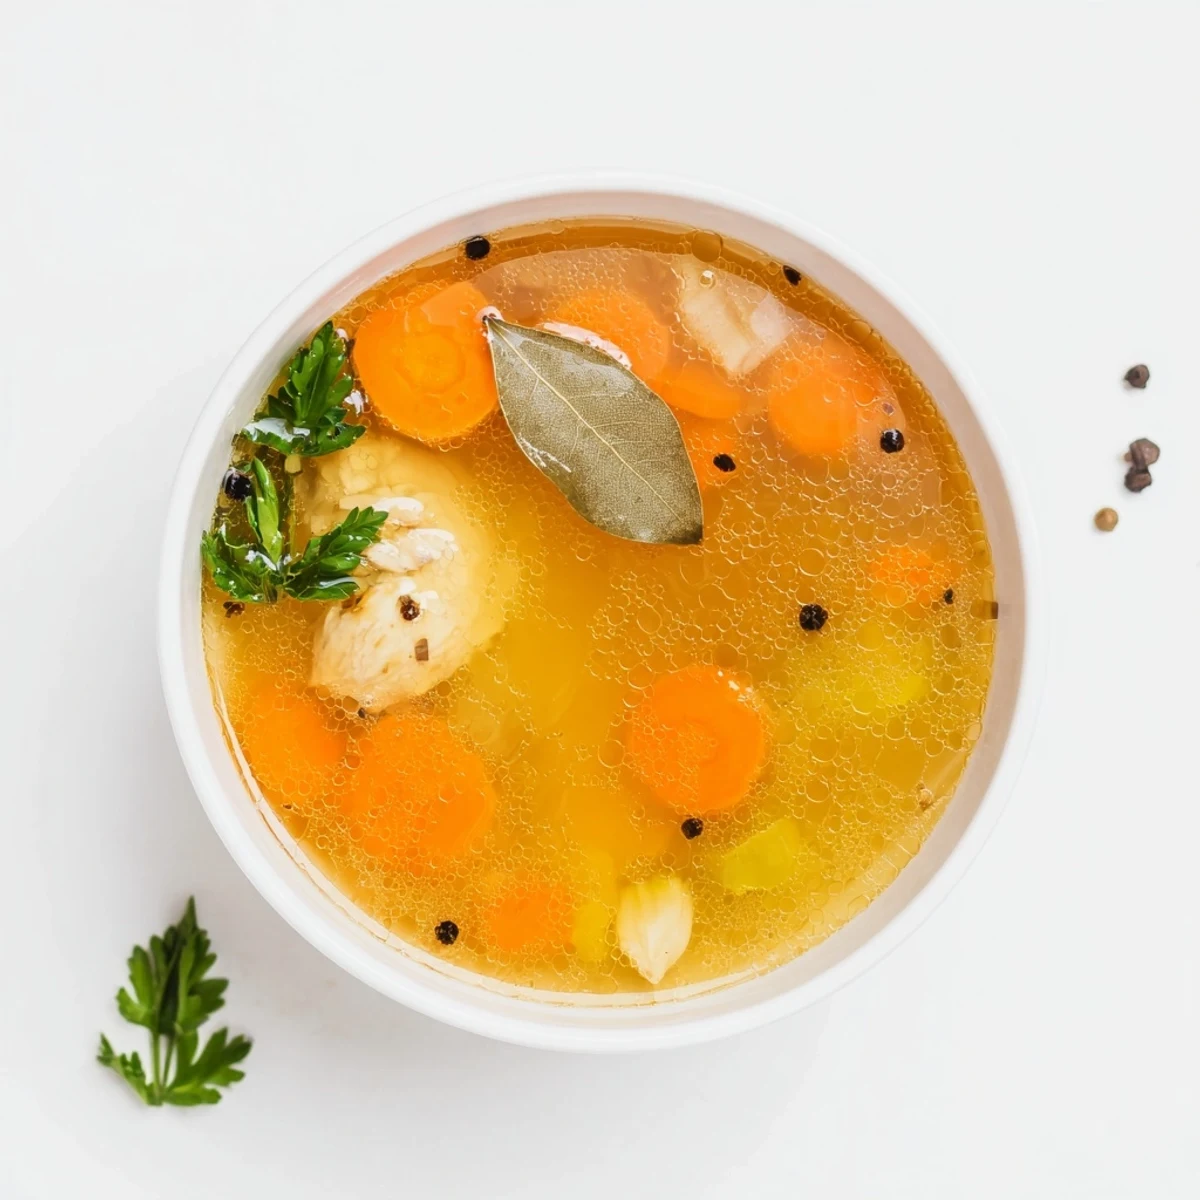
 This slow-cooked chicken bone broth delivers rich, nourishing flavor with just 15 minutes of hands-on preparation. Perfect for sipping on its own or as a versatile base for soups, risottos, and countless dishes.
The long, slow cooking process extracts maximum nutrients and depth from chicken bones, vegetables, and aromatics. A splash of apple cider vinegar helps release valuable minerals from the bones.
Roasting the bones beforehand adds extra richness, while the low-and-slow method ensures deep flavor development. Store in the refrigerator for up to 5 days or freeze for longer use.
The smell of chicken broth simmering on a cold Sunday morning is the kind of thing that makes you want to cancel every plan and stay home. I started making bone broth years ago when a friend swore it would fix everything from my tired knees to my questionable sleep schedule. It did not perform miracles, but it became a weekly ritual I genuinely look forward to. There is something deeply satisfying about turning leftover bones into liquid gold.
My neighbor Karen once knocked on my door at seven in the morning asking what I was cooking because the smell had drifted through her open window. I handed her a jar of still warm broth and she has been hooked ever since.
Ingredients
- Chicken bones: Carcasses, wings, and backs all work beautifully, and roasted bones will give you a deeper, more complex flavor than raw ones.
- Carrots: Rough chopped is perfect since they are there for flavor, not presentation.
- Celery: Adds a subtle savory backbone that you would miss if you skipped it.
- Onion: Quartered with the skin on adds color and a mild sweetness to the finished broth.
- Garlic: Smashed cloves release their flavor slowly over the long cook time.
- Bay leaves: Just two is enough to add an earthy depth without taking over.
- Black peppercorns: Whole peppercorns give gentle warmth without making the broth spicy.
- Fresh parsley and thyme: Optional but highly recommended for a fresher, brighter finish.
- Apple cider vinegar: This is the secret weapon that helps draw minerals out of the bones.
- Cold water: Always start cold since it extracts more collagen and nutrients from the bones.
- Salt: Add it at the end so you can control the seasoning precisely.
Instructions
- Load the slow cooker:
- Pile the chicken bones into your slow cooker and scatter the chopped carrots, celery, onion quarters, and smashed garlic over and around them.
- Add the aromatics:
- Tuck in the bay leaves, peppercorns, and herb sprigs wherever they fit comfortably.
- Pour in the liquids:
- Drizzle the apple cider vinegar over everything, then pour in the cold water until the bones are fully submerged.
- Let it work its magic:
- Set the slow cooker to LOW and let it go for 12 to 18 hours, skimming off any foamy scum that rises to the top during the first hour or two.
- Strain the broth:
- Carefully pour everything through a fine mesh sieve into a large bowl and discard all the spent solids.
- Season and cool:
- Stir in salt to your liking, then let the broth cool completely so you can lift off the solidified fat layer if you prefer a leaner broth.
- Store it right:
- Pour into airtight containers and keep in the fridge for up to five days, or freeze for months of ready made nourishment.
 Save to Pinterest
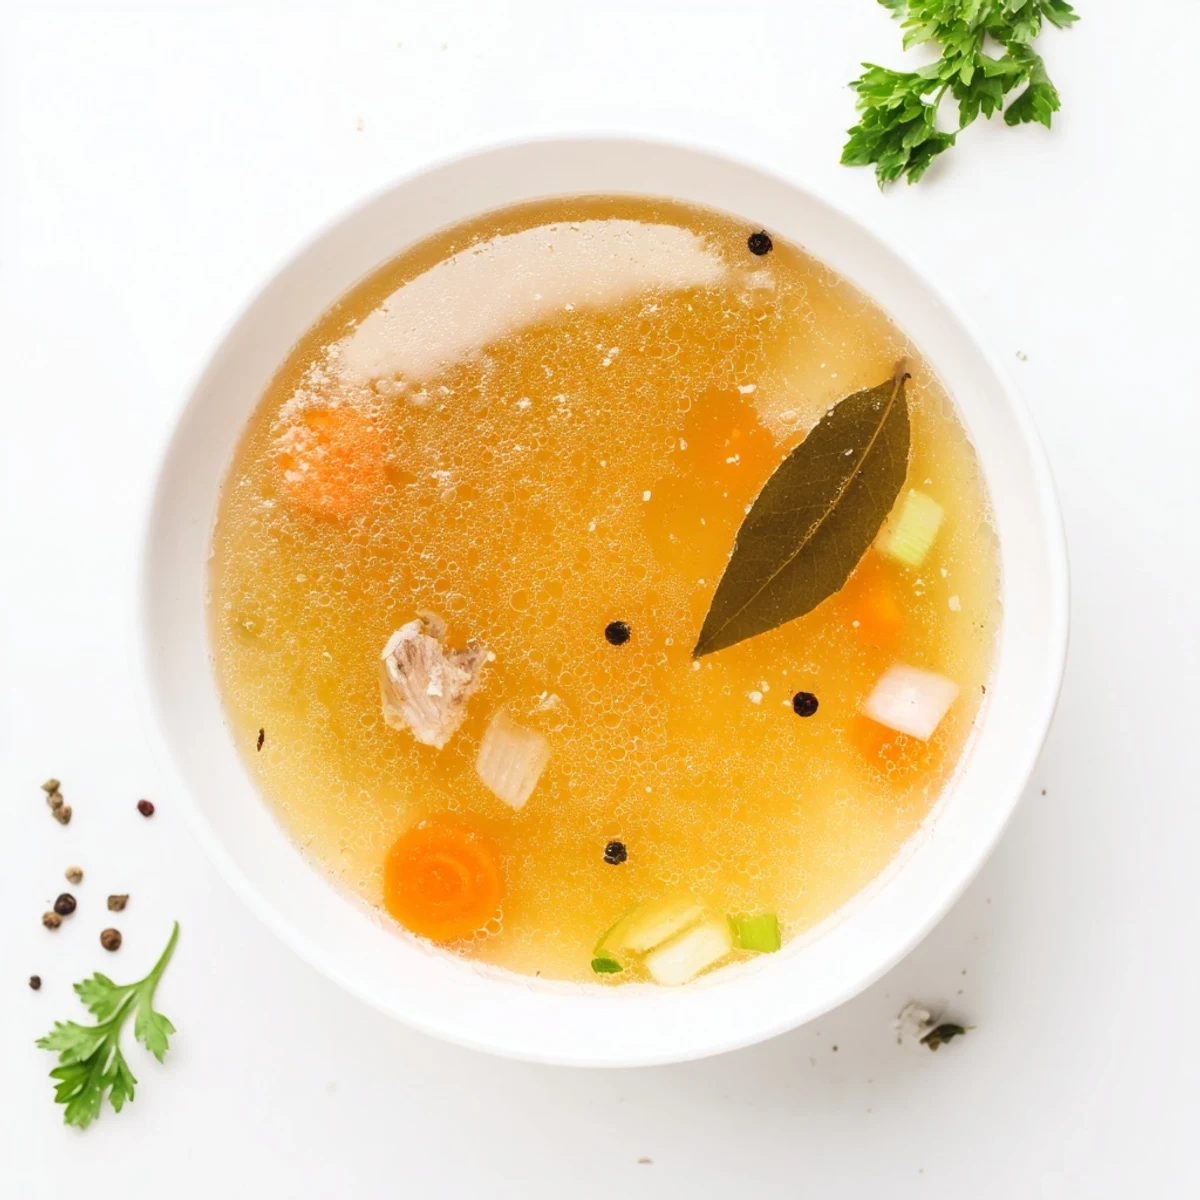
 One January I batch cooked enough broth to fill every container and freezer bag I owned, then ended up giving half of it away to friends fighting winter colds.
Getting the Best Flavor Possible
The single biggest upgrade you can make is roasting your bones before they go into the slow cooker. Toss them on a sheet pan at high heat until they turn golden and fragrant, and you will notice a richness that raw bones simply cannot match. Leeks and parsnips are also welcome additions if you have them hanging around the crisper drawer.
Storage That Actually Works
I learned the hard way that mason jars can crack in the freezer if you fill them too full. Leave at least an inch of headspace, or use silicone freezer bags that lay flat and save serious shelf space. Label everything with the date because all golden liquid looks the same after a month.
Ways to Use Your Broth
Beyond sipping it warm from a mug on a chilly afternoon, this broth becomes the foundation for soups, risottos, and braised dishes that taste like they took far more effort than they actually did. A few quick ideas can keep you from falling into a rut.
- Use it instead of water when cooking rice or quinoa for an instant flavor upgrade.
- Warm a cup with a squeeze of lemon and a pinch of turmeric for a soothing evening drink.
- Freeze some in ice cube trays so you always have small portions ready for pan sauces.
 Save to Pinterest
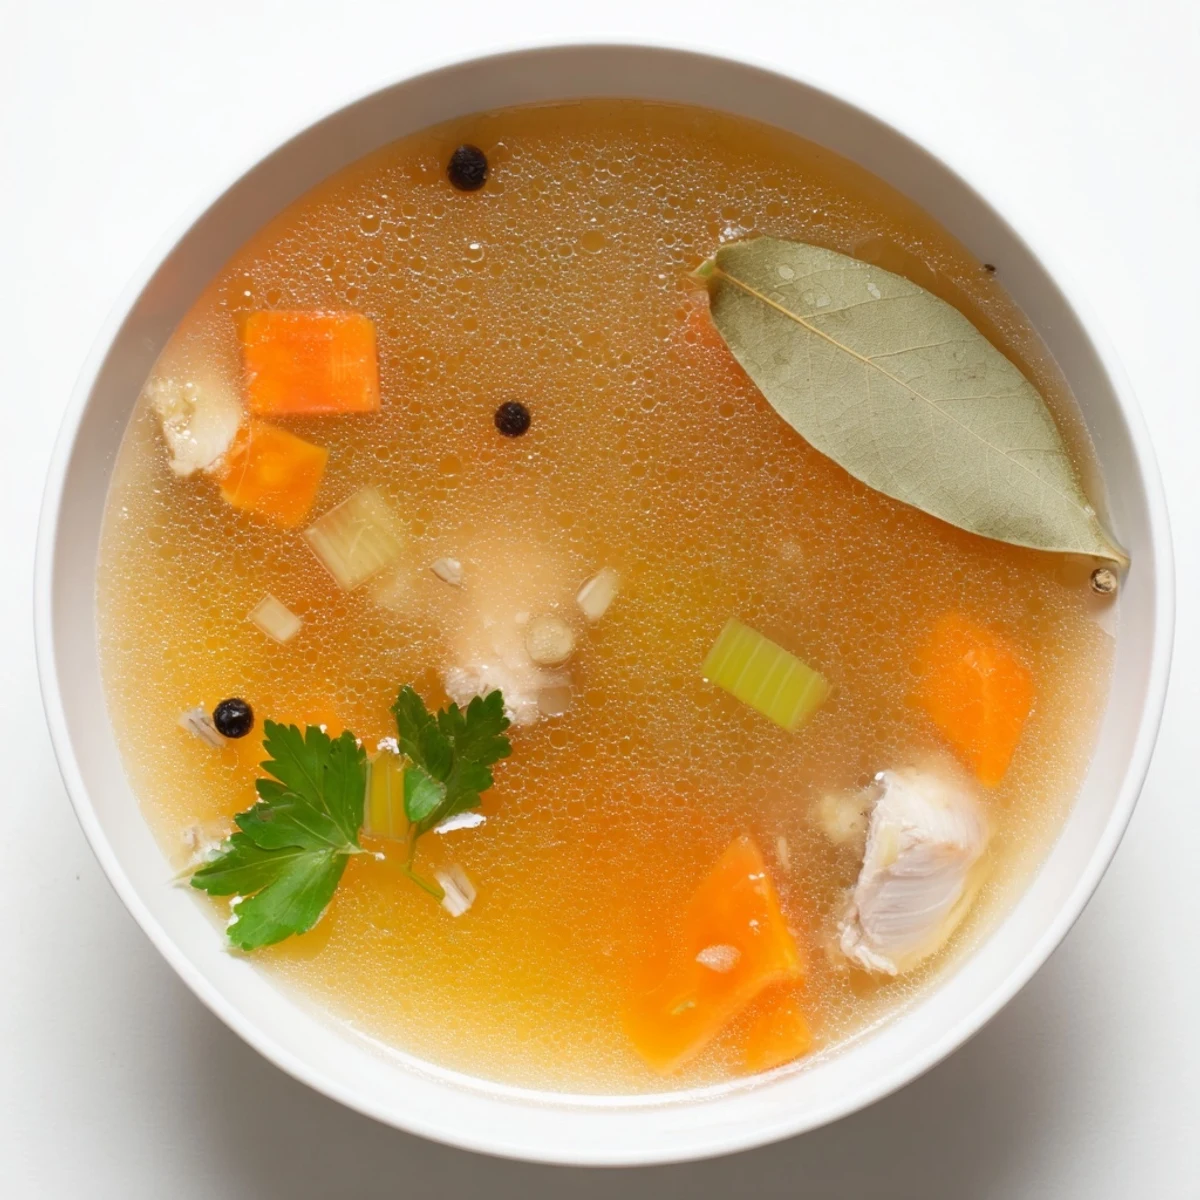
 Once you start making your own broth, the store bought versions will never taste quite right again. It is one of those small kitchen habits that quietly changes everything.
Your Recipe Questions
- → Why add apple cider vinegar to bone broth?
-
Apple cider vinegar helps extract minerals from the bones during the long cooking process, making your broth more nutritious. The acidity breaks down collagen and releases calcium, magnesium, and other beneficial nutrients.
- → Can I use raw bones instead of roasted?
-
Absolutely. Raw bones work perfectly fine. However, roasting them at 220°C (425°F) for 30 minutes beforehand adds a deeper, richer flavor and beautiful golden color to your broth.
- → How long does this broth keep in the refrigerator?
-
Properly stored in airtight containers, your homemade broth stays fresh in the refrigerator for up to 5 days. For longer storage, freeze in portions for up to 6 months.
- → What's the difference between broth and stock?
-
Broth is typically made with meat and vegetables, simmered for a shorter time. Stock uses bones and simmers much longer, extracting more collagen and gelatin. This slow-cooked method bridges both, yielding a rich, gelatinous result.
- → Can I use an Instant Pot instead?
-
Yes. Cook on high pressure for 2-3 hours, then allow natural pressure release. The flavor will be good, though the slow cooker method extracts more collagen and nutrients over the extended cooking time.
- → Why should I skim the foam?
-
Foam contains impurities and proteins released during cooking. Skimming occasionally results in a clearer, cleaner-tasting broth. It's not essential for safety but improves the final appearance and flavor.
