 Save to Pinterest
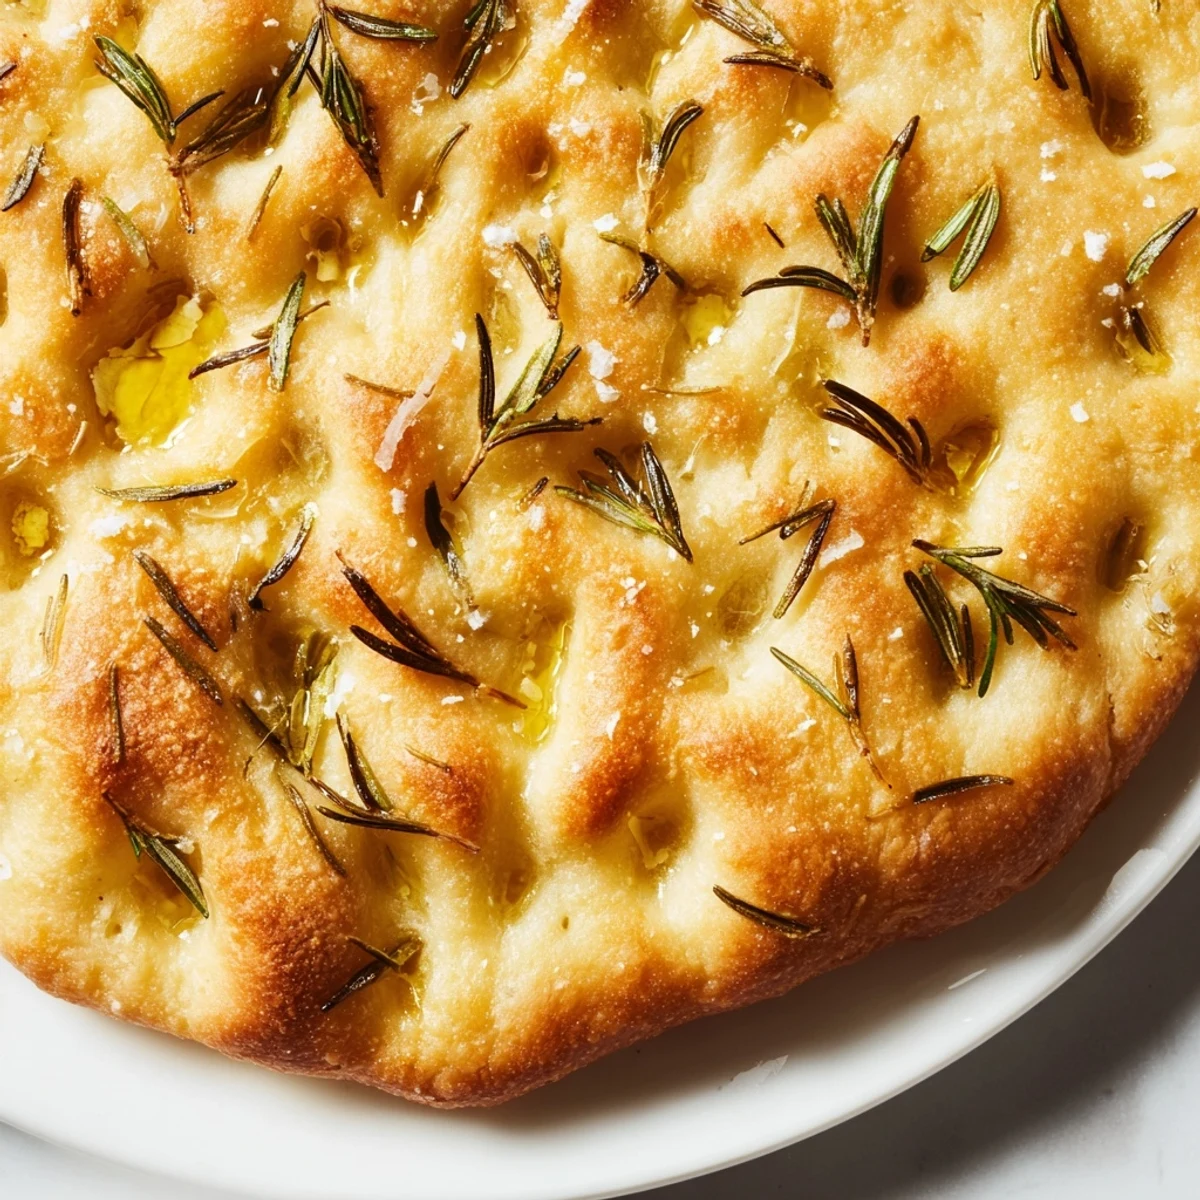
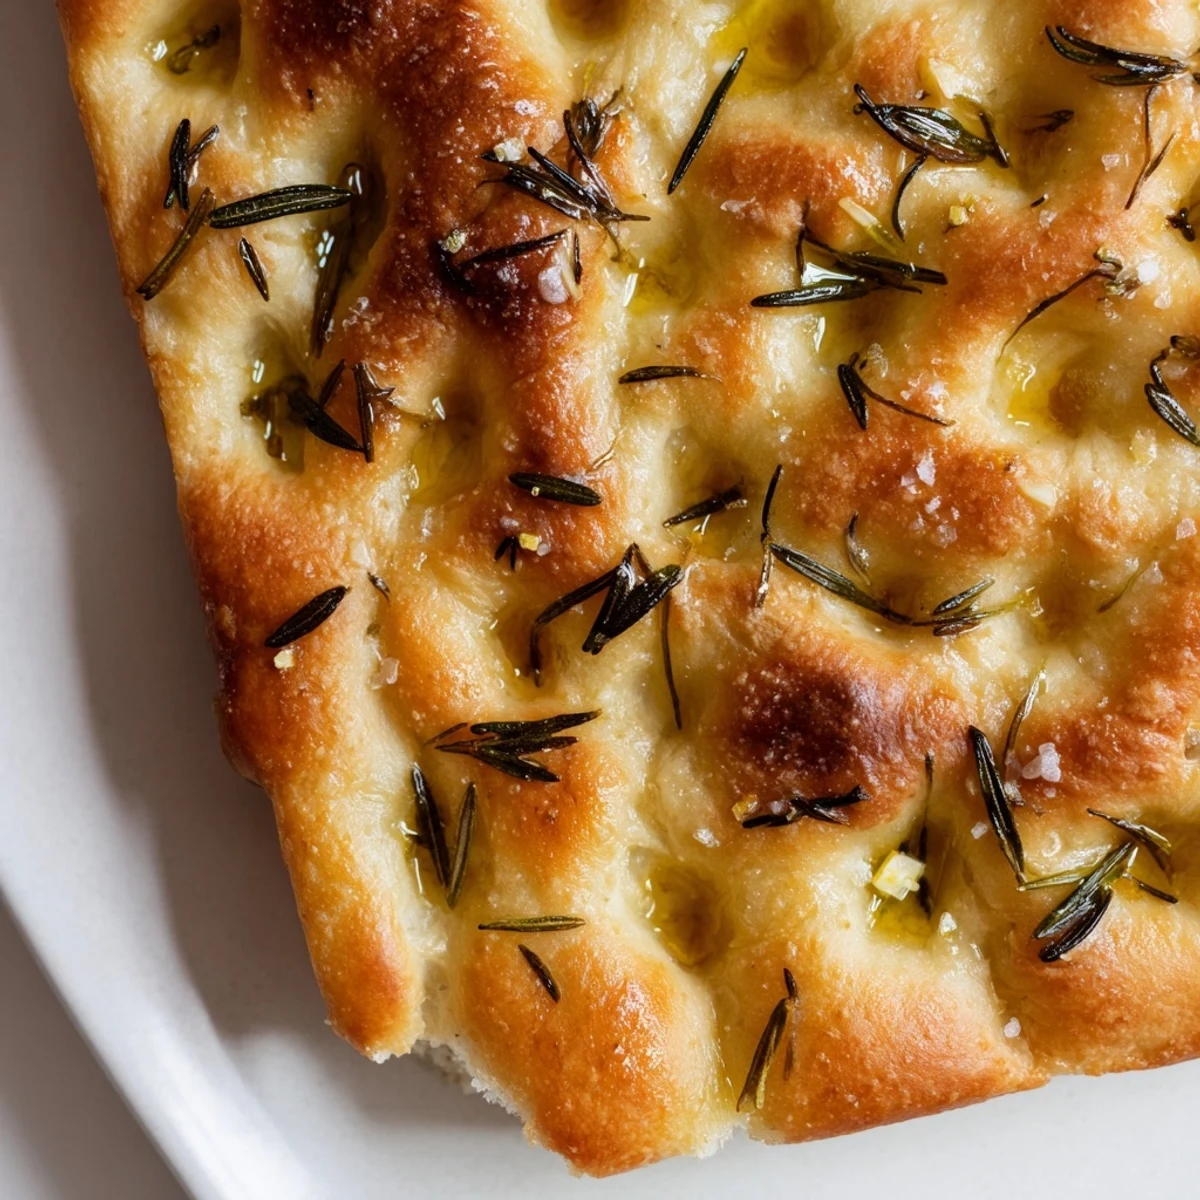
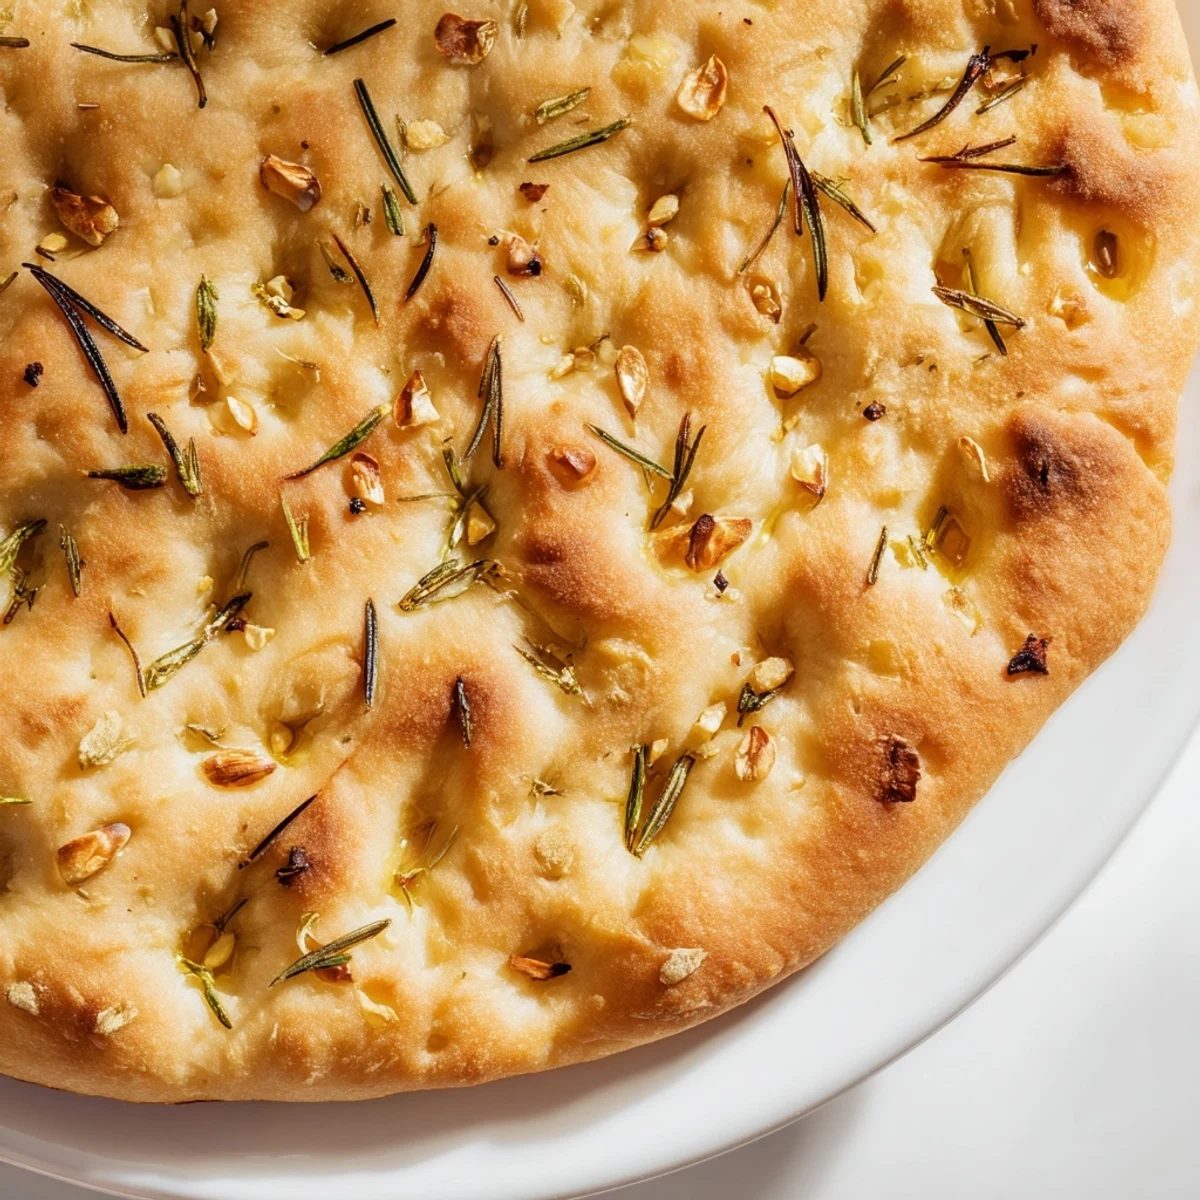
 This focaccia features a soft, airy crumb enriched with garlic and fresh rosemary, layered with fragrant olive oil. The dough is mixed, kneaded until elastic, and rises twice to develop a light texture. The topping is gently pressed into the dough before baking for a golden, aromatic crust. Perfect warm or at room temperature, it pairs beautifully with olive oil or balsamic vinegar.
Versatile and satisfying, it’s suitable for both casual snacking and elegant sides, offering a comforting taste of Italian tradition. Optional herbs like thyme or oregano can be used as alternatives to rosemary for a variation in flavor. Baking requires moderate skill but yields a rewarding result.
There's something about the smell of garlic and rosemary hitting hot olive oil that makes a kitchen feel alive. I discovered focaccia by accident one afternoon, testing a dough that turned too sticky to handle as a sandwich loaf, so I pressed it flat into a pan and dotted it with dimples instead. What came out of the oven was golden, fragrant, and somehow better than what I'd planned. Now whenever someone needs real bread—not fussy or complicated, just honest and warm—this is what I make.
I remember bringing a warm loaf to a dinner party where the main course ran late. By the time everyone sat down, we were all tearing into the focaccia before the pasta even arrived—and honestly nobody minded. That's when I knew this recipe belonged in regular rotation, not just for special occasions.
Ingredients
- Bread flour (500 g): The higher protein content gives you structure and that slight chew that makes focaccia satisfying, not dense.
- Instant dry yeast (7 g): Use fresh yeast and trust the rise times—old yeast will leave you waiting and disappointed.
- Warm water (350 ml): The temperature matters more than you'd think; too hot kills the yeast, too cold and nothing happens.
- Extra virgin olive oil (60 ml for dough, 3 tbsp for topping): Don't skimp here—good oil makes the flavor sing and creates that tender crumb.
- Fine sea salt (10 g): Mix it into the dough early so it dissolves evenly and doesn't inhibit the yeast.
- Fresh rosemary (2 tbsp): Strip the leaves from woody stems; dried rosemary works but tastes almost medicinal by comparison.
- Garlic (3 cloves): Mince it fine so it bakes into the oil rather than burning into bitter chips.
- Flaky sea salt for topping: This is your final flourish—it catches the light and adds a texture that regular salt cannot.
Instructions
- Mix the foundation:
- Combine your flour, yeast, and salt in a large bowl, stirring so everything is evenly distributed. This prevents the salt from clumping or killing your yeast in isolated pockets.
- Bring it together:
- Pour in the warm water and olive oil, stirring until a shaggy, sticky mass forms. Don't overthink it—you're just bringing everything into contact.
- Knead until smooth:
- Work the dough on a lightly floured surface for 8-10 minutes (or 6-8 minutes in a stand mixer) until it becomes smooth, elastic, and only slightly sticky. You'll feel the transformation under your hands as the gluten develops.
- First rise:
- Transfer to an oiled bowl, cover with plastic or a damp towel, and let it sit in a warm spot for an hour or until it's roughly doubled in size. A proofing box helps, but even a turned-off oven works fine.
- Shape and second rise:
- Oil a 9x13 inch baking pan, transfer the dough to it, and gently stretch it to the edges. Cover and let it rise another 30-40 minutes until it looks pillowy and full of promise.
- Prepare the garlic oil:
- While the dough rises, mix your olive oil, minced garlic, chopped rosemary, and flaky salt in a small bowl. Let the garlic infuse for a few minutes so the oil carries all that flavor.
- Dimple and top:
- Preheat your oven to 220°C (425°F). Using your fingertips, press dimples all over the surface of the dough, then drizzle the garlic herb oil evenly across the top, pressing some into each indentation so it soaks in rather than running off.
- Bake to golden:
- Bake for 22-25 minutes until the top is deep golden and the edges are crisp. The kitchen will smell incredible, and you'll know it's done when you tap the bottom and hear a hollow sound.
- Cool and slice:
- Let it cool for just a few minutes—long enough to handle safely but while it's still warm—then slice and serve. Warm focaccia is always better than cold.
 Save to Pinterest
 There was a quiet moment one morning when my neighbor came over for coffee and I sliced into warm focaccia still steaming from the cooling period. She just closed her eyes and said nothing for a moment—and that simple reaction made all those fiddly timings and careful hand movements feel completely worth it.
Choosing Your Herbs
Rosemary is classic, but focaccia is actually a canvas for whatever grows near your kitchen. Thyme works beautifully if you prefer something softer and more delicate, while oregano leans into a Mediterranean warmth that some people find more inviting. I've even made a version with mixed herbs—rosemary, thyme, and a pinch of oregano together—and it feels like a whole garden in one slice. The key is using fresh herbs if you can; dried ones lack that bright, almost peppery finish that makes this bread sing.
The Science of Steam and Crust
Focaccia doesn't need the aggressive steam you'd create for a crusty boule, but the dimpled surface and oil actually trap a little moisture during baking, creating a tender-crisp exterior that's almost impossible to mess up. If you want an even softer crust, brush the warm loaf with more olive oil straight from the oven—the heat will carry it into every dimple and soften the surface. Some bakers place a baking sheet on the rack above the focaccia to trap heat, which deepens the color and intensifies the flavor, though it's entirely optional.
Making It Your Own
Once you understand the basic structure—soft dough, gentle handling, bold topping—focaccia becomes a vehicle for whatever you love. Some days I add a scatter of caramelized onions, other times just a simple salt finish. The loaf is forgiving enough to handle experimentation without falling apart. Keep these thoughts in mind for your next bake:
- Always let the first rise go long enough that when you poke the dough gently, the indentation stays rather than bouncing back.
- If your oven runs hot or cold, adjust baking time accordingly—golden is the goal, not burnt corners.
- Day-old focaccia sliced horizontally makes the world's best canvas for sandwiches or a quick drizzle of good olive oil.
 Save to Pinterest
 There's real magic in a bread that's simple enough to make on a random Tuesday but impressive enough to serve at your table without apology. This focaccia does exactly that.
Your Recipe Questions
- → What type of flour works best for this bread?
-
Bread flour is ideal as it provides the gluten structure needed for a chewy, airy crumb.
- → Can I substitute rosemary with other herbs?
-
Yes, thyme or oregano are excellent alternatives that complement the garlic and olive oil flavors.
- → How do I achieve a crisp crust?
-
Brushing the crust with olive oil right after baking helps create a crisp, flavorful exterior.
- → What is the purpose of dimpling the dough before baking?
-
Dimpling creates pockets for olive oil and herbs, enhancing flavor and texture in each bite.
- → Can I use a stand mixer instead of kneading by hand?
-
Absolutely, a stand mixer with a dough hook reduces kneading time and helps develop the gluten efficiently.
