 Save to Pinterest
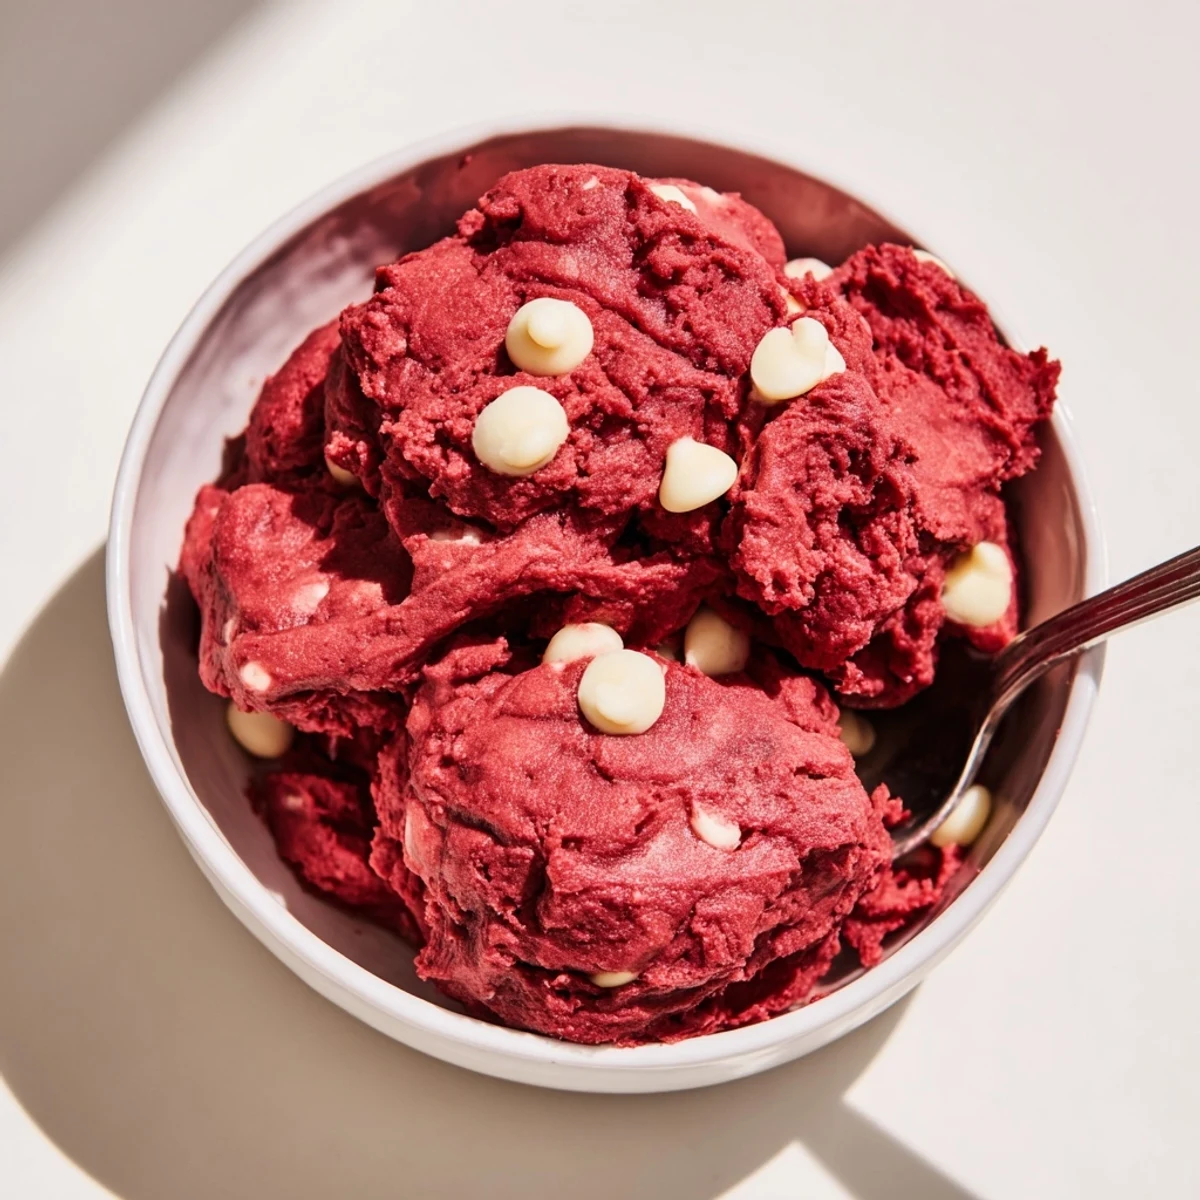
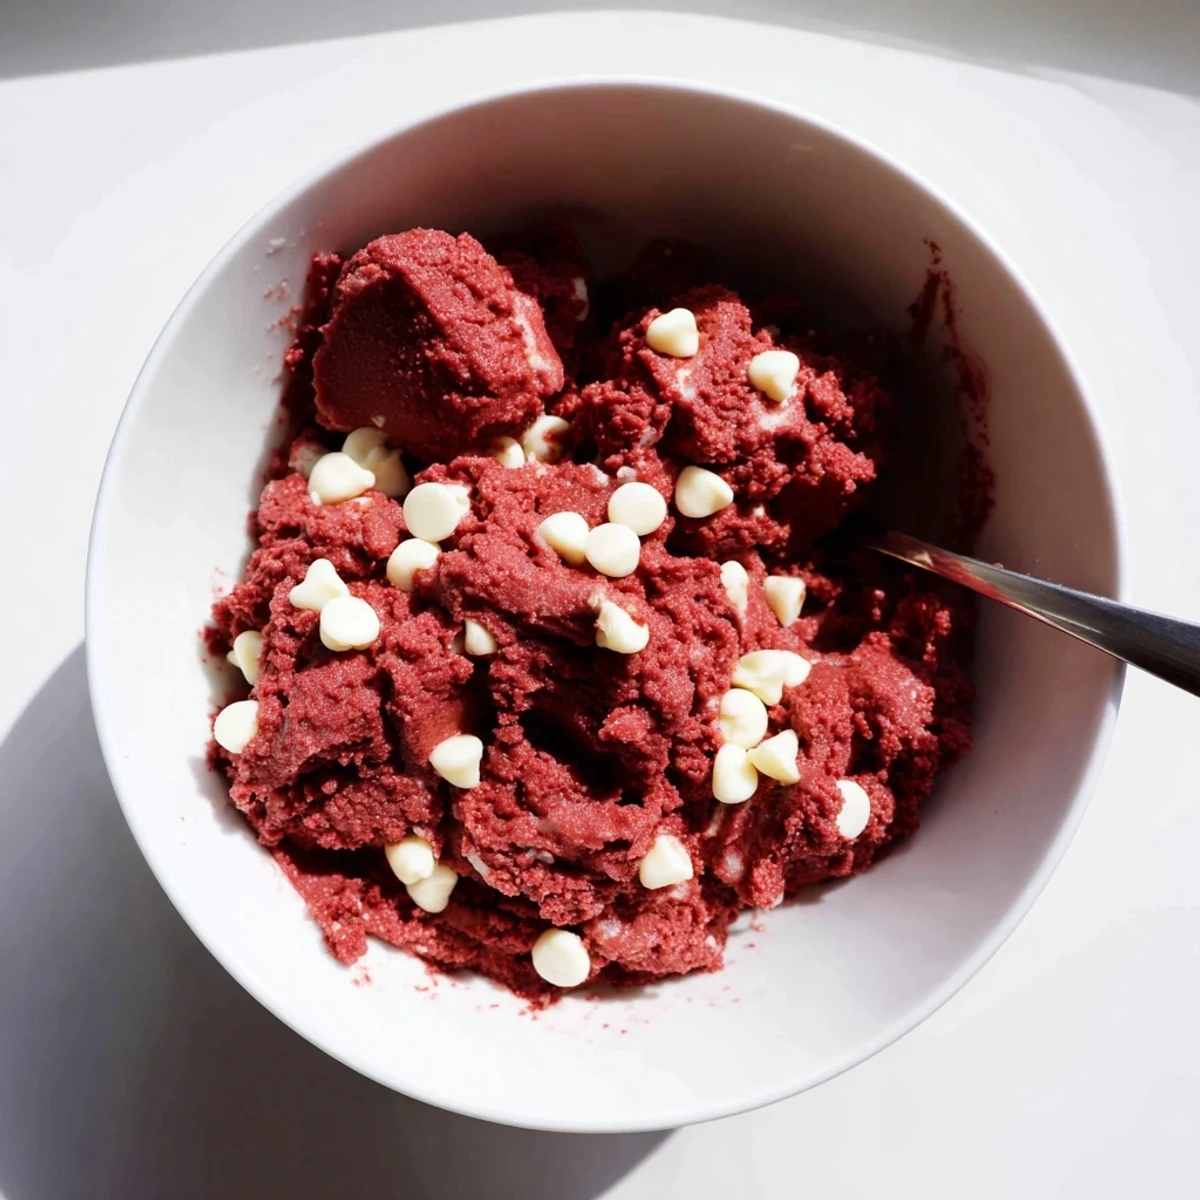
 This edible red velvet cookie dough brings together the classic cocoa flavor and striking red hue of red velvet in a safe-to-eat, no-bake treat.
Heat-treated flour ensures food safety, while a blend of granulated and brown sugars delivers a rich, buttery sweetness. White chocolate chips add creamy contrast to every bite.
Ready in just 15 minutes with zero oven time beyond flour treatment, it's an effortless indulgence for any dessert craving.
My kitchen counter looked like a crime scene the first time I made red velvet cookie dough, but nobody complained once they tasted it. The brilliant red smear across my spatula was worth every stained fingertip. This no bake treat captures everything people love about red velvet without turning on the oven for a single cake layer. It comes together in fifteen minutes flat and disappears even faster.
I set out a bowl of this at a friend's movie night expecting it to last the whole evening. Three scenes into the film, someone was already scraping the edges with a spoon and asking if I could make a double batch next time.
Ingredients
- All purpose flour (1 1/4 cups, 160 g): Must be heat treated before mixing so the dough is completely safe to eat raw.
- Unsalted butter (1/2 cup, 115 g): Softened butter creams more easily and gives the dough that luxurious, scoopable texture.
- Granulated sugar (3/4 cup, 150 g): Adds sweetness and a slight crunch that contrasts beautifully with the cocoa.
- Light brown sugar (1/4 cup, 50 g): A touch of molasses depth keeps the flavor from tasting flat or one dimensional.
- Unsweetened cocoa powder (2 tbsp, 15 g): This is what separates red velvet from plain vanilla, so do not skip it.
- Salt (1/4 tsp): Just enough to sharpen the chocolate and keep the sweetness honest.
- Milk (2 tbsp, 30 ml): Loosens the dough to the perfect consistency for folding in mix ins.
- Vanilla extract (2 tsp): Use the good stuff here because its flavor is front and center.
- Red gel food coloring (1 1/2 tsp): Gel gives that vivid color without watering down the dough like liquid would.
- Mini white chocolate chips (1/3 cup, 60 g): Their creamy sweetness is the ideal counterpoint to the slight cocoa bitterness.
Instructions
- Make the flour safe:
- Spread the flour on a baking sheet and bake at 350 degrees Fahrenheit for five minutes until it reaches a safe internal temperature. Let it cool completely because hot flour will melt your butter into a greasy mess.
- Build the base:
- Beat the softened butter with both sugars until the mixture looks pale and fluffy, about two minutes of enthusiastic mixing. Scrape the bowl once so nothing hides at the bottom.
- Add the flavor players:
- Drop in the cocoa powder, salt, milk, and vanilla, then mix until everything comes together in a smooth, chocolate scented mass.
- Fold in the flour:
- Add the cooled heat treated flour gradually and stir gently until just combined. Overworking it makes the dough tough instead of tender.
- Paint it red:
- Add the gel food coloring and mix until the color is even throughout with no pale streaks hiding in the center. The transformation from brownish cocoa to vivid crimson is oddly satisfying.
- Stir in the magic:
- Fold in the mini white chocolate chips with a spatula so they distribute evenly without getting crushed.
- Shape and serve:
- Scoop the dough into small bowls or roll it into bite sized balls for easy snacking. Serve right away or chill in an airtight container for up to five days.
 Save to Pinterest
 A friend's daughter once walked into the kitchen, spotted the bright red dough, and announced it was the most beautiful thing she had ever seen. She ate three balls before dinner and I did not have the heart to stop her.
Making It Vegan Friendly
Swapping in vegan butter and oat milk works seamlessly here, and the flavor stays rich and satisfying. Choose dairy free white chocolate chips and you have a treat everyone at the table can enjoy without a single compromise.
Boosting the Chocolate Depth
A tiny pinch of espresso powder stirred in with the cocoa makes the chocolate flavor bloom in ways that surprise people every time. You do not taste coffee, you just taste more of everything good that was already there.
Serving and Storing Like a Pro
Chilled dough firms up beautifully for rolling, while room temperature dough is softer and perfect for eating with a spoon straight from the container. The dough keeps well refrigerated but rarely lasts long enough to test its limits.
- Press plastic wrap directly against the surface before sealing to prevent the edges from drying out.
- Roll balls between slightly damp hands for a smoother finish.
- Always let chilled dough sit at room temperature for ten minutes before serving for the best texture.
 Save to Pinterest
 Keep a batch in your fridge and you will never be caught without something sweet when cravings hit. This is the kind of recipe that makes you look like you tried much harder than you actually did.
Your Recipe Questions
- → Why do I need to heat-treat the flour?
-
Raw flour can harbor harmful bacteria like E. coli. Heating it to 350°F (175°C) for about 5 minutes eliminates those pathogens, making the dough completely safe to consume without baking.
- → Can I use liquid food coloring instead of gel?
-
You can, but gel food coloring is strongly recommended. Liquid coloring requires much more product to achieve a vibrant red, which can alter the dough's texture and introduce a bitter aftertaste.
- → How should I store leftover cookie dough?
-
Transfer the dough to an airtight container and refrigerate it for up to 5 days. You can also freeze it for up to 3 months — just thaw in the refrigerator before enjoying.
- → Can I make this dough vegan?
-
Absolutely. Swap the butter for vegan butter, use plant-based milk, and choose dairy-free white chocolate chips. The texture and flavor remain wonderfully rich and satisfying.
- → What can I add to boost the chocolate flavor?
-
A small pinch of espresso powder works wonders. It won't make the dough taste like coffee — it simply deepens and intensifies the cocoa notes already present in the dough.
