 Save to Pinterest
 These traditional French brioche rolls deliver exceptional texture through a careful process of incorporating butter during kneading. The result? impossibly soft, golden interiors with subtle sweetness and rich buttery flavor. While the total time includes two proofing periods, active preparation is straightforward with a stand mixer doing most of the work.
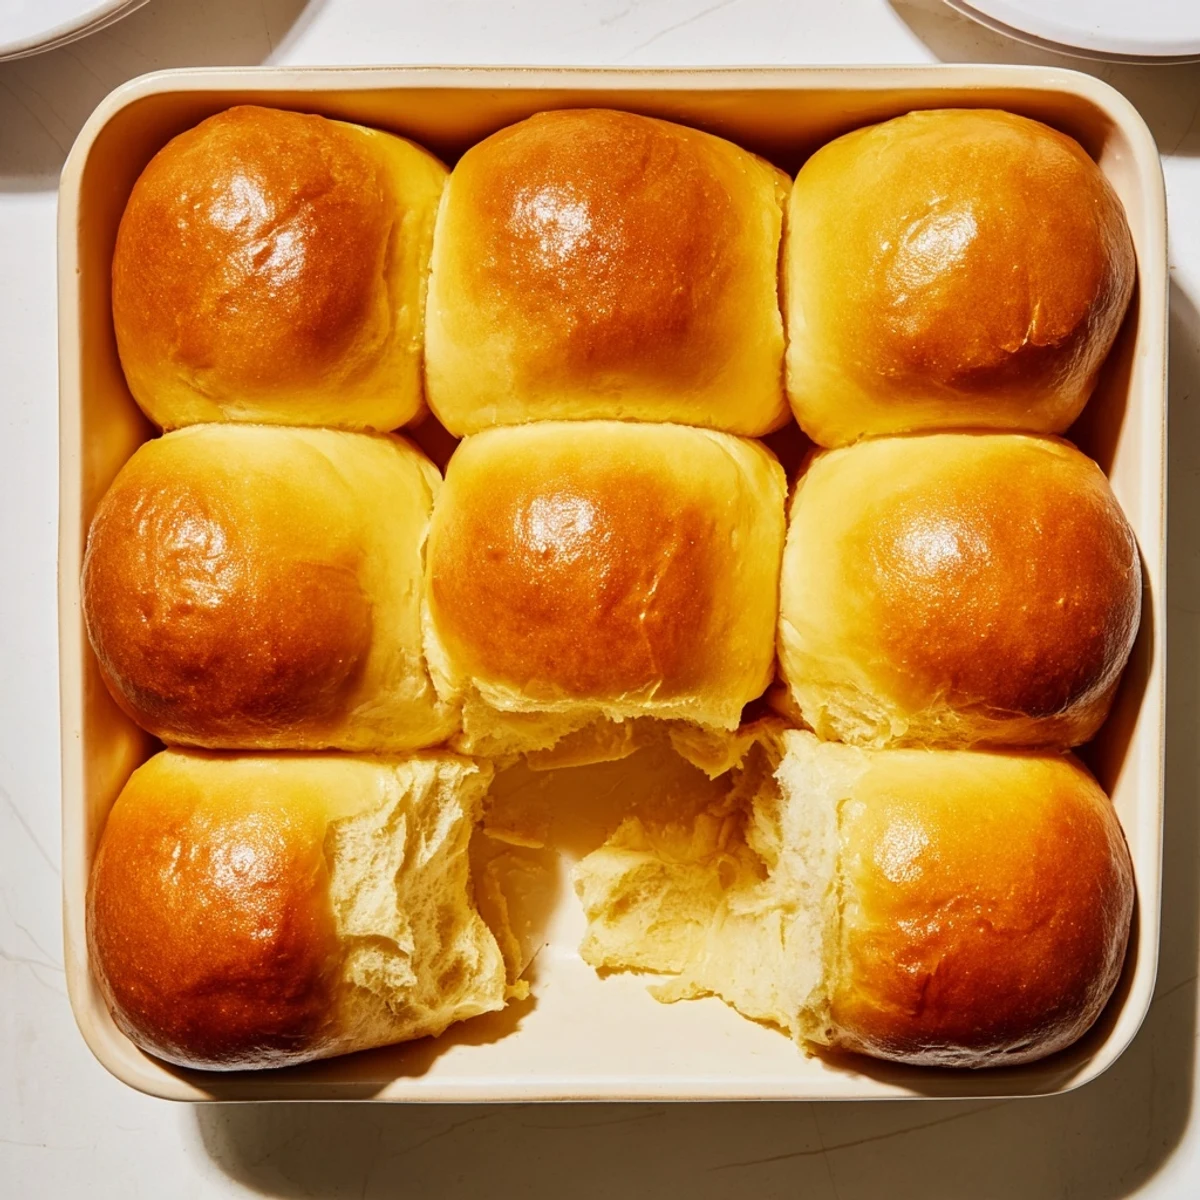
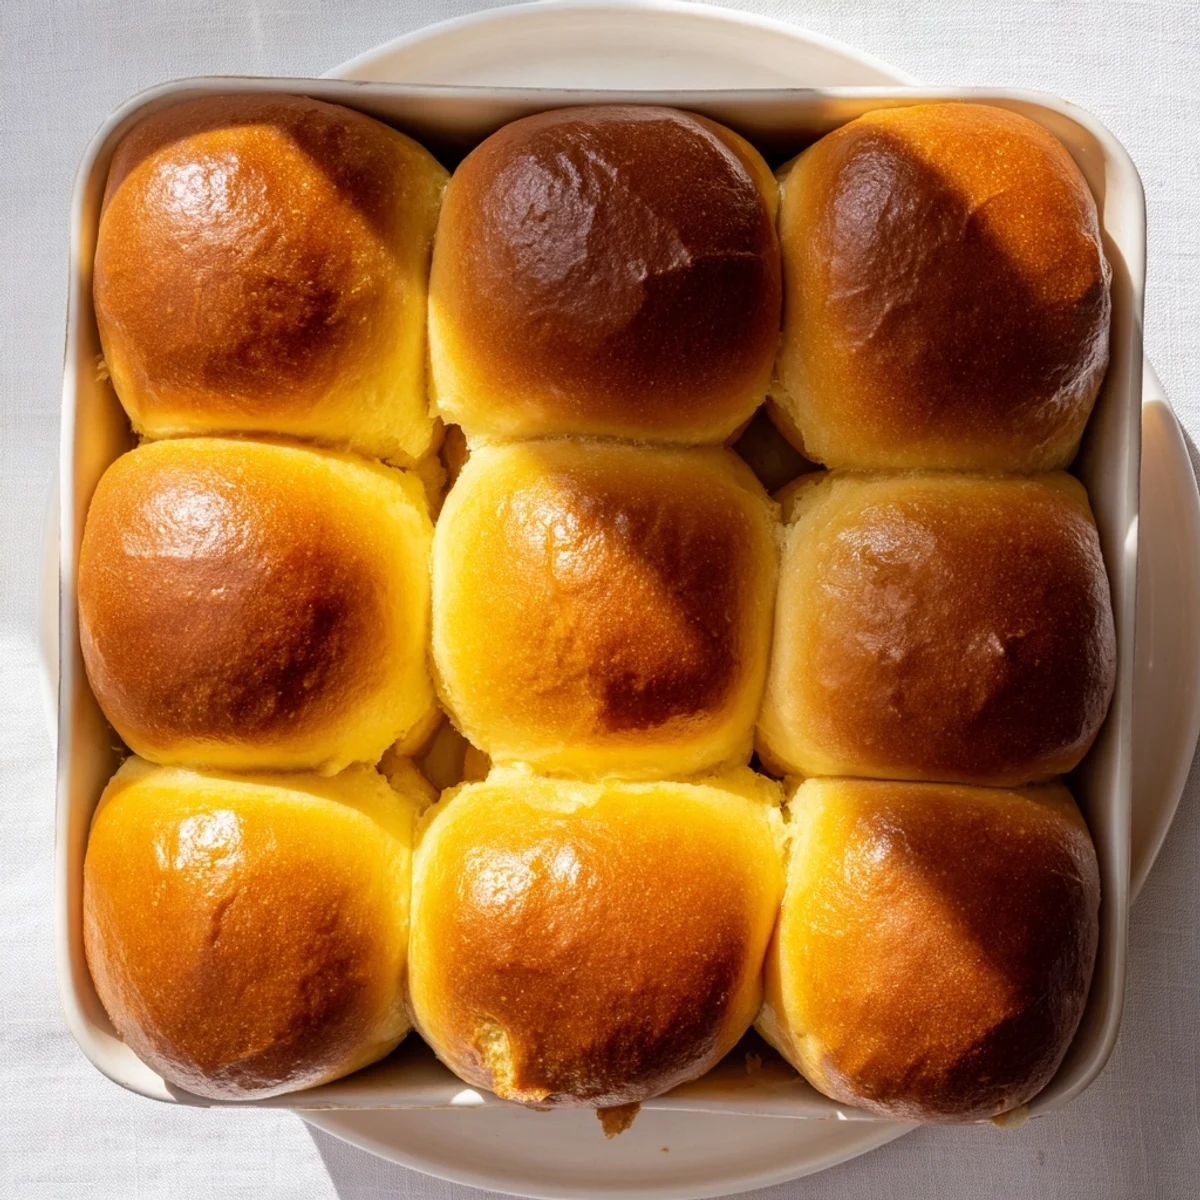
The dough yields twelve perfectly portioned rolls that develop beautiful golden color after a gentle egg wash. Fresh from the oven, they're irresistible with jam or honey. These also freeze beautifully for future enjoyment, making them ideal for batch preparation.
Customizing is simple—add citrus zest for brightness or serve alongside savory dishes. The key is patience during rising and proper butter incorporation. Master these fundamentals, and you'll have restaurant-quality brioche at home.
The first time I made brioche, I was honestly intimidated—all that butter, all those eggs, the reputation for being finicky. But then I watched the dough come together in my stand mixer, transforming from a shaggy mess into something impossibly silky and alive. Now these rolls are my go-to for everything from holiday dinners to weekend breakfast sandwiches.
Last Christmas morning, my sister-in-law took one bite of these warm from the oven and immediately asked if I'd opened a secret bakery. Seeing people's faces light up when they tear into that first soft, buttery roll has become one of my favorite kitchen moments. These rolls have a way of making any meal feel like a special occasion.
Ingredients
- All-purpose flour: Bread flour works too, but AP gives that tender crumb we want
- Instant dry yeast: No need to proof it separately, which saves time
- Unsalted butter: Softened but still cool enough to hold its shape when cubed
- Eggs at room temperature: Cold eggs can shock the dough and affect rising
- Lukewarm milk: Think bathwater temperature, around 100°F
Instructions
- Mix the dry foundation:
- Combine flour, sugar, yeast, and salt in your stand mixer bowl, giving it a quick stir to distribute everything evenly
- Build the base dough:
- Add those room temperature eggs and warm milk, mixing on low until you have a shaggy, sticky dough that's starting to come together
- Work in the butter gradually:
- With mixer on medium speed, drop in butter cubes one at a time, letting each piece fully disappear before adding the next—this is where the magic happens
- Develop the gluten structure:
- Keep kneading for 8 to 10 minutes until the dough pulls away from the bowl sides and feels smooth, elastic, and almost satiny
- First rise in a warm spot:
- Transfer dough to a greased bowl, cover with plastic or a damp towel, and let it double in size, about 1 to 1.5 hours
- Shape into perfect rounds:
- Gently deflate the dough, divide into 12 equal pieces, and tuck the edges under each piece to form smooth, tight balls
- Second rise for fluffiness:
- Place rolls in your greased pan, cover, and let them puff up for another 45 to 60 minutes until they're touching and looking pillowy
- Give them that golden finish:
- Whisk the egg wash together and gently brush the tops, being careful not to deflate the risen rolls
- Bake until golden brown:
- Bake at 350°F for 18 to 22 minutes until they're beautifully bronzed on top and sound hollow when tapped
 Save to Pinterest
 My daughter now requests these for her birthday instead of cake, slathered with strawberry jam and served with a side of scrambled eggs. There's something about homemade brioche that makes people feel loved and cared for in a way store-bought bread never can.
Getting The Rise Right
I've found the sweet spot for rising is a slightly turned-off oven with just the oven light on—it creates the perfect warm, draft-free environment. In colder months, I'll even place a pan of hot water on the rack below to add some gentle humidity. These rolls are surprisingly forgiving, but they do need warmth and patience to reach their full potential.
Make Ahead Strategy
Some of my best batches have been shaped the night before and left to rise slowly in the refrigerator overnight. The cold fermentation actually develops incredible flavor, and you can wake up to ready-to-bake rolls. Just let them come to room temperature while the oven preheats, then bake as directed.
Serving Ideas
These rolls are incredibly versatile—split them for sliders, use them as the base for bread pudding, or simply enjoy them warm with salted butter melting into every crevice. They're substantial enough to stand up to rich fillings but delicate enough to shine on their own.
- Day-old rolls make exceptional French toast, soaking up the custard like a dream
- Cube and toast them for croutons that will elevate any salad or soup
- Split and freeze extra rolls for impromptu bread emergencies
 Save to Pinterest
 There's nothing quite like pulling a pan of golden brioche from the oven, that buttery aroma filling the whole kitchen. Hope these become a beloved staple in your home too.
Your Recipe Questions
- → What makes brioche different from regular bread?
-
Brioche contains substantial butter and eggs, creating richer flavor, softer texture, and golden color. The high fat content produces tender crumb that stays fresh longer than standard bread.
- → Why must butter be added gradually?
-
Adding butter cube by cube allows proper gluten development first. If butter enters too early, it coats flour proteins and prevents strong elastic structure from forming, leading to dense or greasy results.
- → Can I make these without a stand mixer?
-
Yes, though kneading by hand takes 15–20 minutes. The dough becomes quite sticky once butter incorporates—use a bench scraper and keep hands lightly floured. Focus on stretching and folding until smooth.
- → Why did my rolls not double during rising?
-
Insufficient rising usually means yeast was inactive or environment too cool. Ensure milk is warm (not hot) when mixing. Find a draft-free spot around 75–80°F. Cover loosely to prevent drying.
- → How do I know when they're fully baked?
-
Check deep golden color on top and sides. Rolls should sound hollow when tapped on bottom. Internal temperature reaches 190–200°F when done. If browning too quickly, tent loosely with foil after 15 minutes.
- → Can I prepare the dough ahead of time?
-
Absolutely. After first rise, punch down and refrigerate overnight in covered bowl. Let cold dough warm slightly before shaping and second proof. Actually improves flavor development.
