 Save to Pinterest
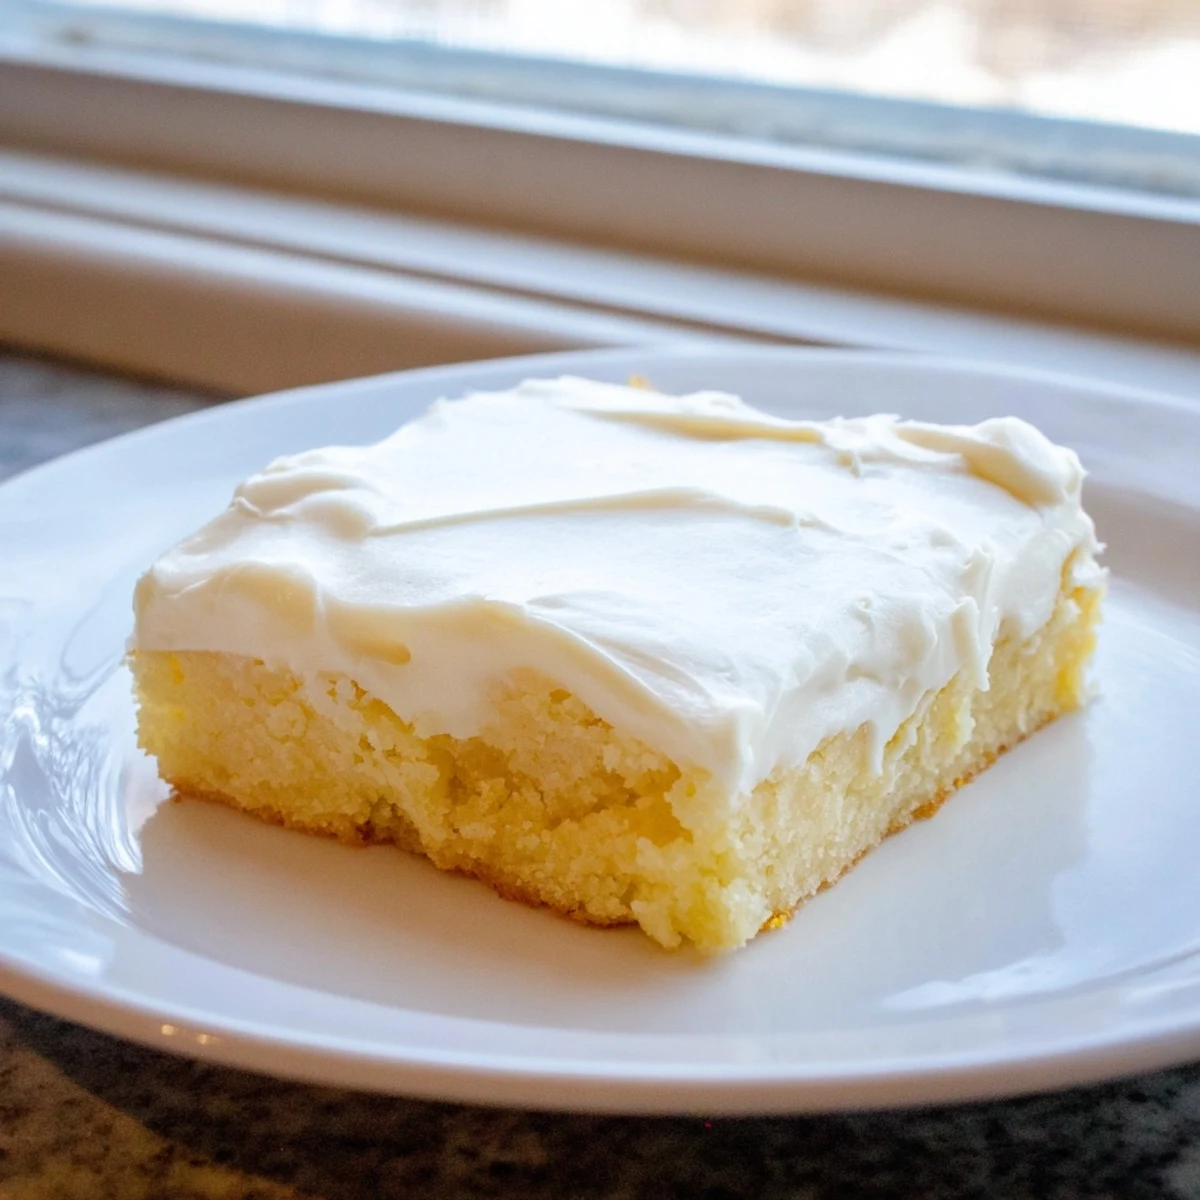
 These soft, buttery sugar cookie bars deliver all the classic flavors you love in an easy-to-serve format. The tender, golden base is topped with silky vanilla frosting that melts in your mouth. Perfect for parties, holidays, or everyday treating.
Prep takes just 20 minutes, then bake until lightly golden edges emerge. Let cool completely before spreading the fluffy frosting—a simple mix of butter, powdered sugar, milk, and vanilla. Customize with food coloring and sprinkles for any occasion.
Store in an airtight container for up to three days. The texture remains perfectly soft, making these ideal for make-ahead gatherings or school events.
My youngest daughter discovered these bars at a school bake sale and came home raving about the softest cookie she'd ever tasted. We spent the next weekend recreating them together, flour dusting our black lab's nose as she attempted to help. Now they're the most requested treat for every classroom celebration and birthday party.
Last summer I made three pans for our neighborhood block party and watched teenagers and grandparents alike reach for seconds. Someone actually asked if I'd consider selling them, which I took as the highest compliment possible.
Ingredients
- Unsalted butter: Softened to room temperature so it creams properly with sugar, creating that tender melt in your mouth texture
- Granulated sugar: Sweetens and helps create the crisp edges while keeping centers soft
- Large egg: Binds everything together and adds structure to the dough
- Pure vanilla extract: Use the good stuff here since vanilla is the star flavor
- All purpose flour: The foundation that gives these bars their satisfying bite
- Baking powder: Provides just enough lift without making them cakey
- Salt: Balances sweetness and enhances all the flavors
- Powdered sugar: Sift it first or your frosting will have lumps that ruin the silky smooth finish
- Whole milk: Creates the perfect spreadable consistency, add more if needed
Instructions
- Prep your pan and oven:
- Line a 9x13 inch baking pan with parchment paper letting the edges hang over like handles. Preheat to 350°F.
- Cream the butter and sugar:
- Beat softened butter and granulated sugar for 2 to 3 minutes until pale and fluffy.
- Add the wet ingredients:
- Mix in the egg and vanilla extract just until combined.
- Whisk the dry ingredients:
- Combine flour baking powder and salt in a separate bowl.
- Combine the mixtures:
- Gradually add dry ingredients to wet mixing just until no flour streaks remain.
- Press and bake:
- Evenly press dough into prepared pan. Bake 18 to 22 minutes until edges are lightly golden.
- Cool completely:
- Let bars cool completely in the pan before frosting or it will melt right off.
- Make the frosting:
- Beat butter until creamy then gradually add powdered sugar milk vanilla and salt until smooth.
- Frost and slice:
- Spread frosting evenly over cooled bars. Lift out using parchment and cut into 24 squares.
 Save to Pinterest
 My mom now keeps a batch in her freezer for unexpected grandkid visits. She says they taste just as good thawed which is dangerous knowledge to have.
Making Them Festive
Tint the frosting with gel food coloring for holidays. Red and green for Christmas pastel rainbow colors for Easter orange and black for Halloween. The sprinkles are where you can really let your creativity shine. I keep a collection of seasonal sprinkles in the pantry just for these bars.
Flavor Variations
Swap half the vanilla extract for almond extract to give them a bakery style twist. Add lemon zest to the dough and a teaspoon of lemon juice to the frosting for bright sunshine bars. My friend mixes in tiny chocolate chips to the dough before baking which is absolutely genius.
Storage and Make Ahead Tips
These bars actually taste better on day two when the flavors have had time to meld. Store them in an airtight container at room temperature for up to three days. For longer storage wrap the uncut bars tightly in plastic wrap then foil and freeze for up to two months. Thaw overnight in the refrigerator before frosting.
- Underbake by just a minute or two if you plan to freeze them
- Add sprinkles right before serving so they stay bright and crunchy
- Cut them when slightly chilled from the fridge for the cleanest edges
 Save to Pinterest
 Watch them disappear faster than you thought possible. I've learned to always keep a few hidden ones for myself.
Your Recipe Questions
- → Can I make these bars ahead of time?
-
Yes, you can prepare the bars up to 2 days in advance. Store frosted bars in an airtight container at room temperature. The frosting helps keep them moist, and they actually taste even better the next day as flavors meld together.
- → How do I know when the bars are done baking?
-
The bars are ready when the edges turn lightly golden and the center appears set, about 18-22 minutes. Avoid overbaking—insert a toothpick in the center, and it should come out with just a few moist crumbs, not wet batter.
- → Can I freeze these sugar cookie bars?
-
Absolutely. Freeze unfrosted bars wrapped tightly in plastic and foil for up to 3 months. Thaw overnight at room temperature, then frost when completely cool. Frosted bars can also be frozen—place them in a single layer on a baking sheet until firm, then transfer to a freezer-safe container.
- → What's the best way to get evenly cut squares?
-
Let the bars cool completely before slicing. Use a sharp knife and wipe it clean between cuts for neat edges. For uniform portions, measure and mark lines with a toothpick first. Cutting when chilled helps maintain clean, professional-looking squares.
- → Can I use different frosting flavors?
-
Certainly. Replace vanilla extract with almond, lemon, or coconut extract. For chocolate frosting, add ¼ cup cocoa powder and reduce powdered sugar slightly. You can also swirl in fruit preserves or Nutella for variations that transform these bars into endless flavor combinations.
